U-Line Echelon 2115WC Installation Manual
Echelon series
Hide thumbs
Also See for Echelon 2115WC:
- Use and care manual (24 pages) ,
- Specifications (2 pages) ,
- Features and specifications (2 pages)
Table of Contents
Advertisement
Quick Links
Advertisement
Table of Contents

Related Manuals for U-Line Echelon 2115WC


Summary of Contents for U-Line Echelon 2115WC
-
Page 1: Installation Guide
Installation Guide ® 2115WC Wine Captain ® and 2115WCOL Wine Captain with Overlay www.U-LineService.com Phone (414) 354-0300 • FAX (414) 354-7905 Service & Parts Tech Lines Phone (800) 779-2547 • FAX (414) 354-5696 OnlineService@U-Line.com ©2006 U-Line Corporation 06/2006... -
Page 2: Table Of Contents
Contents Exterior Cleaning ......Cut-Out Dimensions ......Product Dimensions . -
Page 3: Inspect And Plan
General Precautions Use this appliance for its intended purpose only and follow these general precautions along with those listed throughout this guide: WARNING SHOCK HAZARD — Electrical Grounding Required. • Keep the unit unplugged throughout installation except during testing. • Never remove the round grounding prong from the plug and never use a two-prong grounding adapter. -
Page 4: Exterior Cleaning
2115WC/2115WCOL Wine Captain 3 Prepare Site Your U-Line product has been designed for either free- standing or built-in installation. When built-in, your unit does not require additional air space for top, sides or rear. However, the front grille must NOT be obstructed and clearance is required for electrical connection in the rear. -
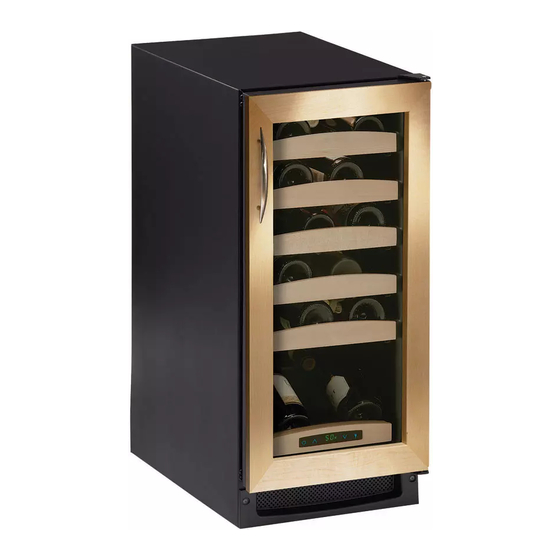
Page 5: Product Dimensions
90° Door Swing Black, White and Wood Overlay Figure 3 34-1/8" Reversing the Door (Black Units Only) All U-Line units (except Stainless Steel models) may be left- or right-hand opening. The door opening is easily reversed by moving the hinge hardware to the opposite side. -
Page 6: Other Site Requirements
60 Hz, 15A circuit (normal household current). See Electrical Specifications on Page 13. Environmental Requirements Many U-Line models are designed to operate in harsh outdoor/marine environments. Special considerations include the following: • The units are designed to operate between 50°F (10°C) and 110°F (40°C). -
Page 7: Side-By-Side Installation Instructions
Side-By-Side Installation Instructions For a complete refreshment center, install your 2115WC or 2115WCOL unit beside a U-Line Refrigerator, Ice Maker or Combo Model (see Figure 11 for typical cut-out). Note that each Side-By-Side Installation will be different. • Cut-out width for a side-by-side installation is the total of the widths listed under Cut-Out Dimensions in each unit’s Installation Guide. -
Page 8: Wood Trim Finishing
Wood Trim Finishing Interior components of your U-Line unit are equipped with a natural wood trim for appearance and durability. Although this wood trim has been coated with a clear... -
Page 9: Overlay Frame
Overlay Frame (2115WCOL Units Only) Frame Preparation An overlay frame covers the door frame to give a built-in appearance. Appropriate hardware and a copy of these instructions will be included in the unit. IMPORTANT The thickness of the wood overlay frame must be 3/4". The door frame must not weigh more than 20 lbs. - Page 10 Height: 1-17/32" from top edge of frame (less 1/8" for depth of notch on top of frame) Radius of corner notch: 1/8" (see Back View) 4. Drill holes for pivot plate mounts (see Figure 15, Back View). 5/16" diameter x 1/2" deep, from the routed surface CAUTION Be careful not to drill too deep! Drilling holes too deep may destroy your door frame.
- Page 11 IMPORTANT User-supplied cabinet handle MUST be counter bored to make sure mounting hardware is below surface of overlay frame. Failure to do so can cause damage to overlay frame and/or door. Overlay frame will not sit flush to door if mounting hardware is not counter bored. Tape Figure 20 3.
-
Page 12: Checking Door Alignment
5 Adjust Door Checking Door Alignment The unit’s door is aligned at the factory before shipment. However, its alignment could have been disturbed during shipment or during overlay frame installation. IMPORTANT Properly aligned, the door should be 1/8" below the top of the unit’s cabinet, NOT flush with the top (see Figure 23). -
Page 13: Electrical Specifications
6 Prepare Power Supply Electrical Specifications CAUTION Electrical installation must observe all state and local codes. This unit requires connection to a grounded (three- prong), polarized receptacle that has been placed by a qualified electrician. The unit requires a grounded and polarized 115 VAC, 60 Hz, 15A power supply (normal household current). -
Page 14: Anti-Tip Bracket Installation
8 Install the Unit Anti-Tip Bracket Installation 1. Locate two Anti-Tip Brackets included inside the unit. 2. Place the unit into the area where it will be installed. Check the door, sides and top for a proper fit. Also test to make sure the door opens and closes freely. -
Page 15: Installation Troubleshooting
Installation Troubleshooting Problem The door remains open unless it is pushed closed. Solution The hinges should be self-closing when the door is open approximately 8". If this is not the case, make sure the closers (at the bottom of the hinge pin) are clean, greased and installed correctly. -
Page 16: Service Information
For more than four decades, U-Line has distinguished itself as the leader in built-in undercounter ice making, refrigeration and wine storage appliances. U-Line Corporation, located in Milwaukee, WI, is a family operated manufacturer of built-in ®...
Need help?
Do you have a question about the Echelon 2115WC and is the answer not in the manual?
Questions and answers