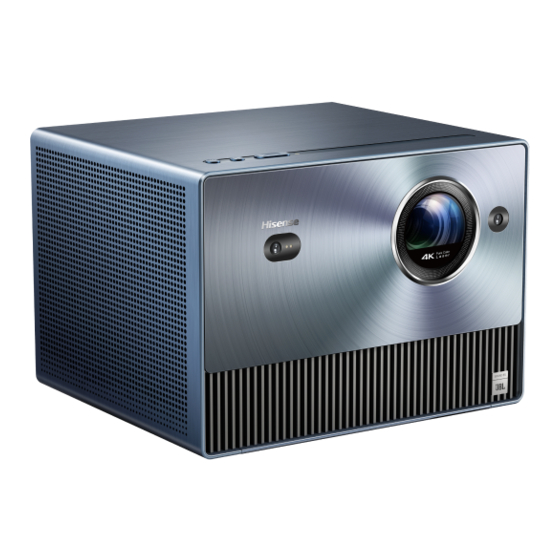
Hisense C1 Quick Setup Manual
Smart mini projector
Hide thumbs
Also See for C1:
- User manual ,
- Service manual (15 pages) ,
- Quick installation manual (7 pages)

Related Manuals for Hisense C1


Summary of Contents for Hisense C1
- Page 1 Quick Setup Guide Before using the Smart Mini Projector, please read this guide carefully and keep it for future reference. English...
- Page 2 Requests for permission to store, reproduce, transmit or distribute materials may be made to one of the following addresses: All material in this Quick Setup Guide is the property of Hisense Company U.S.A. Hisense USA Corporation Ltd. and its subsidiaries, and is protected under US, CANADA, MEXICO 105 Satellite BLVD Suite I, Suwanee, GA 30024 and International copyright and/or other intellectual property laws.
-
Page 3: Register Your Device
Register Your Device! Because we value your business, we want to keep you in the know of 'all things Hisense'. Using your mobile phone, scan the Registration page QR code to register your Device. Depending on the make and model of your phone, you may need to download a QR code scanning app. -
Page 4: Important Safety Information
Important Safety Information • If any object or water enters this device, please unplug this device and contact the service staff of Hisense. SAFETY WARNINGS • Do not place any exposed fire source (e.g. burning candle) on this device. Keep away from high temperature and heat. Do not look directly at the lens when this device is on! • Do not expose the battery to direct sunlight or candle light. -
Page 5: Packaged Contents
Packaged Contents Low Blue light Content • The long-term exposure to blue light may damage your eyes, in particular • Smart Mini Projector the retina, causing visual fatigue or eye strain. Children are particularly • 1 Remote Control vulnerable to excessive blue light and the damage to them is irreversible. • 2 AAA Batteries The product can decrease blue light ratio to reduce blue light hazard. - Page 6 Smart Mini Projector Diagram DIGITAL AUDIO OUT DC IN AUDIO OUT ToF sensor (used for the autofocus function and eye protection function) USB2.0 HDMI2(eARC) USB3.0 HDMI1 Lens External devices CMOS image sensor module (used for the autofocus and auto keystone correction function) HDMI NOTE: If your device cannot be inserted...
- Page 7 Use Your Remote Power on/Standby Activate the microphone Press to enable automatic focus Input numbers and special function buttons D-pad (up/down/left/right navigation buttons) Confirmation button Return to the previous place in the menu or app Press to enter Menu Press and hold to pair the bluetooth remote Volume (up/down) Display the Home screen Media content control function buttons...
-
Page 8: Basic Operation
WARNING: Insufficient ventilation space will cause this device to overheat Basic Operation or become damaged. • Do not block the air vents or place any object on this device. Turning the device on or off • Do not place this device in any narrow, enclosed or poorly ventilated space. 1. -
Page 9: Automatic Focus
Automatic Focus Image Size and Projection Distance When the automatic focus function is enabled, the device can automatically 150" adjust the focus to make your projector picture clear. 120" • Enable automatic focus function by pressing the button on the remote. 100"... -
Page 10: Text-To-Speech (Tts)
• Do not touch the lens with your hands. • Do not touch or wipe the lens with ordinary cleaning cloth. Use a dust https://www.hisense-usa.com/hisense-laser-cinema-c1-text-to-speech blower to remove the dust on the lens. Grease, dirt and fingerprints should be cleaned carefully by the professional by using optical cleaning cloth, lens wiping paper or professional cleaning solutions to avoid destroying the optical filming and affecting the image quality. -
Page 11: Quick Problem-Solving Tips
3. Some irregular shadow appear on the edge of the picture after keystone correction https://global.hisense.com/support/customer-center/ • Hisense projectors use digital correction, so the true resolution fills on the actual display area and leaves some surrounding area unused after a keystone correction is completed. -
Page 12: Product Specifications
Product Specifications Certification and Compliance Model Name FCC Notice 9.6 × 8.5 × 7 inches Dimension (W × H × D) This device has been tested and found to comply with the limits for a Class B (245 × 216 × 179 mm) digital device pursuant to Part 15 of the FCC Rules. These limits are designed Weight 10.1 lbs (4.6 kg) to provide reasonable protection against harmful interference in a residential... -
Page 13: Declaration Of Conformity
Telephone Number: 1-888-935-8880 This device complies with Part 15 of the FCC Rules. Operation is subject ©2016. All rights reserved. Hisense and the Hisense logo are registered trademarks of Hisense. Other brand and product names are registered to the following two conditions: (1) this device may not cause harmful trademarks of their respective owners.
Need help?
Do you have a question about the C1 and is the answer not in the manual?
Questions and answers
how can I decrease the size of the image on the screen ?
You can decrease the image size on the Hisense C1 projector by adjusting the zoom or projection distance. Additionally, the projector has an automatic keystone correction feature that can help reshape the image. You can access these settings by pressing the Home button on the remote and navigating to Settings > Projector > Auto Correction. If needed, you can also manually adjust the focus by pressing and holding the focus button on the remote and using the D-pad.
This answer is automatically generated