Advertisement
Quick Links
THE PERFECT BALANCE OF FUNCTION AND STYLE
LAUNDRY - DISHWASHING - COOKING - COOLING
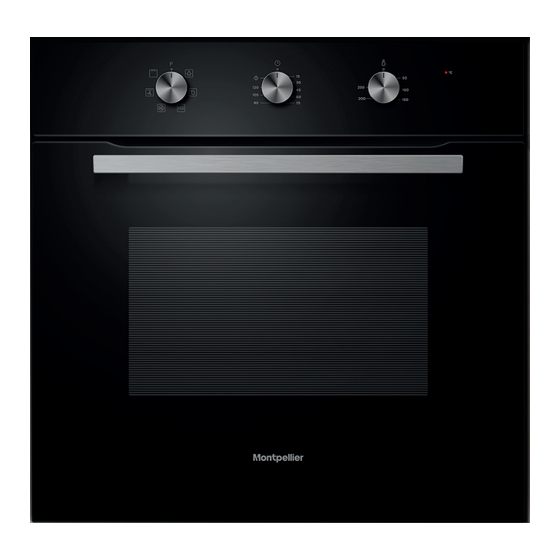
65ltr Single Fan Oven
MSBFO65B - Black
Please read these instructions carefully before attempting to install or use this appliance.
We recommend that you keep these instructions in a safe place for future reference.
Installation and Operating Instructions
Advertisement

Related Manuals for montpellier MSBFO65B


Summary of Contents for montpellier MSBFO65B
- Page 1 LAUNDRY - DISHWASHING - COOKING - COOLING Installation and Operating Instructions 65ltr Single Fan Oven MSBFO65B - Black Please read these instructions carefully before attempting to install or use this appliance. We recommend that you keep these instructions in a safe place for future reference.
- Page 2 Welcome Thank you for choosing this Montpellier appliance. Our appliances have been designed to provide you with the best combination of style, reliability and performance to give you years of trouble-free use. You may be familiar with a similar product, but please take time to read these instructions carefully before installing or using your appliance to ensure you get the most from your purchase.
- Page 3 CONTENTS IMPORTANT SAFETY INSTRUCTIONS PRODUCT INSTALLATION Cupboard diagram (Standing Cupboard) Cupboard diagram (Ground Cupboard) Installation Important Instructions Installation steps PRODUCT INTRODUCTION Oven Accessories Accessories use Control panel Before using for the first time Regular operation Mode setting Manual mode Minute minder CLEANING AND MAINTENANCE Cleaning Lamp replacement...
- Page 4 IMPORTANT SAFETY INSTRUCTIONS THESE WARNINGS ARE PROVIDED IN THE INTEREST OF SAFETY. PLEASE READ THEM CAREFULLY BEFORE INSTALLING OR USING THE APPLIANCE. To maintain the EFFICIENCY and SAFETY of this appliance, we recommend: Call only the Service Centers authorized by store where you buy the cooker Always use original Spare Parts •...
- Page 5 • Ensure that the appliance is switched off before replacing the oven lamp to avoid the possibility of electric shock. • The means for disconnection must be incorporated in the fixed wiring in accordance with the wiring specifications. • Children should be supervised to ensure that they do not play with the appliance.
- Page 6 • When the door or drawer of oven is open do not leave anything on it, or you may unbalance your appliance or break the door. • Some parts of appliance may keep its heat for a long time; it is required to wait for it to cool down before touching onto the points that are exposed to the heat directly.
- Page 7 PRODUCT INSTALLATION If there is any discrepancy between the illustration and the actual product, please refer to the actual product. Cupboard diagram (Standing Cupboard) Air vents 6 0 0 5 6 0 M i n . 5 0 G Minimum bottom ventilation area: 250 mm 2 Native appliance G...
- Page 8 Cupboard diagram (Ground Cupboard) Air vents . 5 0 M i n 5 6 0 Minimum bottom ventilation area: 250 mm 2 G Native appliance Reserve 5 mm for the door panel at the top and bottom respectively. G Reserve 20 mm for the door panel on the left and right respectively.
- Page 9 Installation Important Instructions Content that means [mandatory] • The safe operation of this appliance can only be guaranteed if it has been installed to a professional standard in accordance with these installation instructions. The installer shall be liable for any damage resulting from incorrect installation.
- Page 10 Installation steps • Please customize the cupboard according to the "Cupboard Diagram". • Before installation, please check for normal power socket and appropriate grounding, and check whether the cupboard dimension meets the installation requirements. • Place the appliance in designated locations in the kitchen, install it in a vertical cupboard, and connect the power supply.
- Page 11 PRODUCT INTRODUCTION Oven When removing food, please wear heat insulating gloves to prevent burns! At the moment of opening the door of the oven, pay attention to the heat/steam. Please open the door at a small angle to avoid the heat/steam burning your face.
- Page 12 Accessories use For the oven to work properly, the accessories should only be placed between the first and fifth levels. Never cook with anything placed on the base of the oven. When used together, place the Grill tray under the grill rack. For regular grilling use the Grill tray and small grill rack together.
- Page 13 Control panel K1: For selecting oven functions. K2: For setting cook/timer K3: For setting the temperature. Function Function introduction The cooking process can be observed under illuminated conditions. Except ECO function. Lamp The circulation of air at room temperature enables quicker thawing of frozen food (without the use of any heat).
- Page 14 Before using for the first time • The oven must not be operated until it has been correctly installed. • To avoid fire, remove all transport protection materials and ensure that the oven is free of residual packaging items and accessories (e.g. foam, cardboard, grill tray, grill rack, etc.).
- Page 15 Mode setting Manual mode - the cooking time is controlled by the user. Minute minder - you can set an audible reminder for the time period of completion. Manual mode If you don't need to set the cooking time, turn the timer knob counterclockwise to "...
- Page 16 CLEANING AND MAINTENANCE Cleaning Disconnect the power supply before cleaning and maintenance. In order to ensure the life of the oven, it should be thoroughly cleaned frequently. Cleaning steps are as follows: • After cooking, wait for the oven to cool completely. •...
- Page 17 The fan did not stop Fan delays blowing No processing required working after for heat dissipation stopping the heating SPECIFICATIONS MSBFO65B Model Usable Volume Rated voltage 220-240V~ Rated frequency 50Hz-60Hz Electric power 2.1 kW...
- Page 18 PRODUCT RECYCLING This symbol on the product or instruction manual indicates that your device should be disposed of separately from your household waste at the end of its useful life. There is a separate recycling system locally for recycling. For more information, please contact the local authority or retailer where you purchased the product.
- Page 19 Your 2 year Manufacturer's guarantee THIS DOES NOT AFFECT YOUR STATUTORY RIGHTS. Your new Montpellier appliance carries a free guarantee which protects you against the cost of repairs during the first 24 months from date of purchase provided that: Any claim is accompanied by evidence of the model reference, model serial number and proof of purchase, such as a Sales Receipt, showing that the appliance was purchased within the 24 months prior to the date of claim.
- Page 20 Montpellier Domestic Appliances Ltd. Unit 1, Tewkesbury Retail Park, Northway Lane, Tewkesbury, Gloucestershire GL20 8JU www.montpellier-appliances.com The symbol on the product or on its packaging indicates that this product may not be treated as household waste. Instead it shall be handed over to the applicable collection point for the recycling of electrical and electronic equipment. By ensuring this product is disposed of correctly, you will help prevent potential negative consequences for the environment and human health, which could otherwise be caused by inappropriate waste handling of this product.
Need help?
Do you have a question about the MSBFO65B and is the answer not in the manual?
Questions and answers