
Related Manuals for Bresser SpaceExplorer MC 127/1900 EQ


Summary of Contents for Bresser SpaceExplorer MC 127/1900 EQ
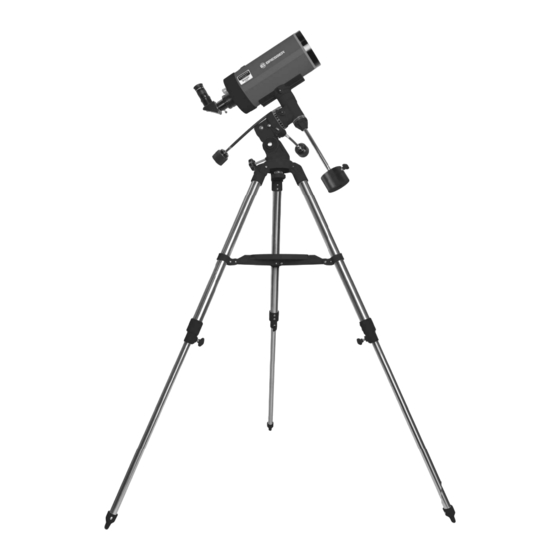
- Page 1 SpaceExplorer MC 127/1900 EQ Maksutov-Cassegrain telescope Art. No. 9621804 Instruction manual...
- Page 2 DOWNLOADS: • Astronomy software • Moon map • Instruction Manual • Accompanying reading material "Astro Basics http://www.bresser.de/download/9621804 Never look at or near the sun with the telescope: THERE IS A RISK OF BLINDNESS!
- Page 3 PARTS OVERVIEW Fig.1a Fig.1b & Fig.1d Fig.1c 3 3& 3 3 ( 2 3 3 2 2 2 2 2&...
-
Page 4: Table Of Contents
• Read the operating instructions and the general warnings carefully before assembly and before initial commission- ing. • All BRESSER telescopes and accessories are under constant technical development. For this reason, we reserve the right to make minor changes to the product specifications in order to improve the product. This also means that illustrations may not correspond in whole or in part to the parts included in the scope of delivery. -
Page 5: Introductory Words About This Telescope And Its Use
Introductory words about this telescope and its use This telescope from BRESSER is a versatile and high-resolution optical instrument. It shows nature in even greater, detailed detail. First and fore- most, it is designed to study the starry night sky. For example, it can be used to view Saturn with its distinctive rings at a distance of 1.3 billion... - Page 6 COMPONENTS 14 Viewfinder prism rail: Attaches to the viewfinder shoe (see Chap. "Structure", pt. 9). 15 Viewfinder fixing screws: Tighten the screws to fix the prism rail of the viewfinder in the viewfinder shoe (14). 16 N/A 17 Declination/DEC Clamp: influences the manual movement of the tele- scope.
- Page 7 Nebulae, Black Hole, Variable Stars, etc.If you are interested in the latest product related and technical information from Bresser, check out their website. There you will find links to other astronomical websites. You can find our website at the following address: http:// www.bresser.de...
-
Page 8: Assembly
ASSEMBLY Assembly Listing of parts - Unpacking It does not take long to prepare the telescope for the first observation. When you open the package for the first time, please check the following individually packaged parts: Telescope: • Equatorial mount •... - Page 9 ASSEMBLY 6. Set latitude: It is easier to adjust the latitude before you attach the weights and place the tube on the mount. Locate the latitude scale (28, Fig. 1d). Note that there is a triangular pointer above the scale on the mount. The pointer is not fixed.
-
Page 10: Getting Started
ASSEMBLY Getting Started Balancing the telescope To ensure that the telescope is secure and stable on the tripod and moves smoothly and evenly, it must be balanced. To balance the telescope, open the RA clamp (33, Fig. 1d). When the axis is free, the telescope rotates around the RA axis. -
Page 11: Aligning The Viewfinder
GETTING STARTED Aligning the viewfinder The LED viewfinder must be adjusted before use. This means that the "viewing direction" of the LED viewfinder and the optical tube must be matched: 1. Remove the dust caps from your telescope. 2. If you have not already done so, attach the eyepiece holder (2, Fig. 1b) to the screw thread of the tube end. -
Page 12: Using Accessories
GETTING STARTED Use accessories Eyepieces The main function of a telescope eyepiece is to magnify the image pro- duced by the main optics of the telescope. Each eyepiece has a specific focal length, which is specified in millimetres (mm). The smaller the focal length, the greater the magnification. -
Page 13: Observation
OBSERVATION Observation Observation with manual operation IMPORTANT NOTE: Objects viewed through the view- After the telescope is assembled and balanced as described, you are finder appear upside down and ready for manual observation. Pick an easy-to-observe object on Earth upside down. such as a street sign or traffic light and familiarize yourself with the tele- Objects observed through the scope's functions. -
Page 14: The Parallactic Home Position
For this purpose, we have compiled some helpful information in an accompanying booklet, which you can download free of charge via the following weblink: http://www.bresser.de/download/astrowissen Furthermore, we have listed below topics that are also worth taking a closer look at. Below you will find a list of books, magazines and organizations that may be of use to you. -
Page 15: Maintenance & Service
You would probably not be able to reinsert them at the exact position and risk a serious degradation of the optical performance of your telescope. In such cases, Bresser accepts no liability whatsoever for any damage incurred. -
Page 16: Technical Data
TECHNICAL DATA Technical data SpaceExplorer MC 127/1900 EQ Item number 9621804 Optical design Maksutov-Cassegrain Free aperture 5" = 127 mm Focal length 1900 mm Aperture ratio / photographic aperture f/14,9 Maximum resolution 1 arcsecond Mount equatorial/parallactic RA and DEC drive/movement manual, via flexible shafts Max. -
Page 17: Warranty & Service
The regular guarantee period is 2 years and begins on the day of purchase. To benefit from an extended voluntary guar- antee period as stated on the gift box, registration on our website is required. You can consult the full guarantee terms as well as information on extending the guarantee period and details of our services at www.bresser.de/warranty_terms. Service... - Page 18 NOTES...
- Page 19 NOTES...
- Page 20 @BresserEurope © 2021 Bresser GmbH, 46414 Rhede, Germany. No part of this manual may be reproduced, transmitted, transcribed or translated into any lan- guage in any form without the written permission of Bresser GmbH. Errors and technical changes reserved. Manual_9621804_SpaceExplorer-MC-127-1900-EQ_de_BRESSER_v012023a...
Need help?
Do you have a question about the SpaceExplorer MC 127/1900 EQ and is the answer not in the manual?
Questions and answers