Table of Contents
Advertisement
Quick Links
Advertisement
Table of Contents

Related Manuals for CDA CST62


Summary of Contents for CDA CST62
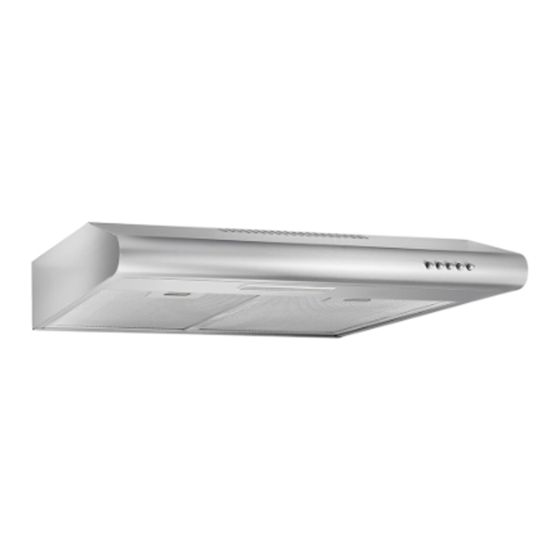
- Page 2 CST62 Standard extractors Installation, use and maintenance...
-
Page 3: Table Of Contents
Contents Important Declaration of Conformity & product disposal Notes Using your extractor Care and maintenance Removing and cleaning the grease filters Changing a charcoal filter Extractor lighting Notes on operating modes Mains electrical connection Electrical information Troubleshooting Determining the position of your extractor Fixings provided Product dimensions Installation steps... -
Page 4: Important
Appliance information Please enter the details on the appliance rating plate below for reference, to assist CDA Customer Care in the event of a fault with your appliance and to register your appliance warranty. Appliance model... - Page 5 EU Declarations of Conformity This appliance has been designed and manufactured to comply with all applicable UK and EU legislation, Low voltage Directive, 2014/35/EU Electromagnetic compatibility Directive, 2014/30/EU ErP Directive, 2009/125/EC RoHS Directive, 2011/65/EU and has been marked with the following symbols. IMPORTANT INFORMATION FOR CORRECT DISPOSAL OF THE PRODUCT IN ACCORDANCE WITH EU DIRECTIVE 2012/19/EU.
- Page 6 Please note Under no circumstances should the extractor be connected to any gas ■ ventilation system, flue system or hot air ducting system. Do not vent the extractor into an attic or loft space. ■ Only house the extractor in rooms with adequate ventilation. Remember ■...
-
Page 7: Using Your Extractor
Control Panel Please enter the details on the appliance rating plate below for reference, to assist CDA Customer Care in the event of a fault with your appliance and to register your appliance warranty. Fig 1. - Page 8 Cleaning You should use a non-abrasive cleaner. Any abrasive cleaner (including Cif) will scratch the surface and could erase the control panel markings. You can clean your extractor e ectively by simply using a dilute solution of water and mild detergent and drying to a shine with a clean cloth. Ensure that the extractor is dry after cleaning.
-
Page 9: Changing A Charcoal Filter
The lighting on your extractor uses energy e cient LED technology and is designed to last the lifetime of the product. If the LED system malfunctions, please contact CDA Customer Care. The LED units must only be replaced by a competent appliance service engineer. - Page 10 Operating modes Your extractor can be used in either of two modes - recirculation or extraction. The choice often depends on the specific installation requirements. Your installer will be able to advise which is best for you. Extraction mode Recirculation mode (ducted outside) (no ducting) Fig 4.
-
Page 11: Mains Electrical Connection
The wire which is coloured brown must be connected to the terminal ■ marked L (Live) or coloured red or brown. If the mains cable of this appliance is damaged, it must only be replaced by a CDA approved service engineer, agent, or other suitably qualified person. 10 | Instruction Manual... -
Page 12: Electrical Information
IMPORTANT – ONLY USE A 3 AMP FUSE The use of a 13A fuse can cause internal wiring damage which will not be covered under the CDA warranty. Do not mount the electrical isolation switch behind the chimney section. It is a requirement that you must be able to isolate the extractor from the mains electrical supply after installation. -
Page 13: Determining The Position Of Your Extractor
Determining the position of your extractor When the extractor is to be mounted above an electric hob, the distance between the hob and the extractor must be greater than 600mm. When the extractor is to be mounted above a gas hob, the distance between the hob and extractor must be greater than 700mm. -
Page 14: Fixings Provided
Installation Fixings provided We have provided a set of fixings that are suitable for most walls. However, please ensure that the fixings you use to secure the extractor to the wall are appropriate for the type of wall in your kitchen. Product dimensions Fig 8. -
Page 15: Installation Steps
Installation steps Draw a line on the wall in vertical line with your hob. Mark the 2 holes to be drilled in the wall, respecting the distances indicated; Make the 2 holes and fit the 2 screw anchors 10X45 provided or another one, but always adapted to the type of wall. - Page 16 Product fiche (Technical information) Model identification, Symbol Units CST62SS CST62WH Annual Energy Consumption, AEC hood kWh/yr 30,3 Energy E ciency Class Energy E ciency Index, EEI hood 70,1 Fluid Dynamic E ciency, FDE hood 10,9 Fluid Dynamic E ciency Class Lighting E ciency, LE hood Lux/W 41,7...
- Page 17 The CDA Group Harby Road Langar Nottinghamshire NG13 9HY Sales Department Phone: 01949 862010 Email: sales@cda.co.uk Customer Care Phone: 01949 862012 Email: customer.care@cda.co.uk...
Need help?
Do you have a question about the CST62 and is the answer not in the manual?
Questions and answers