CDA cst61 Installation, Use And Maintenance Manual
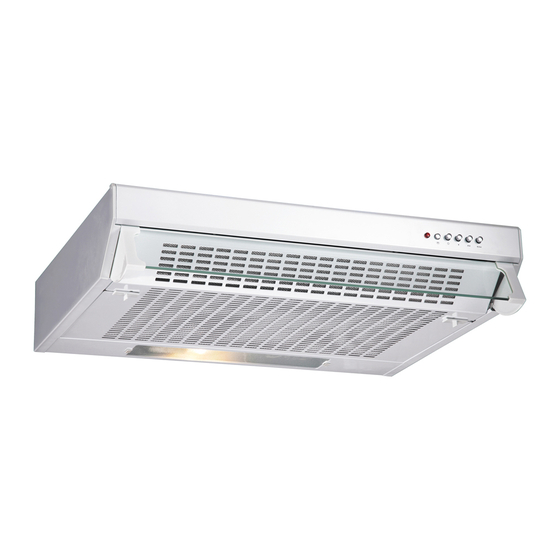
Cda cst61 extractor
Hide thumbs
Also See for cst61:
- Operating instructions (4 pages) ,
- Directions for installation, use and maintenance (16 pages)
Table of Contents

Related Manuals for CDA cst61


Summary of Contents for CDA cst61
- Page 1 Extractor Installation, Use and Maintenance Customer Care Department • The Group Ltd. • Harby Road • Langar • Nottinghamshire • NG13 9HY T : 01949 862 012 F : 01949 862 003 E : customer.care@cda.eu W : www.cda.eu www.cda.eu...
- Page 2 Appliance information: Please enter the details on the appliance rating plate below for reference, to assist CDA Customer Care in the event of a fault with your appliance and to register your appliance for guarantee purposes. Appliance Model...
- Page 3 IMPORTANT INFORMATION FOR CORRECT DISPOSAL OF THE PRODUCT IN ACCORDANCE WITH EC DIRECTIVE 2002/96/EC. At the end of its working life, the product must be taken to a special local authority waste collection centre or to a dealer providing appliance recycling services. Disposing of a household appliance separately avoids possible negative consequences for the environment and health.
-
Page 4: Using Your Extractor
Using Your Extractor For best performance, you should switch on the extractor 15 minutes before starting to cook and leave it to run for approximately 15 minutes after the end of cooking. Control Panel Fig. 1 A - Neon Indicator B - Light button C - Off button D - Speed level buttons... -
Page 5: Care And Maintenance
You can clean your extractor effectively by simply using a dilute solution of water and mild detergent and drying to a shine with a clean cloth, for example the CDA E-Cloth. Cleaning the grease filter The grease filter should be kept clean to minimise the risk of fire. - Page 6 This is normal and does not constitute a fault with the appliance. Changing the charcoal filter (re-circulating only) (Charcoal filter - CDA part number: CHA5) To ensure best performance of your extractor, you should replace the charcoal filter every four to six months, depending on use. To attach a new charcoal filter, first open the grease filter cover as described above.
-
Page 7: Changing The Light Bulb
Only use the bulb recommended for your extractor. Do not fit a bulb of a higher power rating. Bulbs of a lower power rating may be adequate for use, generally last longer and use less energy. Spare bulbs are available from CDA Customer Care or from your local DIY shop. -
Page 8: Mains Electricity Connection
The wire which is coloured brown must be connected to the terminal marked L (Live), or coloured red. If the mains cable is damaged, it must be replaced by a CDA approved engineer, agent or similarly qualified person in order to... -
Page 9: Electrical Information
NOTE: USE A 3A FUSE Assembly and electrical connection should be carried out by competent personnel. When installing this product we recommend you seek the help of another individual. IMPORTANT: THIS APPLIANCE IS A CLASS II APPLIANCE (DOUBLE INSULATED) AND IS NOT INTENDED TO BE EARTHED. DO NOT FIT AN EARTH LEAD TO THIS EXTRACTOR. -
Page 10: Troubleshooting
Troubleshooting Please note: • Your extractor is equipped with a motor protection device that will switch off the motor to prevent damage from overheating. This may happen during cooking when most or all of the zones/burners are being used simultaneously, or if your extractor is installed lower than the recommended height above the hob. -
Page 11: Installation
Installation When the extractor is to be installed above an electric hob, the minimum distance between the hob and extractor Gas: 750mm recommended must exceed 600mm (650mm is Electric: 650mm recommended recommended). When the extractor is to be installed Fig. 3 above a gas hob, the minimum distance between the hob and extractor must exceed 700mm (750mm is recommended). -
Page 12: Mounting Your Extractor
Mounting your Extractor Fig. 4 The extractor can be mounted in two ways: To fasten the product to the underside of a bridging cabinet: 1. Remove the grease filter cover. 2. Screw the hood directly to the cabinet using appropriate wood screws (these are not supplied). -
Page 13: Selecting Operating Mode
5. Hang the extractor on the fixing screws “B” and insert fixing screws “Z” to secure into position. 6. Replace the grease filter cover. Selecting Operating Mode When setting up this extractor it is necessary to set an internal lever to select either “extraction”... - Page 15 Sound power level 65.0 Grease Filter Efficiency 56.7 (E) Hood Lamp efficiency 2.1 (G) Hood E & O E. All instructions, dimensions and illustrations are provided for guidance only. CDA reserve the right to change specifications without prior notice.
- Page 16 T : 01949 862 012 F : 01949 862 003 E : customer.care@cda.eu Customer Care Department • The Group Ltd. • Harby Road • Langar • Nottinghamshire • NG13 9HY T : 01949 862 012 F : 01949 862 003 E : customer.care@cda.eu W : www.cda.eu www.cda.eu Copyright © CDA 2015...
Need help?
Do you have a question about the cst61 and is the answer not in the manual?
Questions and answers