Table of Contents
Advertisement
Quick Links
Advertisement
Table of Contents

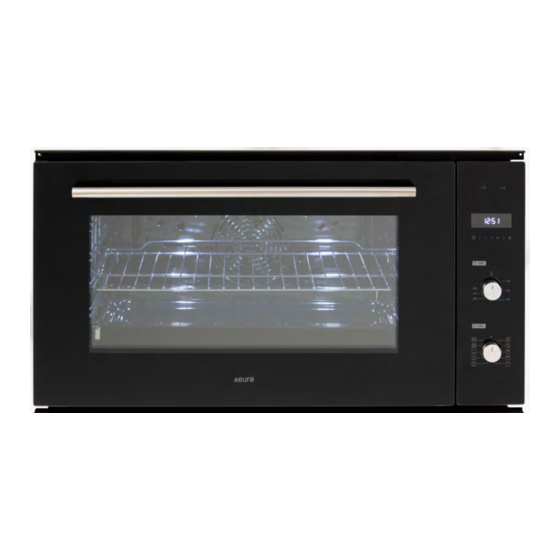
Summary of Contents for Euro Appliances EO900LSX
- Page 1 U S A G E A N D C A R E G U I D E PRODUCT CODE: EO900LSX...
-
Page 2: Table Of Contents
TABLE OF CONTENTS SAFETY INFORMATION ......................2 SAFETY INSTRUCTIONS ......................4 PRODUCT DESCRIPTION ......................7 PREPARING FOR FIRST USE ....................11 CLEANING AND CARE ......................12 TROUBLESHOOTING ......................15 ENERGY EFFICIENCY/CLEANING AND CARE ..............16 INSTALLATION ........................16 COOKING GUIDE TABLE ....................... 19 This oven complies with the current safety provisions. - Page 3 • The oven must always be used within the limits of normal household use, not for professional use, for cooking, roasting, grilling, thawing dishes, to prepare food for later storage or to dehydrate it. • No other use is permissible. •...
-
Page 4: Safety Instructions
2. SAFETY INSTRUCTIONS 2.1 Installation CAUTION! • The appliance must be installed by skilled personnel. • Remove all packaging materials. • Do not install or use the appliance if it is damaged. • Observe the instructions given together with the appliance. •... - Page 5 • Switch off the appliance after each use. • Take care when opening the door of the appliance when it is in operation. Hot air can escape. • Do not turn on the appliance with wet hands or when there is contact with water. •...
- Page 6 2.5 Interior light CAUTION! Risk of electric shock. • The light bulbs used in this appliance are special lamps for electric household appliances. Do not use them for home lighting. • Before replacing the light bulb, disconnect the appliance from the electric mains. •...
-
Page 7: Product Description
3. SAFETY INSTRUCTIONS 3.1 Overview 1) Control Panel 2) Functions Knob 3) Temperature Knob 4) End-of-Cooking Timer/clock Button 5) Temperature °C indicator / symbol / warning light 6) F switch indicator / symbol / warning light 7) Lamps 8) Heating element 9) Fan 10) Rack Positions 11) Shelf support (removable) - Page 8 Oven function Application Off: The appliance is switched off. Oven Lamp: To switch on the lamp without a cooking function. Defrost: To thaw eg. meat, poultry, bread and desserts. The fan causes the warm air to wrap around the food The inner heating element and the outer heating element in the top of the oven are working Double grilling with fan: with fan.
- Page 9 • • • • • • • • • • •...
- Page 10 3.6 Cooking Chamber • In the cooking chamber there are the Oven Lamps that are on while the oven is working. By turning the functions selector onto this symbol you can light up the lamp when the oven is switched off too. •...
-
Page 11: Preparing For First Use
HOOK POSITIONING AT THE REAR HOOK POSITIONING AT THE FRONT Fig. b CAUTION! • Pour some water into the dripping pan and place it on the first level so as to collect the cooking fats. 4. PREPARING FOR FIRST USE CAUTION! •... -
Page 12: Cleaning And Care
7. The accessories may get hotter than usual. 8. The oven can produce an unpleasant odour and smoke. 9. This is not a malfunction. 10. Make sure the airflow inside the room is adequate. 5. CLEANING AND CARE CAUTION! • Refer to the chapters on safety. - Page 13 5.2 Notes on cleaning • Clean the oven door only with a moist sponge. Dry it with a soft cloth. • Do not use steel wool, acids or abrasive products that could damage the surface of the oven. Clean the oven control panel, taking the same precautions.
- Page 14 5.5 Removing and Cleaning the oven door • The oven door is equipped with three glass panels. You can remove the oven door and the internal glass panels to clean them. • The oven door could close again if you try to remove the glass panels before taking off the oven door. CAUTION! •...
-
Page 15: Troubleshooting
5.6 Changing the light bulb CAUTION! • WARNING: Ensure that the appliance is switched off before replacing the lamp to avoid the possibility of electric shock. • Wear protective gloves to change the light bulb. • To make the replacement, proceed as follows: •... -
Page 16: Energy Efficiency/Cleaning And Care
7. CLEANING AND CARE 7.1 Energy saving The appliance is equipped with features to help you save energy during everyday cooking. General tips • Ensure that the oven door is closed properly when the appliance is in operation and keep it closed as much as possible during cooking. - Page 17 GENERAL DIMENSIONS OF PRODUCT AND CABINET 60 mm(*) 60 mm(*) (*) Through the hole diameter 60 mm it is imperative to pass the electric cable of the oven. CONNECTING TO THE ELECTRIC MAINS • The oven is provided with a three-pole power cable with free terminals. •...
- Page 18 EARTHING Nominal Power 2.92 kW 12.70 A LIVE Supply cord: 3 x 1.5 mm type H05VV-F or H05RR-F • The system must have an earthing wire, distinguished by the yellow-green colour of the protective sleeve. Components Oven Nominal Power • All electric household appliances must NEUTRAL be connected to earth.
-
Page 19: Cooking Guide Table
Cooking guide table Dishes Weight (kg) Accessories pre-heating Rack Function Temperature Time (minutes) position (°C) minutes from bottom Cheese Cake 1,5 – 4 Kg Cookware, uncovered onto the wire rack 50-70 Roast Beef 1 – 4 Kg Cookware, uncovered onto the wire rack 25-30 Meatloaf 1 –... - Page 20 Pronto Service + Support: 1800 440 335 Email: service@eurostylegroup.com.au HEAD OFFICE 65 Glynburn Road, Glynde SA 5070 Ph: 08 8165 1012 www.euroappliances.com.au...


Need help?
Do you have a question about the EO900LSX and is the answer not in the manual?
Questions and answers