
Related Manuals for Vent-Axia VA 140 X


Summary of Contents for Vent-Axia VA 140 X
- Page 1 VA 140/ 150 X, T, H & HT PANEL, W ALL AND W INDO W EXTRACT FANS Installation and W iring Instructions 220-240V/1/50Hz READ INSTRUCTIO NS IN CONJUNCTIO N W ITH ILLUSTRATIONS PLEASE SAVE THESE INSTRUCTIO NS...
- Page 2 C. Ensure that the mains supply (Voltage, Frequency, and Phase) complies with the rating label. D. The Fan should only be used in conjunction with the appropriate Vent-Axia products. E. It is recommended that the connection to the fan connector terminals is made with flexible cable.
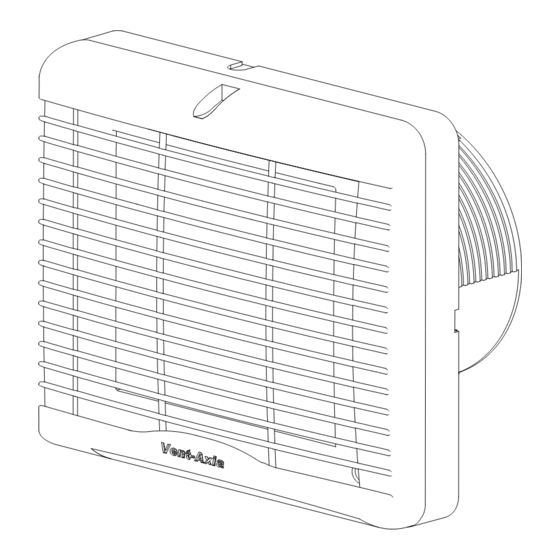
- Page 3 INSTALLATION. PANEL MOUNTING 1. Cut a 152mm∅ hole through the panel. 2. Remove the Indoor Grille [A]. Loosen the screw (top middle) of the Grille, to release front grille gently lever the Grille downwards away from the Inner Cover [B]. 3.
- Page 4 Fig. 2. On the outside, one SPACER will always be required. Dependant on the thickness of glass either the thick or thin spacer will be used. For thin (single glaze) glass the additional spacer should be fitted on the inside behind the fan, engaging the locating pips.
- Page 5 Fig. 4. VA140/ 150T Timer Model. Timer Adjuster. Timer Adjustment. The overrun time period is factory set to approximately 15 minutes. The overrun time period may be adjusted at installation from 5-30 minutes, by altering the adjuster on the Fan PCB. Before adjusting the timer, switch off the Mains Supply.
- Page 6 Fig. 5. 1 Phase Supply VA140/ 150H Humidity Model. (220-240V 50Hz). FUSE Switched Fused Spur Humidity Adjuster. Humidity Set-Point Adjustment. The Fan’s Humidity Set-Point is factory set to switch the fan on at approximately 72%RH. The sensitivity may be adjusted at installation from 65%RH-90%RH, by altering the adjuster on the Fan PCB. Before adjusting the Set-Point, switch off the Mains Supply.
- Page 7 Humidity and Time Set-Point Adjustment. The fan’s Humidity Set-Point is factory set to switch the fan on at approximately 72%RH. The sensitivity may be adjusted from 65%RH - 90%RH, by altering the adjuster on the Fan PCB. The overrun Time period is factory set to approximately 15 minutes. The overrun time period may be adjusted from 5-30 minutes, by altering the adjuster on the Fan PCB.
- Page 8 Kingdom contact your local supplier. Vent-Axia guarantees this product for two years from the date of purchase against faulty material or workmanship. In the event of any part being found to be defective, the product will be repaired, or at the Company’s discretion the product will be replaced without charge, provided that the product: Has been installed and used in accordance with the instruction given with each unit.
Need help?
Do you have a question about the VA 140 X and is the answer not in the manual?
Questions and answers