
Subscribe to Our Youtube Channel
Related Manuals for Vent-Axia VA150A


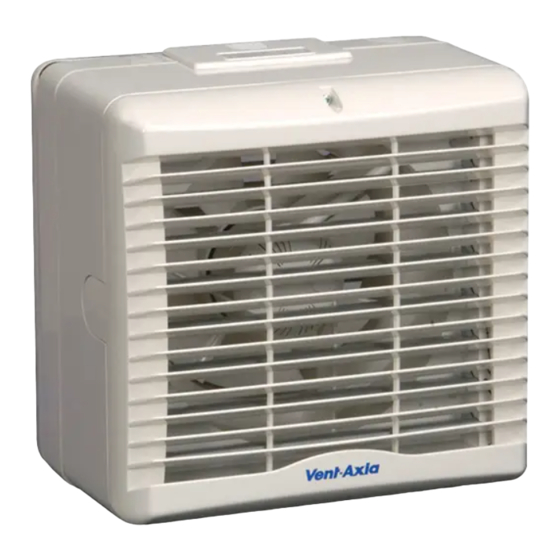
Summary of Contents for Vent-Axia VA150A
- Page 1 VA150 Window Extract Fan VA150A / VA150P Installation and wiring Instructions Stock Ref.No VA150A – 153110B VA150P – 152110B 220-240V~50Hz READ IN CONJUNCTION WITH ILLUSTRATIONS PLEASE SAVE THESE INSTRUCTIONS...
-
Page 3: Safety And Guidance Notes
C. Ensure that the mains supply (Voltage, Frequency, and Phase) complies with the rating label. D. The Fan should only be used in conjunction with the appropriate Vent-Axia products. E. It is recommended that the connection to the fan connecter terminals is made with flexible cable. -
Page 4: Fan Dimensions
When fixing thickness exceeds 32mm, the unit should be secured with Extended Fixing Rods, available as an accessory item (56 81 04). If the unit is to be installed in a location exposed to severe wind turbulence thicker glass will be required – consult with Vent-Axia Technical Support for advice. Suggested Minimum... - Page 5 PREPARATION FOR INSTALLATION (Dismantling) Place the fan unit, external grille downwards, on a flat surface. Unscrew grille securing screw located at the top of the grille. Remove internal grille. Slacken the two safety catch screws on the face of the housing. Depress the side catches. Lift off the housing.
- Page 6 FITTING For Dimensions see Bi Measure the glass thickness and determine the length of fixing screw required (C1). Glass thickness 4 to 17mm – Break/ cut off ends of screws supplied. Glass thickness 16 to 32mm – Use screw as supplied. Glass thickness 32mm and greater –...
- Page 7 RE-ASSEMBLE (WINDOW/ WALL) Replace the housing with the top cover slot uppermost. Feed the pullcord (VA150P) through the slot in the bottom of the housing. Ensure the arm protruding from the actuator housing is in its lower position, i.e. shutter closed. With the two side catches fully engaged, tighten the catch safety screws.
-
Page 8: Servicing And Maintenance
Take the top cover. Make a suitable hole in the grommet. Pass the cable through the hole and slide the top cover into the base housing. • VA150A and VA150P fans are Class II double insulated and MUST NOT BE EARTHED • A Cable Clamp is provided adjacent to the terminal block and must be used. -
Page 9: Product Fiche
PRODUCT FICHE For Residential Ventilation Units (Complying Commission Delegated Regulation (EU) No 1254/2014) Name: Vent-Axia Vent-Axia Model ID (Stock Ref.) : VA 150 P - 152110 VA 150 A - 153110 SEC Class SEC Value ('Average') 13.97 13.97 SEC Value ('Warm') 6.32... - Page 12 Kingdom contact your local supplier. Vent-Axia guarantees this product for two years from the date of purchase against faulty material or workmanship. In the event of any part being found to be defective, the product will be repaired, or at the Company’s discretion the product will be replaced without charge, provided that the product: Has been installed and used in accordance with the instruction given with each unit.
Need help?
Do you have a question about the VA150A and is the answer not in the manual?
Questions and answers