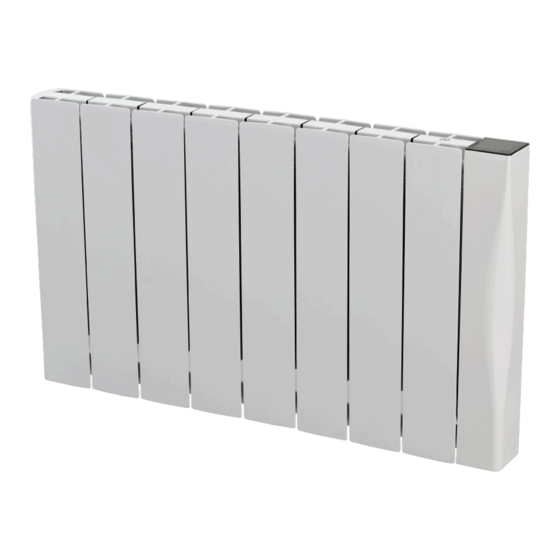
Summary of Contents for osily OSDR700P
- Page 1 DIGITAL OIL FILLED RADIATORS Installation And Operation Instructions Model Number OSDR700P/1000P/1500P/2000P www.osily.co.uk...
- Page 2 Thank you for purchasing this Osily Panel Heater. Please read these instructions before installation or operation and leave with the appropriate person for future retention. OSDR700P/1000P/1500P/2000P Digital Oil Filled Radiator Installation & Operating Instructions 5 mm 57 mm IMPORTANT SAFETY INFORMATION WARNING: In order to avoid overheating, do not cover the heater.
-
Page 3: Wall Mounting Instructions
Steps on the installation process are show on the following pages. CAUTION: Before switching on the appliance make sure that the radiator is correctly fixed and is secure to the wall. Wall Mounting Instructions OSDR700P/1000P/1500P/2000P 1x Low Bracket 2x High Bracket 5x Wall Mounting... - Page 4 >20cm >20cm >20cm >20cm >20cm >20cm >20cm >20cm >60cm >60cm >60cm >60cm >60cm >10cm >10cm >10cm >10cm >10cm >10cm OSDR700P OSDR1000P φ8 φ8 φ8 φ8 φ8 φ8 OSDR1500P OSDR2000P model 700W 2000W 1000W 1500W model model 700W 700W 2000W 2000W...
- Page 5 Remember to unplug the radiator when not in use. . The ceramic radiator will stay on until the on/off button@on the LED panel is pressed or by pressing the switch on the back of the ceramic radiator. . Remember to unplug the radiator when not in use. www.osily.co.uk...
- Page 6 Scroll left (swipe) Not used in this model Scroll right (swipe) Power button Decrease button Increase button Mode button Note: On first use of this heater you may notice a slight odour. This is normal and will soon subside. www.osily.co.uk...
- Page 7 Radiator and following long periods without use, the radiator will require the time and day to be set. Setting the time and day allows you to pre-set your preferences within the programs to allow the radiator to be at your preferred temperature. www.osily.co.uk...
-
Page 8: Preset Program
After selecting the program on the seventh day (Sunday), press the mode button to return to the timing Preset program master interface. If there is no operation in 30 seconds, the screen will automati cally jump to the home page. www.osily.co.uk... - Page 9 Program hour hour From here press the mode button for 5 seconds until the hour flickers. You can also set the time here if you haven’t already done so. Then press the mode button, the minutes will flicker. hour www.osily.co.uk...
- Page 10 Press and hold the power button for 15 seconds to restore the device to default settings. Press the power button to put the radiator into standby mode. Press and hold the power button for 15 seconds to restore the device to default settings. www.osily.co.uk...
- Page 11 16: to 22:00 14:00 and 16: to 22:00 (The remaining time (The remaining time is is ECONOMY MODE) ECONOMY MODE) COMFORT MODE ECONOMY MODE 0:00 to 24:00 0:00 to 24:00 COMFORT MODE 16:00 to 22:00 (The remaining time is ECONOMY MODE) www.osily.co.uk...
-
Page 12: Sensor Mode
5 seconds until you see appears in the screen. The screen is locked and buttons will no longer allow adjustments. (except when you are in standby ). To release child lock function, press the together, until disappears. www.osily.co.uk... -
Page 13: Other Functions
There are 6 temperature options “0”’ “40”’ “45”’ “50”’ “55”’ “60” °C After set up, press to confirm. F4 WiFi Function: This feature is not available on this model. www.osily.co.uk... -
Page 14: Reset To Default Settings
The coating of your radiator ensures perfect and unalterable protection. To clean it, use only a neutral detergent (cleaner or non-abrasive solvent). The thermostat housing is made of plastic, do not use solvents for maintenance. Any repair must be carried out by the manufacturer, its representatives or by the after-sales service. www.osily.co.uk... - Page 15 For end of life disposal of this product please do not dispose of with household waste. Please recycle where facilities exist. Check with your Local Authority or supplier for recycling information. Distributed by YESSS Electrical UK, YESSS House, Foxbridge Way, Normanton, West Yorkshire, WF6 1TN Telephone: 01924 227940 www.osily.co.uk...


Need help?
Do you have a question about the OSDR700P and is the answer not in the manual?
Questions and answers