Advertisement
- 1 SAFETY PRECAUTIONS
- 2 BOX CONTENTS
- 3 PRODUCT OVERVIEW
-
4
USING YOUR DEVICE
- 4.1 Turning On
- 4.2 Turning Off
- 4.3 Firmware Update
- 4.4 Taking Photos
- 4.5 Printing
- 4.6 Photo Paper
- 4.7 Memory
- 4.8 Inserting a microSD Card
- 4.9 Removing a microSD Card
- 4.10 microSD Card Memory Indicator
- 4.11 Transferring Files
- 4.12 Battery & Charging
- 4.13 Auto Sleep
- 4.14 Self-Timer
- 4.15 Adding Effects
- 4.16 Notes on Battery Usage
- 4.17 Extended Use
- 5 CUSTOMER SERVICE CONTACT INFORMATION
- 6 Documents / Resources
SAFETY PRECAUTIONS
- Seizure warning: This device utilizes flashing strobe lights which may potentially trigger seizures for people with photosensitive epilepsy and/or other seizure disorders. User discretion is advised.
- Do not attempt to disassemble this device for any reason.
- Never leave your camera or the KODAK ZINK photo paper in an area that might become extremely hot or where it will be exposed to direct sunlight for a long time. This can cause your camera to overheat or suffer other problems.
- Don't get it wet! If you need to clean your camera, use a soft cloth that's been slightly dampened with water or rubbing alcohol, and gently wipe away any dirty spots. Don't submerge the whole thing in water, ever.
- Be careful with your camera. Try not to drop it, or shake it violently. The inside of the camera has a lot of very small parts that could break if they are jostled around too much.
- Do not use products such as alcohol, gasoline, diluent, or any other organic solvent when cleaning or attempting to clean this product.
- Do not use this device in an environment where it will be exposed to heavy dust or humidity/moisture.
- Do not use this camera while bathing or in a shower.
- Do not place or charge the camera where it can fall or be pulled into a tub or sink.
- Do not place, drop, or submerge the camera in water or any other liquid.
- Take care that objects do not fall and liquids are not spilled onto the camera.
BOX CONTENTS

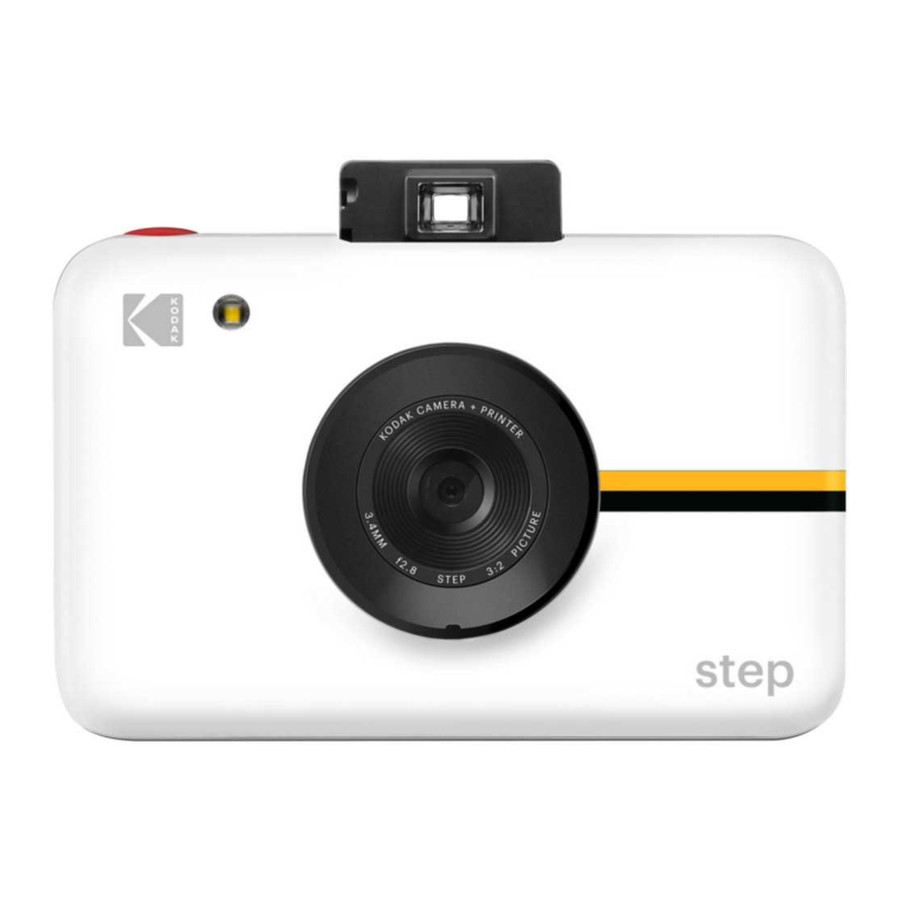
PRODUCT OVERVIEW


USING YOUR DEVICE
Turning On
To turn on your camera, press the self-timer/ power button. Your viewfinder will pop up and your camera will turn on.
Turning Off
Gently push the viewfinder back to a closed position. Your camera is now off.
Firmware Update
For best results, update the camera firmware before you start snapping and printing. Go to kodakphotoplus.com/pages/kodak-step-instant-print-digital-camerasupport to take care of this quick and easy update. A microSD card is required.
Taking Photos
Is the lens cap off? Good! Press and release the shutter button and voilà! You've taken a photo.
Your camera will automatically flash and auto focus for every photo. A lens cap has been included to keep your lens clean and scratch free. Don't forget to use it!
Printing
The camera instantly prints every photo for you when photo paper is loaded. You can take up to three photos while the camera is printing. After three pictures, your camera will not capture any more photos until printing is finished.
Reprinting
- To reprint the last photo taken, press and hold both the shutter button and color mode selector for three seconds. You'll hear a beep; the LED will blink white; then your reprint will emerge from the photo slot.
Photo Paper
Inserting Photo Paper
- Slide the latch on the paper tray and open the door.
- Slide the entire pack of KODAK ZINK Photo Paper into the paper tray. Make sure the KODAK ZINK Color Calibration Sheet is placed and loaded with the bar code face down. Shiny side of paper faces up.
- Close the paper tray door.
The KODAK ZINK Color Calibration Sheet will eject when you take a picture, then your photo will print.
For bright, sharp instant photos that come out dry to the touch and ready to peel and stick, we recommend KODAK ZINK Photo Paper.
Refilling Photo Paper
- When the last photo paper sheet is used, the LED next to the paper icon on the back of your camera will glow red. You can now safely reload printing paper into your camera.
Paper Do's & Don'ts
- Don't add more paper if the paper compartment is not completely empty.
- Don't fill the paper compartment with more than one 10-pack of KODAK ZINK Photo Paper. Filling over 10 sheets can damage the printer.
- Do avoid bending the KODAK ZINK Photo Paper.
- Do hold the paper by its edges. Avoid touching the surface with your fingers.
If there is a paper jam, if you insert the wrong type of paper, or there is some other printing/paper related error, all indicators will blink red. Open your camera and correct the error (clear jam, replace paper, etc.) then restart your camera.
Memory
Your camera is built with enough memory to capture and print one 5MP image at a time.
Inserting a microSD Card
Your camera comes with a microSD card slot for images that you'd like to save, as well as print. To insert a memory card, gently push the a microSD card into the slot on the side of your camera. You'll feel a slight click when the card is fully inserted and the microSD card status LED will glow white. The camera is compatible with microSD cards up to 32GB.
Removing a microSD Card
Give a light push to the top of the card and the microSD card will pop out. Pull to fully remove from your camera.
microSD Card Memory Indicator
When the memory on your microSD card dips below 1GB, the LED on the back of your camera will glow red. When the memory reaches zero, or if there is an error reading the microSD card, the LED will blink red.
Transferring Files
Via USB Cable
- Using the included micro USB cable, connect your camera to a computer. Doubleclick the microSD card when it appears on your computer desktop to view and save your images to a photo roll or other location.
Via microSD Card
- Remove the microSD card per the previous directions then insert the card into your card reader.
Battery & Charging
When the battery power dips below 10%, the battery LED will glow red. At 2% power, your camera will automatically shut down.
To charge your camera, plug it into either a wall outlet or computer, using the included micro USB cable. The battery LED will blink red until the battery is fully charged.
Auto Sleep
To help save battery power, your camera will automatically go into sleep mode after several minutes of no use. To turn your camera back on, close and re-open the viewfinder.
Self-Timer
Your camera comes with a ten-second self-timer. To set it, press the timer button (located on the top of the camera), then press the shutter button. The timer button will blink white while the timer counts down and in ten seconds, your photo will be captured.
Adding Effects
Photo Frames
- To add a border to your print, press the frame button located on top of your camera.
Filters
- To give your print a sepia or black-and- white treatment, press the color button (located on the top of your camera) to select the color tint for your next print.
Photo Booth
- To take photos with a photo booth effect, press and hold the shutter button for three seconds. The timer button will blink and the camera will take four photos in a row, capturing a photo every four seconds. The photos will print on one sheet with these four consecutive images.
Notes on Battery Usage
Carefully read and strictly observe the safety instructions and the notes described below:
- Use only the included, non-removable battery (7.4V).
- Avoid extremely cold environments, as low temperatures can shorten the battery life and reduce camera performance.
- When you are using a KODAK STEP that has not been used for an extended period of time, it may affect the battery life and the number of images that can be captured. To maximize its battery performance and lifetime, we recommend that you fully charge the battery and discharge it for at least one complete cycle before use.
- Properly dispose of the battery when disposing of the camera.
- Do not disassemble the camera or remove the battery at any time. The battery is not designed to be removed from the camera, nor charged outside the camera.
Extended Use
During extended use, your KODAK STEP camera may feel warm to the touch. This is a normal operating occurrence and does not indicate any product defect or reason to slow down the fun.
That's it!
CUSTOMER SERVICE CONTACT INFORMATION
Should you experience any problems with your product, please contact us before returning the item to the place of purchase.
WE'RE HERE TO HELP!
U.S. Support:
kodak@camarketing.com
844-516-1539
International Support:
kodakintl@camarketing.com
844-516-1540

Documents / Resources
References
Download manual
Here you can download full pdf version of manual, it may contain additional safety instructions, warranty information, FCC rules, etc.
Advertisement


Need help?
Do you have a question about the STEP and is the answer not in the manual?
Questions and answers