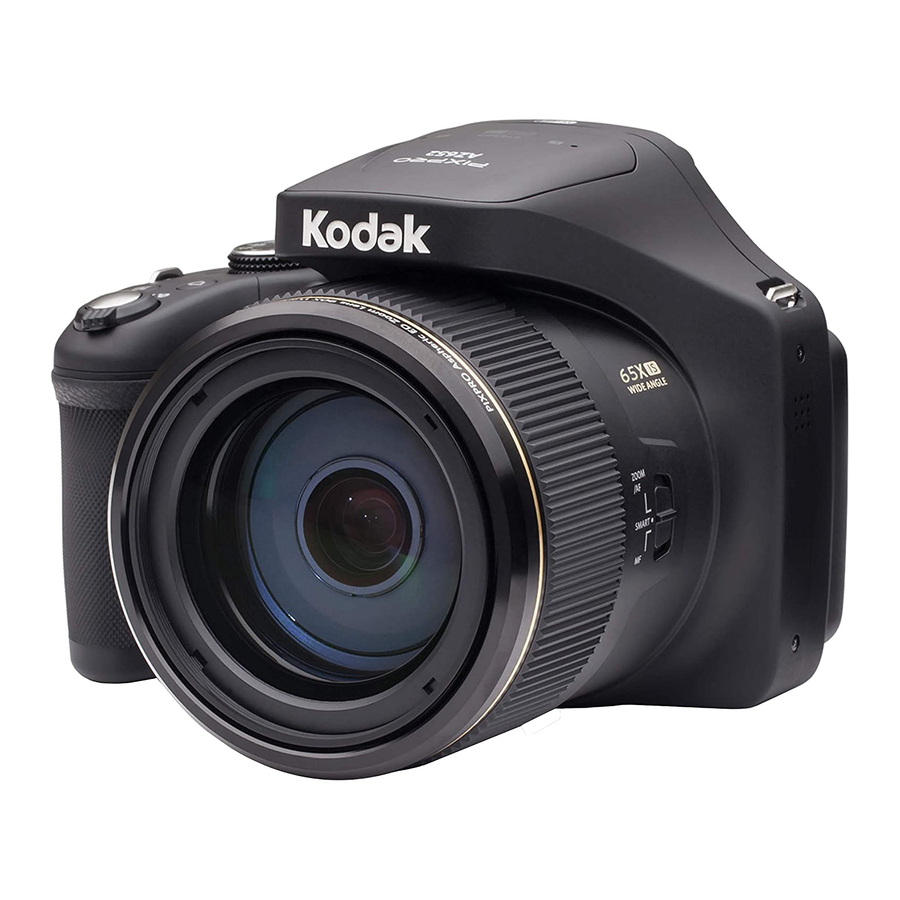
Kodak PIXPRO AZ652 - Digital Camera Quick Start Guide
- User manual (35 pages) ,
- User manual (140 pages)
Advertisement
- 1 Camera Views
- 2 Insert the Batteries and the Memory Card
- 3 Setting the Language/Date/Time
- 4 Taking a Picture
- 5 Using the Mode Dial
- 6 Using the Fast Video Recording Button
- 7 Using the Menu Button
- 8 Wi-Fi Connection
- 9 Vari-angle LCD
- 10 Using the Diopter adjustment knob
- 11 Videos
- 12 Documents / Resources

Camera Views

- Zoom Lever
- Shutter Button
- Power Button
- Diopter Adjustment Knob
- Electronic View Finder (EVF)
- EVF/ LCD Switch Button
- Mode Dial
- Fast Video Recording Button
- Menu Button
- Jog Dial
- Playback Button
- AF Button/Up Button
- Flash Button/Right Button
- Delete Button/Self-timer Button/Down Button
- Macro Button/Left Button
- SET Button
- Vari-angle LCD
- Lens Function Ring Lever
- Lens Function Ring
- Battery Cover
Insert the Batteries and the Memory Card
- Open the battery cover.
![]()
- Insert the batteries into the battery compartment.
![]()
- Insert the memory card into the slot.
![]()
- Close the battery cover.
![]()
Setting the Language/Date/Time
- Press the power button to turn the camera on and the language menu will appear. Use the up/down buttons to select a language, and press the
![]() button to confirm the language.
button to confirm the language.
![]()
- Use the up/down/left/right buttons again to set the date and time, and press the
![]() button to confirm.
button to confirm.
![]()
Taking a Picture

- Hold the camera securely.
- Use the zoom lever to select Tele or Wide position to zoom in or out on your subject.
- Press the shutter button half way to focus on the subject. When the focus frame turns green, press the shutter button completely down to take the picture.
Using the Mode Dial
This camera provides a convenient mode dial that allows you to manually switch among different camera settings with ease. Available modes are listed below:
 | Auto Mode |  | Face Beautifier |
 | Program AE |  | Wi-Fi Mode |
 | Shutter priority |  | Scene Mode |
 | Aperture priority |  | Movie Mode |
 | Manual Mode |  | Custom Settings |
Using the Fast Video Recording Button
In shooting mode, press the  button to begin recording a video. After recording, press the
  button again to stop recording. The camera will store the video and return to the shooting screen.
Using the Menu Button
In each mode (except for the Wi-Fi mode), press the  button to access the "Easy Menu". Press the [
 ]/[
]/[ 

 ] buttons to move among options, then press the
  button to make a selection. Choosing the
  within this list will provide access to the "Full Menu":
 | Shoot Settings 1 |  | File Settings |
 | Shoot Settings 2 |  | Connection Settings |
 | Playback Settings |  | Wi-Fi Settings |
 | General Settings |
Wi-Fi Connection
The camera can be connected with your smart device through "PIXPRO Remote Viewer" App  .
.
Vari-angle LCD
Please don't rotate the LCD with excessive force to prevent damages.

Using the Diopter adjustment knob
Turn the camera on and press the  button to switch to the EVF display. At this time, the LCD will become black. View the scenes and objects through the EVF. When the screen display is not clear, rotate the dioptric adjustment knob to adjust the screen sharpness.

The Camera User Manual and the "PIXPRO Remote Viewer" ![]() User Manual are available at the website location below:
User Manual are available at the website location below:
Americas

http://kodakpixpro.com/Americas/support/downloads.php
Europe

http://kodakpixpro.com/Europe/support/downloads.php
The RAW file format provides lossless compression of the image data, which is not processed by the camera. The RAW file may be opened and modified using the image processing software, PhotoStudio Darkroom, that is located on the CD-ROM included with this camera. PhotoStudio Darkroom supports Windows 7/8/10 and Mac OS X (V10.8~V10.11).

VideosThe Kodak Pixpro AZ652 Digital Camera Review Video
Documents / Resources
References
Kodak - Official Site | Cameras & Accessories
![kodakpixpro.com]() KODAK PIXPRO Cameras | Support - Software and Manuals
KODAK PIXPRO Cameras | Support - Software and Manuals![kodakpixpro.com]() Kodak Digital Cameras | Support - Software and Manuals
Kodak Digital Cameras | Support - Software and Manuals
Download manual
Here you can download full pdf version of manual, it may contain additional safety instructions, warranty information, FCC rules, etc.
Download Kodak PIXPRO AZ652 - Digital Camera Quick Start Guide
Advertisement


 button to confirm the language.
 button to confirm.


Need help?
Do you have a question about the PIXPRO AZ652 and is the answer not in the manual?
Questions and answers