VTech IS8151, IS8151-2, IS8151-3, IS8151-4, IS8151-5, IS8152-5 Quick Start Guide
- User manual (77 pages) ,
- Quick start manual (48 pages)
Advertisement
What's in the box


1 set for IS8151
2 sets for IS8151-2
3 sets for IS8151-3
4 sets for IS8151-4
5 sets for IS8151-5/ IS8152-5

1 set for IS8151-2
2 sets for IS8151-3
3 sets for IS8151-4
4 sets for IS8151-5/ IS8152-5
Connect and install
- Connect the telephone base
If you subscribe to digital subscriber line (DSL) high-speed Internet service through your telephone line, make sure you connect a DSL filter (not included) to the telephone wall jack.
![]()
- Install the battery

- Connect the charger

- Charge the battery


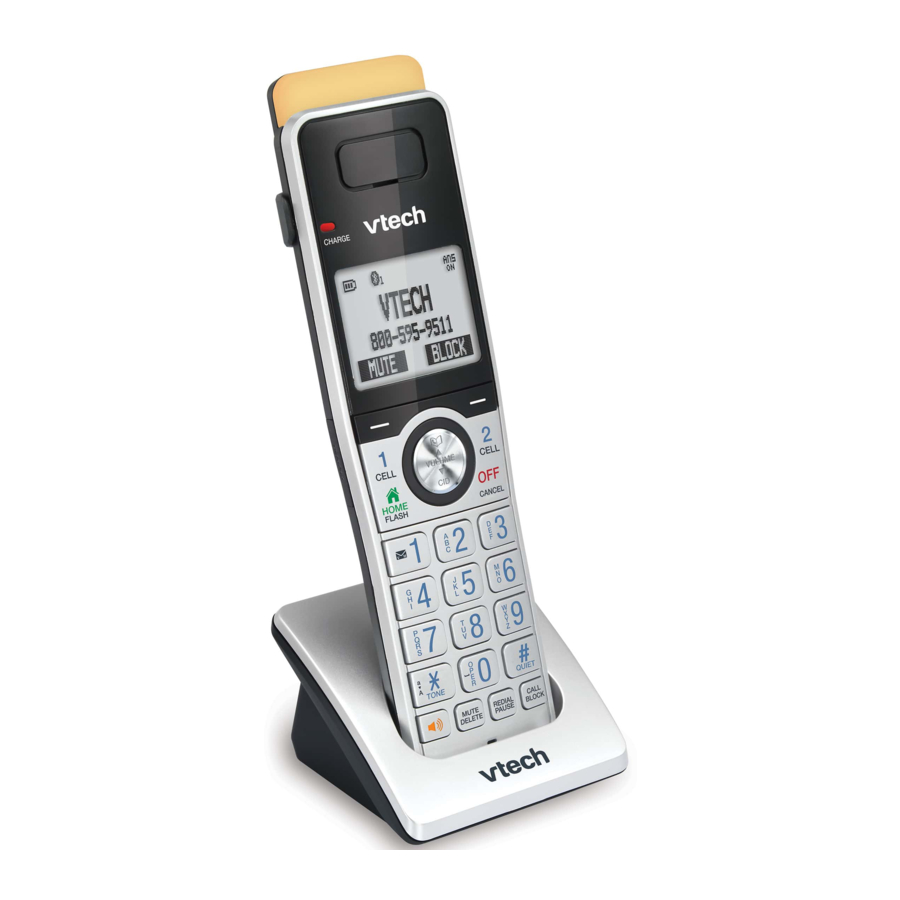
Display

Handset

Telephone base
 | Option displayed above a softkey. Press  or or  to select. to select. |
 | The handset battery low and needs charging. |
 | The handset battery is charging. |
 | Handset indicates the handset number. |
 | Handset or telephone base ringer is off. |
 | New voicemail received from your telephone service provider. |
 | The HOME line is in use. |
 | Bluetooth device is active. |
 | Bluetooth device is in use. |
 | Wireless Bluetooth headset is in use. |
 | Answering system is on. |
 | There are new caller ID log entries and/or new messages. |
Setup
After you install your telephone or power returns following a power outage and battery depletion, the handset and telephone base will prompt you to set the date and time, and to configure the Smart call blocker and answering system through voice guide.
Date and time
Follow the steps below to set the date and time. For example, if the date is 25 July, 2019, and the time is 12:05 AM:
When the handset and telephone base prompts you to set the date and time
- Enter the date.

- Press
![]() .
.
![]()
- Enter the time.
![]()
- Press
![]() .
.
![]()

 .
.

 .
.
Voice guide for the Unit
After setting the date and time, the handset and telephone base will prompt if you want to set Smart call blocker and the answering system. For more details, see Use voice guide to set Smart call blocker in the Introducing Smart call blocker leaflet and Use voice guide to set Answsering system in the online help topics.
When the handset and telephone base prompt you to set up the Smart call blocker via voice guide

Press 

"Hello! This voice guide will assist you with the basic setup of Smart call blocker"
Setup your Smart call blocker by inputting the designated numbers as instructed in the voice guide.
When the handset and telephone base prompt you to set up the answering system via voice guide

Press
"Hello! This voice guide will assist you with the basic setup of your answering system"
Setup your answering system by inputting the designated numbers as instructed in the voice guide.
Operate
Make a home call
![]()
-OR-
![]()
- Enter the phone number.


Make a cell call
![]()
-OR-
![]()
- Enter the phone number.


Answer a home call

-OR-

-OR-
Press any dialing keys to answer
Answer a cell call

-OR-

-OR-
Press any dialing keys to answer
End a home call

-OR-
Return the handset to the telephone base or charger

End a cell call

-OR-
Return the handset to the telephone base or charger

Volume

LCD language setting
If you accidentally set the LCD language to Spanish or French, press MENU and then enter 364# to change the handset LCD language back to English while the handset is not in use.
Bluetooth
To use a Bluetooth enabled cellular phone with your telephone, you must first pair and connect your Bluetooth cellular phone with the telephone base.
Before you begin, make sure that you have cellular coverage and your Bluetooth enabled cell phone is not connected to any other Bluetooth device.
Add a Bluetooth cell phone
- Press
![]() on the telephone base.
on the telephone base.
![]()
- Press
![]() /
/ ![]() to scroll to Bluetooth, then press
to scroll to Bluetooth, then press ![]() .
.
![]()
- Press
![]() to select Add device.
to select Add device.
![]()
- Press
![]() to select Add cellular.
to select Add cellular.
![]()
- Press
![]() .
.
![]()
- Press
![]() .
.
![]()
- Once your cellphone finds your telephone (VTech DECT 6.0), press appropriate key on your cell phone to continue the pairing process.


Add a Bluetooth headset
- Press
![]() on the telephone base.
on the telephone base.
![]()
- Press
![]() /
/ ![]() to scroll to Bluetooth, then press
to scroll to Bluetooth, then press ![]() .
.
![]()
- Press
![]() to select Add device.
to select Add device.
![]()
- Press
![]() /
/ ![]() to scroll to Add headset, then press
to scroll to Add headset, then press ![]() .
.
![]()
- Press
![]() .
.
![]()
- Press
![]() .
.
![]()
- Place your headset next to the base to continue the pairing process.
![]()


Download a cell phone directory using the telephone base
Before downloading a directory, make sure the cell phone is paired, active, and connected to your IS8151.
- Press
![]() on the telephone base.
on the telephone base.

- Press
![]() /
/ ![]() to scroll to Bluetooth, then press
to scroll to Bluetooth, then press ![]() .
.

- Press
![]() /
/ ![]() to scroll to Download PB, then press
to scroll to Download PB, then press ![]() .
.

- Press
![]() .
.


 Note
Note
- You can download up to 4 cell phone directories (phonebooks) to your telephone system via Bluetooth wireless technology. Each downloaded directory can store up to 1,000 entries with up to 30 digits for each phone number and 15 characters for each name.
Activate remote voice control
Make sure your cell phone is paired and connected to your telephone system via Bluetooth.
- Press VOICE on the handset.
![]()

-OR-
Press VOICE on the telephone base.
![]()

- Speak toward the telephone base or handset, and then wait for feedback.

- Press
![]() to end.
to end.


Phonebook
The phonebook can store up to 4200 entries, including downloaded cellphone phonebooks, which are shared by all handsets and the telephone base. Each entry may consist of a telephone number up to 30 digits, and a name up to 15 characters.
Add a phonebook entry
- Enter the phone number.
![]()
- Press
![]() .
.
![]()
- Press
![]() .
.
![]()
- Press
![]() /
/ ![]() to scroll to the desired label, then press
to scroll to the desired label, then press ![]() .
.
![]()
- Enter the name, then press
![]() .
.
![]()


Review phonebook entries
- Press
![]()
![]()
- Press
![]() /
/ ![]() to 2 choose the desired phonebook, then press
to 2 choose the desired phonebook, then press ![]() .
.
![]()
- Press
![]() /
/ ![]() to browse the entries.
to browse the entries.
![]()


Dial a phonebook entry
When your desired phonebook entry displays:


Delete a phonebook entry
When your desired phonebook entry displays:

- Handset:
![]()
-OR-
Telephone base:
Press![]() to delete.
to delete. - Press
![]() .
.
![]()


Caller ID
If you subscribe to caller ID service, information about each caller appears after the first or second ring.
The caller ID log stores up to 50 entries. Each entry has up to 24 digits for the phone number and 15 characters for the name.
Review caller ID log entries
Handset:
- Press
![]() .
.
![]()
- Press
![]() /
/ ![]() to browse the entries.
to browse the entries.
![]()
 .
.

Telephone base:
- Press
![]() .
.
![]()
- Press
![]() /
/ ![]() to browse the entries.
to browse the entries.
![]()


Delete a caller ID log entry
When your desired caller ID entry displays on the handset or telephone base screen:
Handset:

-OR-
Telephone base:

Press  to delete.
Save a caller ID log entry to the phonebook
When your desired caller ID entry displays on the handset.
- Press
![]() .
.
![]()
- Press
![]() to select phonebook.
to select phonebook.
![]()
- Edit the phone number if needed, then press
![]() .
.
![]()
- Press
![]() /
/ ![]() to scroll to the desired label, then press
to scroll to the desired label, then press ![]() .
.
![]()
- Edit the name if needed, then press
![]() .
.
![]()


 to select phonebook.


Dial a caller ID log entry
When your desired caller ID entry displays on the handset or telephone base screen:

Answering system
About the built-in answering system and voicemail service
For message recording, your telephone has a built-in answering system, and it also supports voicemail service offered by your telephone service provider (subscription is required, and fee may apply).
Built-in answering system VS Voicemail service
 Built-in answering system |  Voicemail service | |
| Supported by | Telephone system | Telephone service provider |
| Subscription | No | Yes |
| Fees | No | May apply |
| Answer incoming calls |
|
|
| Storage | Telephone base | Server or System |
| Display new messages |
|
|
| Retrieve messages |
|
|
 and New voicemail
 on the telephone base; OR
 on the dialpad, and enter an access number from your telephone service provider.
Turn the built-in answering system on or off On the telephone base

Press to turn on; press again to turn off.
Message playback
Handset:
Press  , then press
  to select Play messages.

- OR -
Telephone base:

Set number of rings
You can set your answering system to answer calls at least two rings earlier than your voicemail service. For example, if your voicemail service answers after six rings, set your answering system to answer after four rings. Thus, if you are on a call, or if the answering system is busy recording a message and you receive another call, the second caller can leave a voicemail message. HS01
- Press
![]() .
.
![]()
- Press
![]() /
/ ![]() to scroll to Answering sys, then press
to scroll to Answering sys, then press ![]() .
.
![]()
- Press
![]() /
/ ![]() to scroll to Ans sys setup, then press
to scroll to Ans sys setup, then press ![]() .
.
![]()
- Press
![]() /
/ ![]() to scroll to # of rings, then press
to scroll to # of rings, then press ![]() .
.
![]()
- Press
![]() /
/ ![]() to scroll to the desired number of rings, then press
to scroll to the desired number of rings, then press ![]() .
.
![]()


Skip a message
Telephone base:

- OR -
Handset:

Press  to skip.
Repeat the playing message
Telephone base:

- OR -
Handset:

Press  to skip.
Play the previous message
Telephone base:

- OR -
Handset:

Press twice.
Delete all messages
Handset:
- Press
![]() .
.
![]()
- Press
![]() /
/ ![]() to scroll to Answering sys, then press
to scroll to Answering sys, then press ![]() .
.
![]()
- Press
![]() /
/ ![]() to scroll to Delete all old, then press
to scroll to Delete all old, then press ![]() .
.
![]()
- Press
![]() .
.
![]()


Telephone base:

Need help
For operations and guides to help you using your telephone, and for latest information and supports, go and check the online help topics and online FAQs.
Use your smartphone or mobile device to access our online help.
- Go to https://help.vtechphones.com/is8151; OR
You can also call our Customer Support at 1 (800) 595-9511 [in US] or 1 (800) 267-7377 [in Canada] for help.


Documents / Resources
References
Download manual
Here you can download full pdf version of manual, it may contain additional safety instructions, warranty information, FCC rules, etc.
Download VTech IS8151, IS8151-2, IS8151-3, IS8151-4, IS8151-5, IS8152-5 Quick Start Guide
Advertisement


Need help?
Do you have a question about the IS8151 and is the answer not in the manual?
Questions and answers