Advertisement
Advertisement
Table of Contents

Subscribe to Our Youtube Channel
Related Manuals for Hisense 3 Series


Summary of Contents for Hisense 3 Series
-
Page 3: Safety Information
SAFETY INFORMATION EMERGENCY DOOR OPENING INSTALLATION GUIDE... - Page 4 SAFETY INFORMATION The manufacturer reserves the right for any modifications on the product which might be deemed necessary or useful without informing about it in this IFU. Before operating your new washing machine, please read this instruction carefully, and keep it for future reference. If you have lost it accidentally, ask customer service for e- copy or hard copy.
- Page 5 For appliances with ventilation openings in the base, that a carpet must not obstruct the openings. Children of less than 3 years should be kept away unless continuously supervised. The maximum permissible inlet water pressure, 1 MPa, for appliances intended to be connected to the water mains. The minimum permissible inlet water pressure, 0.1 MPa, if this is necessary for the correct operation of the appliance.
- Page 6 ensure Ensure Ensure that the ventilation openings in the base of the washing machine (if available on your model) are not obstructed by a carpet or other material. Single inlet - only Dual inlet - and cold...
- Page 7 that 615 mm 855 mm...
- Page 8 that The symbol on the product, or on the documents accompanying the product, indicates that this appliance may not be treated as household waste. Instead it shall be handed over to the applicable collection point for there cyclingof electrical and electronic equipment. Disposal must be carried out in accordance with local environmental regulations for waste disposal.
-
Page 9: Description Of The Washing Machine
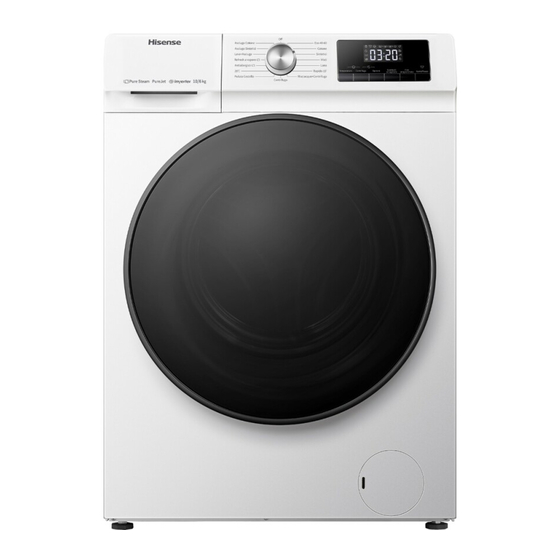
Clean the outside of the washing machine with a damp cloth. Do not use abrasive detergents. Never open the door forcibly or use it as a step. DESCRIPTION OF THE WASHING MACHINE Control panel layout and appearance will depend on the model. EMERGENCY DOOR OPENING In case of failure to open the door due to power outage or other special circumstances, the door lock lever at the drainage pump door can be used for... -
Page 10: Before The First Wash Cycle
BEFORE THE FIRST WASH CYCLE To remove any residual water used during testing by the manufacture r, we recommend that you carry out a short wash cycle without laundry. 1 Open the tap. 2 Close the door. 3 Pour a little detergent (about 30 ml) into the main wash chamber of the deter- gent dispenser . - Page 11 Open the door.
- Page 12 A or B / soak...
- Page 13 unds...
- Page 14 Press the release lever in the main wash compartment downward and remove the drawer(fig.“C or E”). Remove siphon in softener slot. (fig.“D or F”). Refit the siphon in the detergent drawer and fit the drawer back inside its housing. We recommend that you check and clean the filter regularly, at least two or three times a year.
- Page 15 Put a flat container under filter door and then drain with emergency drain pipe (see [draining residual water] for specific operation methods). Then, loosen filter anticlockwise and completely unscrew and remove the filter. Check the supply hose regularly for brittleness and cracks and replace it if necessary using a new hose of the same type(available from After-Sales Service or specialist dealer).
- Page 17 solv...
- Page 18 remove some...
- Page 19 Hot / Cold fill fault - For Models with Dual Inlets If you wish to connect hot and cold water supply (Fig.1): 1. Fix the red marked inlet hose to the hot water tap and to the inlet valve with the red filter on the rear side of machine.
- Page 20 Fault Code List Displayed on Display Window Fault Description “F01” Water inflow fault “F03” Drainage fault “F13” Door lock fault “F14” Door unlock fault “F24” Overflow or too much foam. else fault code, “F04-F98” Electronic module fault. “Unb” Unbalance alarm a.
-
Page 21: Fault Code
C. Fault code The washer stops when the program is running. The display window shows fault code “F13”, “F14”, “F24”, else fault codes from “F04” to “F98” or “Unb”. If fault code “F13” is shown Door lock is abnormal. Start program for 20 sec and unlock the washer door (PTC) to check whether the door is closed. - Page 23 Instruction for use, installation guide, warranty card (depends on model) Wrench Bottom cover(depends on model)
- Page 24 Important: Transport bolts which are not removed can cause damage to the appliance. Screw off all transportation bolts for approx. 30mm with wrench following the direction of arrow shown (not fully screw it off). Push four transportation bolts on horizontal direction inward and loose transportation bolt.
- Page 25 The appliance must be installed on a solid and level floor surface (if necessry use a spirit level). If the appliance is to be installed on a wooden floor, distribute the weight by placing it on a 60x60cm sheet of plywood at least 3cm in thickness and secure it to the floor.
-
Page 26: Install Bottom Cover
To realize quieter operation, a bottom cover is supplied with the unit (only applies to some of the Hisense washers). After installing the cover at the bottom of the washer, the noise level will be greatly reduced. Please ask for advice from specialists before installing the cover, nevertheless, the machine can be used without the bottom cover. -
Page 27: Connect The Drain Hose
CONNECT THE DRAIN HOSE In case the drain hose is installed as shown below: Unhook it only from the right clip (see arrow) Connect the drain hose to the Drain or hook it over the edge of a sink by means of the "U"... - Page 28 2162335-X08060716F...
Need help?
Do you have a question about the 3 Series and is the answer not in the manual?
Questions and answers