Table of Contents
Advertisement
Quick Links
Advertisement
Table of Contents

Subscribe to Our Youtube Channel
Summary of Contents for Toshiba MY-1026
- Page 1 PAPER FEED UNIT MY-1026 File No. SME04003800 R04122173900-TTEC Ver00_2005-02...
- Page 2 © 2005 TOSHIBA TEC CORPORATION All rights reserved Parts marked with “ ” are important for maintaining the safely of the machine. Be sure to replace these parts with the replacement parts specified to maintain the safety and performance of the machine.
- Page 3 General Precautions for Installation/Servicing/Maintenance for the MY-1026 The installation and service should be done by a qualified service technician. 1. When installing the MY-1026 to the Equipment, be sure to follow the instructions described in the "Unpacking/Set-Up Procedure for the MY-1026" booklet which comes with each unit of the MY-1026.
- Page 4 CONTENTS [ 1 ] GENERAL ..................... 1 - 1 [ 2 ] UNPACKING AND INSTALLATION ............2 - 1 [ 3 ] MY-1026 ....................3 - 1...
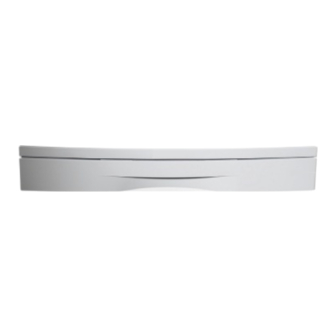
- Page 5 [1] GENERAL 1. Outline and specifications of each option A. MY-1026 (250 - Sheet Paper Feed Unit) The paper feed unit provides the convenience of increased paper capacity for the copier and a greater choice of paper sizes readily available for copying.
-
Page 6: Unpacking And Installation
(M4 16). 2) Make the copier upright. Close the front cover, side cover, and bypass tray, and then make the copier upright in the orientation shown in the illustration. MY-1026 UNPACKING AND INSTALLATION 2 - 1... - Page 7 Squeeze the lever of the paper tray side guide to slide the guide to the position for the paper size to be used. 7) Return the copier to the normal orientation. When returning the copier to the normal orientation, gently return it without giving a shock. MY-1026 UNPACKING AND INSTALLATION 2 - 2...
- Page 8 If the center of the copy from the optional paper feed unit is dis- placed from the copy from the tray in the copier, adjust the center referring to the service manual. MY-1026 UNPACKING AND INSTALLATION 2 - 3...
-
Page 9: Disassembly And Assembly
* Insert the 2nd page feed. 1) Remove the screw. 2) Remove the rear cover. When installing, engage the pawl and install the unit. A. Paper sensor 1) Remove the pawl. 2) Remove the paper sensor. 3) Remove the harness. MY-1026 3 - 1... -
Page 10: Paper Feed Clutch
* When installing, hang the 2nd connection arm on the 2nd connection arm Spring B. Be sure to install so that the earth spring C is in contact under the bearing D. * Install so that the earth spring A is brought into contact over bearing MY-1026 3 - 2... - Page 11 CAUTION FOR BATTERY DISPOSAL (For USA,CANADA) Contains lithium-ion battery. Must be disposed of properly. Remove the battery from the product and contact federal or state environmental agencies for information on recycling and disposal options.
- Page 12 Trademark acknowledgments Windows and Windows NT are trademarks of Microsoft Corporation in the U.S.A. and other countries. IBM and PC/AT are trademarks of International Business Machines Corporation. PCL is a trademark of Hewlett-Packard Company. Pentium is a registered trademark of Intel Corporation. All other trademarks and copyrights are the property of their respective owners.
- Page 13 2-17-2, HIGASHIGOTANDA, SHINAGAWA-KU, TOKYO, 141-8664, JAPAN...


Need help?
Do you have a question about the MY-1026 and is the answer not in the manual?
Questions and answers