
Related Manuals for DUSK Melrose


Summary of Contents for DUSK Melrose
- Page 3 Important Assembly Tip Before you begin, it's best to identify all of the parts and fittings to build your ottoman bed frame. We advise laying these out on the floor to check you have everything, and to familiarise yourself with all of the parts and fittings before building. Top Tip We recommend that you build your new ottoman bed frame in the room you'd like it to be located.
- Page 8 Note:The frame can be lifted from either left or right side, please choose the side you desire when assembling the bed Step 1: Attaching the Lift Mechanisms to the Headboard & Footboard...
- Page 9 Step 2: Attaching the Bolts to the Headboard & Footboard The image follows on from 1a (right side), if you are building the bed to open on the other side than shown, please follows the instructions in the opposite direction.
- Page 10 Step 3: Attaching the Left & Right Side Rails to the Headboard & Footboard, attaching the holding blocks to the side rails. 8pcs WRONG CORRECT Page 7 1%%HIRUHWLJKWHLQJWKHEROWVSOHDVHHQVXUHWKHEHGIUDPHLVVTXDUH...
- Page 11 Step 4 : Attaching the Central Support Rail & Angle Corner Brackets...
- Page 12 Step 5 : Attaching the Fabric Base & Legs Fit the fabric base along the velcro on the base of bed frame. Make sure the side of the fabric base with 2 holes is attached to the footboard and attach the legs through the 2 holes to the footboard.
- Page 13 Step 6: Attaching the Ottoman Metal Frames to the Side Ottoman Metal Frame, conect the Central Support Rail to the Ottoman Metal Frames...
- Page 14 Step 7: Attach the horizontal support rails (8) to the ottoman metal frames and the use blots to connect the ottoman metal frames to each lift mechanism.
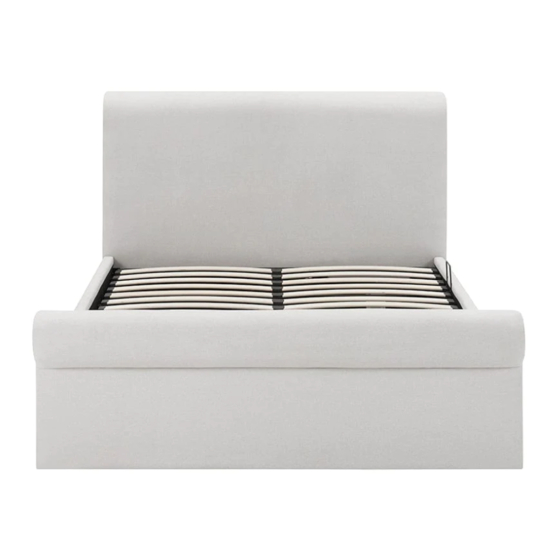
- Page 15 Step 8: Attaching the Slat Caps to the Ottoman Bed Frame...
- Page 16 Step 9: Attaching the Gas Stuts to Lift Mechanisms Page Note: if you are having issues with closing your bed frame and the gas struts please seek advice on the last page.
-
Page 18: Care And Maintenance
Care and Maintenance Here are some good tips to keep your new ottoman bed frame in tip-top condition. Cleaning To clean your new ottoman bed frame, we advise using a damp cloth if the fabric is dusty or a low suction vacuum. Do not use abrasive chemicals or bleach as this may damage the product. - Page 20 Gas strut/piston best use: · Use caution when operating - always use two hands. · Only attempt to close the ottoman frame, once the mattress has been placed on the frame. · The thicker side of the cylinder should be above the thinner side - this will increase longevity ofthe part.
- Page 23 Important Assembly Tip Before you begin, it's best to identify all of the parts and fittings to build your ottoman bed frame. We advise laying these out on the floor to check you have everything, and to familiarise yourself with all of the parts and fittings before building. Top Tip We recommend that you build your new ottoman bed frame in the room you'd like it to be located.
- Page 28 Note:The frame can be lifted from either left or right side, please choose the side you desire when assembling the bed . Step 1: Attaching the Lift Mechanisms to the Headboard & Footboard...
- Page 29 Step 2: Attaching the Bolts to the Headboard & Footboard The image follows on from 1a (right side), if you are building the bed to open on the other side than shown, please follows the instructions in the opposite direction.
- Page 30 Step 3: Attaching the Left & Right Side Rails to the Headboard & Footboard, attaching the holding blocks to the side rails. 8pcs WRONG CORRECT Page 7 1%%HIRUHWLJKWHLQJWKHEROWVSOHDVHHQVXUHWKHEHGIUDPHLVVTXDUH...
- Page 31 Step 4 : Attaching the Central Support Rail & Angle Corner Brackets...
- Page 32 Step 5 : Attaching the Fabric Base & Legs Fit the fabric base along the velcro on the base of bed frame. Make sure the side of the fabric base with 2 holes is attached to the footboard and attach the legs through the 2 holes to the footboard. Page 8...
- Page 33 Step 6: Attaching the Ottoman Metal Frames to the Side Ottoman Metal Frame, coonect the Central Support Rail to the Ottoman Metal Frames.
- Page 34 Step 7: Attach the horizontal support rails (8) to the ottoman metal frames and the use blots to connect the ottoman metal frames to each lift mechanism.
- Page 35 Step 8: Attaching the Slat Caps to the Ottoman Bed Frame...
- Page 36 Step 9: Attaching the Gas Stuts to Lift Mechanisms Note: if you are having issues with closing your bed frame and the gas struts Page 10 please seek advice on the last page.
- Page 38 Care and Maintenance Here are some good tips to keep your new ottoman bed frame in tip-top condition. Cleaning To clean your new ottoman bed frame, we advise using a damp cloth if the fabric is dusty or a low suction vacuum. Do not use abrasive chemicals or bleach as this may damage the product.
- Page 40 Gas strut/piston best use: · Use caution when operating - always use two hands. · Only attempt to close the ottoman frame, once the mattress has been placed on the frame. · The thicker side of the cylinder should be above the thinner side - this will increase longevity of the part.
Need help?
Do you have a question about the Melrose and is the answer not in the manual?
Questions and answers