
Related Manuals for Schlage Control Series


Summary of Contents for Schlage Control Series
- Page 1 Install Guide Schalge Control Series Verkada Inc. 406 E 3rd Ave, San Mateo, CA 94401 All specifications are subject to change without notice sales@verkada.com Copyright © Verkada Inc. All rights reserved.
- Page 2 Document Document Details V1.0 (20230808) (V1.0 first published 20230808) Firmware Firmware version can be verified on Verkada Command command.verkada.com. Verkada Inc. 406 E 3rd Ave, San Mateo, CA 94401 All specifications are subject to change without notice sales@verkada.com Copyright © Verkada Inc. All rights reserved.
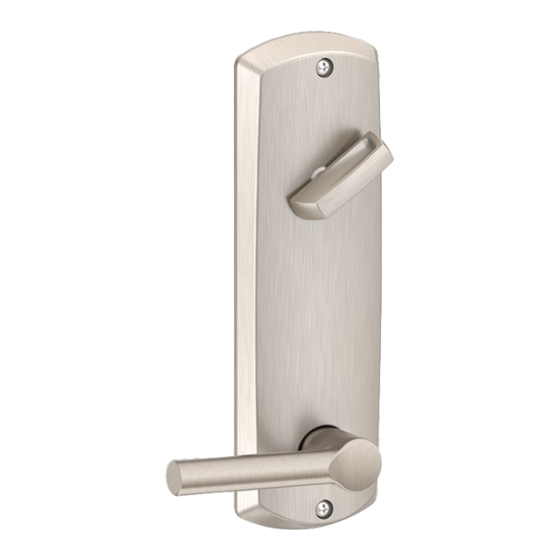
- Page 3 Allegion representative or visit the Allegions Website. Background Schlage Control Locks were designed specifically with multi-tenant units in mind. These locks offer a great alternative to hard wiring a door, particularly when doing so would be cost restrictive. The Control lock comes in two versions: the standalone deadbolt, and the interconnected deadbolt handle.
- Page 4 Introduction Common use cases The primary use case for the Schlage Control series is for multi-tenant units. These will be controlling residential living spaces such as dormitories, apartments, and condos. Universities These locks are a great option for dorm room access control.
- Page 5 All configuration and setup of the Control Locks themselves as well as the GWE hubs will be guided by Schlage documentation included in the locks and hubs packaging. However, during the process you will need to input some verkada endpoints in order for the Hub to communicate with the Verkada backend.
- Page 6 Installation Command Configuration 1. Create a new Verkada Site with no Verkada equipment. 2. Create Engage Site In the Settings page of your Verkada site, click Create Site. This will create an Engage site and prompt an automated email to be sent to the email associated with the user.
- Page 7 Installation Command Configuration 3. Once all configuration has been completed on the Engage app and the devices are paired, click the SYNC button to pull the configurations into Command. If your configuration was all correct, you will have functioning locks in the site! 4.
- Page 8 Appendix Support Thank you for purchasing this Verkada product. If for any reason things don’t work right, or you need assistance, please contact us immediately. verkada.com/support Sincerely, The Verkada Team Verkada Inc. 405 E 4th Ave, San Mateo, CA 94401 All specifications are subject to change without notice sales@verkada.com Copyright ©...
Need help?
Do you have a question about the Control Series and is the answer not in the manual?
Questions and answers