Advertisement
Quick Links
20901004V01_UK_FR_ES_DE_IT_D02-038V01
EN_IMPORTANT, RETAIN FOR FUTURE REFERENCE: READ CAREFULLY.
FR_IMPORTANT:A LIRE ATTENTIVEMENT ET À CONSERVER POUR CONSULTATION
ULTÉRIEURE.
ES_IMPORTANTE, LEA Y GUARDE PARA FUTURAS REFERENCIAS.
DE_WICHTIG! SORGFÄLTIG LESEN UND FÜR SPÄTER NACHSCHLAGEN AUFBEWAHREN.
IT _ IMPORTANTE! CONSERVARE IL PRESENTE MANUALE PER FUTURO RIFERIMENTO E
LEGGERLO ATTENTAMENTE.
IN220901004V01_UK_FR_ES_DE_IT_D02-
US_CA
US_CA
Advertisement

Related Manuals for PawHut D02-038V01


Summary of Contents for PawHut D02-038V01
- Page 1 IN220901004V01_UK_FR_ES_DE_IT_D02- US_CA 20901004V01_UK_FR_ES_DE_IT_D02-038V01 EN_IMPORTANT, RETAIN FOR FUTURE REFERENCE: READ CAREFULLY. FR_IMPORTANT:A LIRE ATTENTIVEMENT ET À CONSERVER POUR CONSULTATION ULTÉRIEURE. ES_IMPORTANTE, LEA Y GUARDE PARA FUTURAS REFERENCIAS. DE_WICHTIG! SORGFÄLTIG LESEN UND FÜR SPÄTER NACHSCHLAGEN AUFBEWAHREN. IT _ IMPORTANTE! CONSERVARE IL PRESENTE MANUALE PER FUTURO RIFERIMENTO E LEGGERLO ATTENTAMENTE.
- Page 5 ① ② ③...
- Page 6 ② ① ① ② ① ② ② ① EN_Repeat this process to complete the top side of the kennel. FR_Répétez ce processus pour terminer le côté supérieur du chenil maille. ES_Repita este proceso para completar la instalación de la parte superior de la perrera.
- Page 7 ① ③...
- Page 8 L O L EN_Install the chain-link mesh onto the gate frame. Then insert the two tension rod into the the edges of the chain-link mesh, and then use 3 pairs of clips to fix the tension rods and tube. Finally, use the wire ties to fix the chain-link mesh to the gate frame to make the gate rigid and strong.
- Page 9 Installing the chain link mesh With two people, lift the chain link fabric roll(N) up into a standing position and drop a tension rod (M) into the end links and connect to the gate post with 4 gate clips (P) evenly spaced.
- Page 10 Installation de la maille de chaîne Avec deux personnes, soulevez le rouleau de tissu à mailles de chaîne (N) en position debout et laissez tomber une barre de tension (M) dans les mailles d'extrémité et connectez-la au poteau de porte avec 4 clips de porte (P) uniformément espacés.
- Page 11 DE_Anbringen des Maschendrahts Heben Sie mit zwei Personen die Rolle des Maschendrahtgeflechts (N) in eine stehende Position, stecken Sie eine Zugstange (M) in die Endglieder ein und verbinden Sie sie mit 4 gleichmäßig verteilten Torclips (P) mit dem Torpfosten. Rollen Sie das Geflecht um den Rahmen des Zwingers aus. Hinweis: Verwenden Sie Kabelbinder (K), um das Gefleht während des Abrollens lose an der Torseite des Rahmens zu befestigen.
- Page 12 ④ ⑤ ⑥ ⑦ EN_notice 1.Need 2 people at least when you assemble to avoid the damage of steel tube. 2. Do not use this cage unless all bolts, screws and knobs are firmly secured. 3. Please use it on a flat hard ground. 4.No climbing and no revision on product.
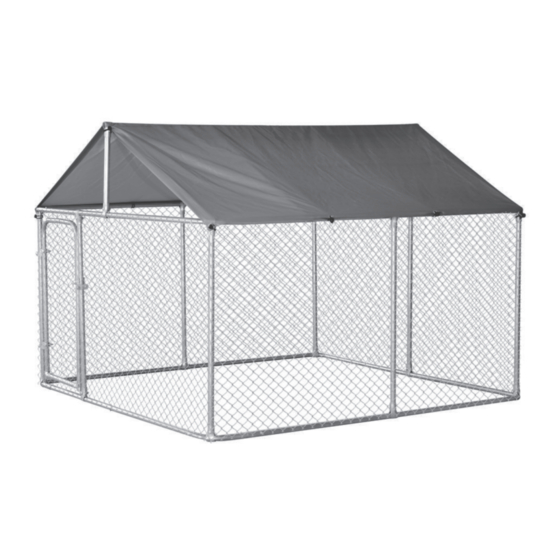
- Page 13 EN_Fabric Roof Cover FR_Couverture de toit en tissu ES_Cubierta de techo de tela DE_Dachabdeckung aus Stoff IT_Copertura del tetto in tessuto...
Need help?
Do you have a question about the D02-038V01 and is the answer not in the manual?
Questions and answers