Table of Contents
Advertisement
Quick Links
YOU MUST READ THIS MANUAL BEFORE USING THIS PRODUCT
DO NOT
Use this product without first reading and understanding this manual.
DO NOT
Use this equipment without first reading and understanding Nova's terms.
If you are unable to understand the, CAUTIONS, TERMS AND CONDITIONS, AND INSTRUCTIONS,
then contact a healthcare professional, dealer, lawyer, or a qualified technician before attempting to use
this product - OTHERWISE INJURY OR DAMAGE MAY RESULT.
By using or continuing to use this product, YOU ARE AGREEING TO THE NOVA TERMS AND
CONDITIONS detail at www.novaortho-med.com.
Nova Ortho-Med
1401 Davey Road
Suite 100
Woodridge, IL. 60517
OWNER'S MANUAL
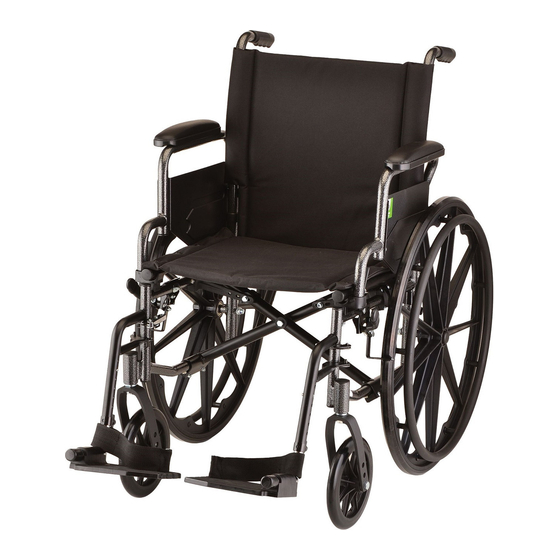
NOVA WHEELCHAIRS
7000 SERIES
(7160L, 7180L, 7190L)
YOU MUST SUPPLY THE OWNER WITH THIS MANUAL
WARNINGS
For questions regarding this manual or the product, contact
1-800-557-6682
www.novaortho-med.com
OWNER
DEALER
Corporate Office
Nova Ortho-Med
1470 Beachey Pl.
Carson, CA. 90746
Revision Date:
10/1/2011
Advertisement
Table of Contents

Related Manuals for Nova 7190L


Summary of Contents for Nova 7190L
- Page 1 - OTHERWISE INJURY OR DAMAGE MAY RESULT. By using or continuing to use this product, YOU ARE AGREEING TO THE NOVA TERMS AND CONDITIONS detail at www.novaortho-med.com.
- Page 2 After any adjustment, and before using the product, ensure that all attaching hardware, including without limitation all grips, screws, nuts, bolts, clamps, fasteners, and parts are tight and secure. DO NOT use parts, accessories, or adapters other than those manufactured by Nova Ortho Med., Inc, which are designed specifically for this product.
- Page 3 PROPER USE OPENING CHAIR Tilt wheelchair to one side and push down on the seat rail until fully opened. CLOSING CHAIR Fold footrests to the closed/vertical position. Tilt product to one side and lift up on seat rail until fully closed.
- Page 4 SAFETY INSPECTION- MAINTENANCE Your product is a precision product - proper care will ensure proper function. Regular cleaning will reveal loose or worn parts. DO NOT over tighten parts or hardware, as doing so can damage the frame. DO NOT operate the product if there are any missing parts or hardware. You should have a dealer or qualified professional perform maintenance on your product at least once every six months, or immediately if you notice any item needing service.
- Page 5 ARMRESTS TO FLIP BACK ARMS 1 – depress the plastic lever located on the inside of the front of the armrests and pull the arm up until the it is behind the back upholstery TO FLIP DOWN ARMS 1 – Push armrests and arm should automatically lock into place. Test by pulling up on the arm to make sure it is secure.
- Page 6 BACK REPLACING BACK UPHOLSTERY 1 - Raise arms into flip back position 2 - Unscrew height adjustment knobs and remove screws. These are located near the bottom of the back upholstery. 3 - Unscrew the screw at the top of the back upholstery 4 - Remove the back from the chair frame and slide the upholstery off back upholstery bars.
- Page 7 WHEEL LOCKS ADJUSTING WHEEL LOCKS DO NOT operate wheels locks while the product is moving. DO NOT attempt to stop the product using wheel locks (wheel locks are not brakes). 1 - Disengage locks. 2 - Loosen the bolt and locknut that secure the wheel lock to the frame. 3 - Reposition the wheel lock so that if it were engaged, the lock would press against the tire and depress it 1/8 inch.
Need help?
Do you have a question about the 7190L and is the answer not in the manual?
Questions and answers