Advertisement
Available languages
Available languages
H-8675
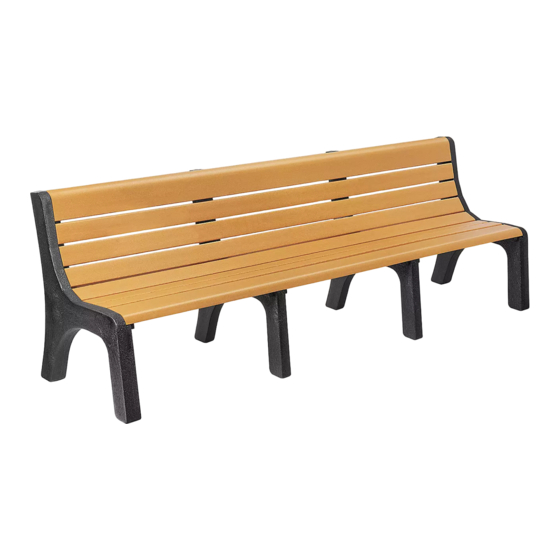
8' LAGUNA BENCH
TOOL NEEDED
Square Head Bit
Power Drill
3/8" Spacer x 2
Left Leg x 1
CAUTION! Do not drive attachment screws too
deeply, as the screw could protrude through
slat on the seating side of bench.
1. Verify all parts are present before beginning.
2. With one person holding the left leg and another
person holding the right leg, insert a rounded-edge
board between each leg, in line with the front of the
legs. From underneath, attach the front board to the
supports by fastening screws through the pre-drilled
holes on the underside of the leg. Do not overtighten.
(See Figure 1)
PAGE 1 OF 6
1-800-295-5510
uline.com
Two Person Assembly
Recommended
PARTS
Seat and Back
Board x 6
Center Leg x 2
ASSEMBLY
Para Español, vea páginas 3-4.
Pour le français, consulter les pages 5-6.
Front and Top Board
with Rounded Edge x 2
Square Head Screw x 96
Right Leg x 1
Right Leg x 1
2" Screw x 96
Figure 1
0823 IH-8675
Advertisement
Table of Contents

Related Manuals for U-Line H-8675


Summary of Contents for U-Line H-8675
- Page 1 Para Español, vea páginas 3-4. Pour le français, consulter les pages 5-6. H-8675 1-800-295-5510 uline.com 8' LAGUNA BENCH TOOL NEEDED Two Person Assembly Recommended Square Head Bit Power Drill PARTS Seat and Back 3/8" Spacer x 2 Board x 6...
- Page 2 ASSEMBLY CONTINUED 3. Repeat step 2 for the top rounded-edge board. (See Figure 2) Figure 2 4. Place middle supports evenly spaced at the center point of the top and front installed slats. From underneath, attach slats to middle supports at the pre-drilled holes using the square head screws.
- Page 3 H-8675 800-295-5510 uline.mx BANCA LAGUNA DE 8' HERRAMIENTAS NECESARIAS Se Recomienda Armar Entre Dos Personas Broca de Cabeza Taladro Cuadrada PARTES 2 Espaciadores de 3/8" 6 Tablas de Asiento y Respaldo 2 Tablas Frontal y Superior con Borde Redondeado 96 Tornillos de...
- Page 4 CONTINUACIÓN DE ENSAMBLE 3. Repita el paso 2 para la tabla superior con bordes redondeados. (Vea Diagrama 2) Diagrama 2 4. Coloque los soportes intermedios simétricamente espaciados en el punto central de la tabla superior y la frontal ya instaladas. Por debajo, fije las tablas a los soportes intermedios por los orificios preperforados utilizando los tornillos de cruz.
- Page 5 H-8675 1-800-295-5510 uline.ca BANC DE STYLE LAGUNA – 8 pi OUTILS REQUIS Montage à deux personnes (recommandé) Perceuse Embout à tête carrée PIÈCES Entretoise de 3/8 po x 2 Planche de dossier et de siège x 6 Planche frontale et supérieure à...
- Page 6 MONTAGE SUITE 3. Répétez l'étape 2 pour la planche supérieure à bords arrondis. (Voir Figure 2) Figure 2 4. Placez les pieds centraux à intervalles réguliers au niveau du point central des planches supérieures et frontales. Fixez les planches aux supports centraux, en insérant les vis à...
Need help?
Do you have a question about the H-8675 and is the answer not in the manual?
Questions and answers