Gourmia GCM3518 - 5-Cup Programmable Coffee Maker Manual
- User manual (16 pages)
Advertisement
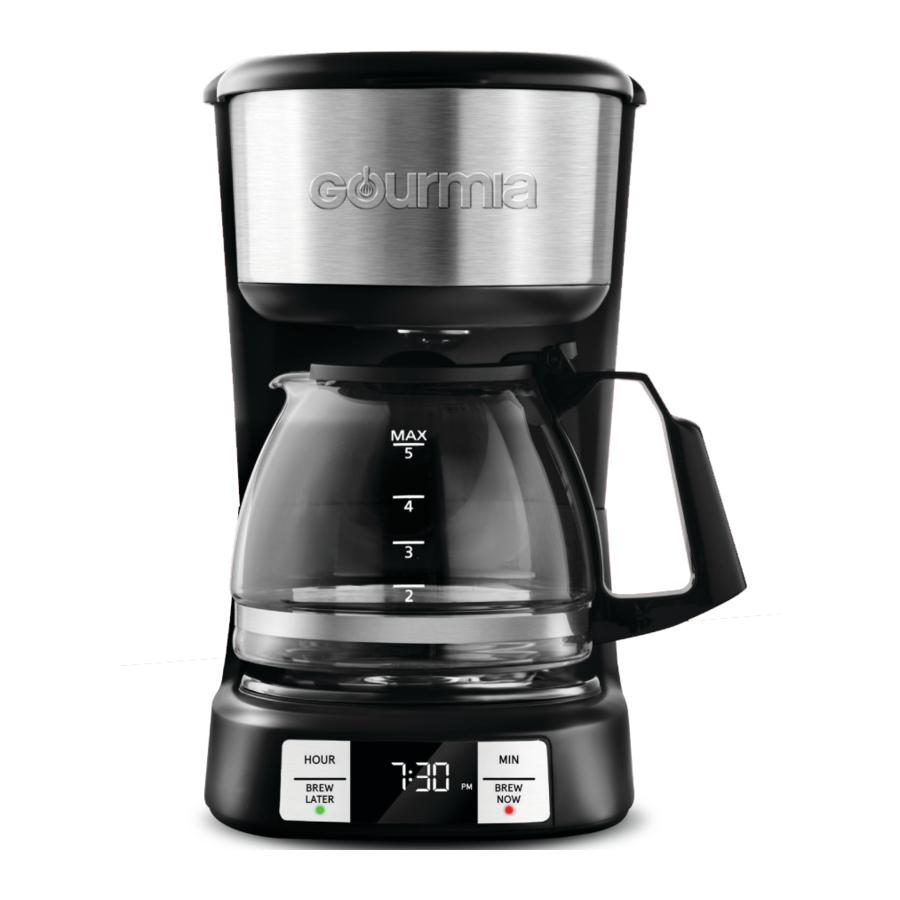
KNOW YOUR COFFEE MAKER


- Funnel
Place a 5-cup basket-style filter (not included) into the funnel - Warming Plate

USING YOUR COFFEE MAKER
Before first use
- Remove all packaging materials and clean the funnel and carafe with non-abrasive soap. Thoroughly dry and replace parts. Wipe exterior with damp cloth.
- Before brewing coffee for the first time, it is recommended to clean the system. Fill the water reservoir to the 5-cup mark and run a brew cycle without coffee; then discard water.
- Ensure the funnel is completely dry before use.

- Never operate the appliance with an empty water reservoir.
- Do not open the lid while brewing is in process.
- Do not touch the warming plate after brewing—it will be extremely hot! Hold the carafe by the handle only, as the glass is extremely hot!
Setting up
- Place the coffee maker on a hard, flat, level, heat-resistant surface only.
- Keep the area above the appliance clear during use, as hot steam will escape through the top.
- Plug the power cord into an outlet.
Setting the Clock
- Press HOUR to set the hour. The time will increase by one-hour increments after each press.
- Press MINUTE to set the minute. The time will increase by one-minute increments after each press.
Note:
- Press and hold HOUR or MINUTE to adjust the time rapidly.
- A dot will appear on the display to indicate when the time is set to PM.
Brewing Coffee
- Open the lid.
- Fill the water reservoir with water between the MIN and MAX markings on the water level window.
Note: Do not fill with water below the 2-cup mark or above the 5-cup mark. - Pour ground coffee in the coffee filter.
Note: It's best to use medium to coarse coffee grinds. Avoid using finely ground coffee. - Close the lid.
- Place the carafe on the warming plate.
- Press BREW NOW. The brew light will blink during brewing. When finished brewing, the brew light will stay lit and enter keep warm mode.
- The default keep warm setting will keep coffee hot for 2 hours and then the coffee maker will automatically turn off. See ADJUSTING KEEP WARM to change keep warm settings.
Note: While in keep warm mode, the freshness timer on the display counts up, showing the time since the coffee was brewed.
Note: To turn off keep warm mode at any time, press BREW NOW and the brew light will turn off.
Pause & Serve
- The carafe must be on the warming plate to begin brewing.
- During brewing, you can remove the carafe for serving, and the machine will temporarily stop dispensing.
- Do not remove the carafe for more than a minute or the machine will overflow.
Programming Brew Later
Follow the steps below to program coffee to brew up to 24 hours in advance.
Note: Ensure time is set.
- Steps 1-4 under "Brewing Coffee".
- Press BREW LATER, and the brew later light will blink.
- Adjust HOUR and MINUTE to your desired brew start time.
- To confirm the time, press BREW LATER again or wait 5 seconds. The brew later light will remain on.
- To cancel brew later, press BREW LATER again. The brew later light will turn off.
Adjusting Keep Warm
The default keep warm setting will keep coffee hot for 2 hours. Follow the steps below to adjust to keep warm setting:
- Press and hold HOUR and MINUTE at the same time for 3–5 seconds. The keep warm time will appear on the display.
- Press HOUR or MINUTE to adjust keep warm time in 30-minute increments, between OFF and 4 hours.
- To confirm your settings, press and hold both HOUR and MINUTE at the same time for 5 seconds, or wait 5 seconds. This setting will become the default keep warm setting.
Freshness timer
When in keep warm mode, the freshness timer on the display counts up, showing the time since the coffee was brewed.
CLEANING AND MAINTENANCE
- Always turn off the coffee maker, unplug the power cord from the outlet, and allow the appliance to cool before cleaning.
- Do not immerse cord, plugs, or coffee maker in water or other liquid.
After each use
Clean all removable parts after each use.
Funnel and Carafe
Clean with warm soapy water and a non-abrasive sponge.
Interior
Use a sponge or non-metal brush to clean the inside of the coffee maker. Then wipe it dry with a soft cloth.
Warming plate and exterior
- Use a damp cloth to clean the warming plate and exterior of the coffee maker. Then wipe it dry with a soft cloth.
- Do not use harsh cleaning agents or metal brushes, in order to avoid scratching the stainless steel surface.
Note: Ensure the funnel is completely dry before use.
Descaling
After using the coffee maker for a while, limescale will begin to build up inside the appliance. It is important to descale the appliance every 2-3 months. If the coffee maker is used daily, the descaling process should be done monthly.
- Fill the water reservoir with water and vinegar between the MIN and MAX marks.
- Place an empty paper filter into the funnel and close the lid.
- Place the empty carafe on the warming plate.
- Press BREW NOW to start the brewing process.
- When the brewing process is complete, discard the solution in the carafe and water reservoir.
- Remove and discard the paper filter.
- Fill the water reservoir to the MAX mark with cool water.
- Return the empty carafe to the warming plate.
- Press BREW NOW to start brewing once again.
- After brewing is complete, discard the water in the carafe and water reservoir. Rinse the carafe thoroughly with clean water. Note: If an odor of vinegar persists, run another cycle with water.
IMPORTANT SAFEGUARDS
Please read all safety and usage instructions carefully before operating the appliance.
- This appliance can be used by children 8 years and above, and by persons with reduced physical, sensory, or mental capabilities, only if they have been given instructions concerning the use of the appliance—and they understand the hazards involved. Cleaning and user maintenance should not be done by children without proper supervision.
- Close supervision is necessary when using or operating the appliance by or near children.
- Do not place the appliance on or near a hot burner or heated oven.
- Do not use the appliance on wet or hot surfaces, or near a heat source.
- Make sure your outlet voltage corresponds to the voltage stated on the rating label of the coffee maker.
- This appliance has a polarized plug (one blade is wider than the other). To reduce the risk of electric shock, the plug is intended to fit in a polarized outlet in only one way. If the plug does not fit into the outlet, reverse the plug and try again. If it still does not fit, contact a qualified electrician. Do not attempt to modify the plug in any way.
- Do not let the cord hang over the edge of a counter or table.
- To protect against fire, electric shock, or injury, do not immerse the unit, power cord, or plug in water or any other liquid.
- Do not operate the coffee maker without water in the reservoir.
- Only use cold, fresh water to fill the water reservoir.
- Do not touch the surfaces of the appliances, especially the warming plate, as they become extremely hot during use. Always use the handle when holding the carafe.
- Do not stand over the appliance when in use, as it emits hot steam from the filter.
- Scalding may occur if the lid is removed during the brewing cycles. Allow the coffee maker to cool before opening the lid.
- The glass carafe is very fragile. Handle it with care.
- Never leave an empty carafe on the warming plate—it is liable to crack.
- Do not use the appliance if the carafe is cracked.
- Do not place an empty coffee pot on the warming plate when the coffee maker is running.
- Check funnel and filter for presence of foreign objects before use.
- Never disconnect the appliance by pulling on the cord. Rather, unplug the power cord from the electrical outlet.
- Always unplug the appliance from the outlet when not in use, or before cleaning. Allow appliance to cool completely before cleaning.
- Do not clean the container with cleansers, steel wool pads, or other abrasive materials.
- Only use accessories or attachments that were provided by the manufacturer for this appliance.
- Do not operate the appliance with a damaged power cord or plug. Do not operate the appliance if it malfunctions or is damaged in any way. Do not attempt to fix the appliance on your own. Return the appliance to an authorized service center for examination and repair.
- Do not use the appliance for anything other than its intended use.
- Extreme caution must be used when moving items that contain hot liquids.
- For household use only.
Cord and plug Safety
- A short power-supply cord is provided to reduce risk of becoming entangled in or tripping over a longer cord.
- Extension cords may be used if care is exercised in their use.
- If an extension cord is used:
- The marked electrical rating of the extension cord should be at least equal to the electrical rating of the appliance; and
- The longer cord should be arranged so that it will not drape over the countertop or tabletop where it can be pulled on by children or tripped over.
Electrical polarized plug

This unit has a polarized plug (one blade is wider than the other). To reduce the risk of electric shock, the plug is intended to be used by inserting it into the electrical outlet only one way. If the plug does not fit securely into the outlet, reverse the plug and re-insert. If it still does not fit, contact a qualified electrician for assistance. Do not modify the plug in any way.
POWER: 120V~ 60Hz 700W

Documents / ResourcesDownload manual
Here you can download full pdf version of manual, it may contain additional safety instructions, warranty information, FCC rules, etc.
Download Gourmia GCM3518 - 5-Cup Programmable Coffee Maker Manual
Advertisement


Need help?
Do you have a question about the GCM3518 and is the answer not in the manual?
Questions and answers