Advertisement
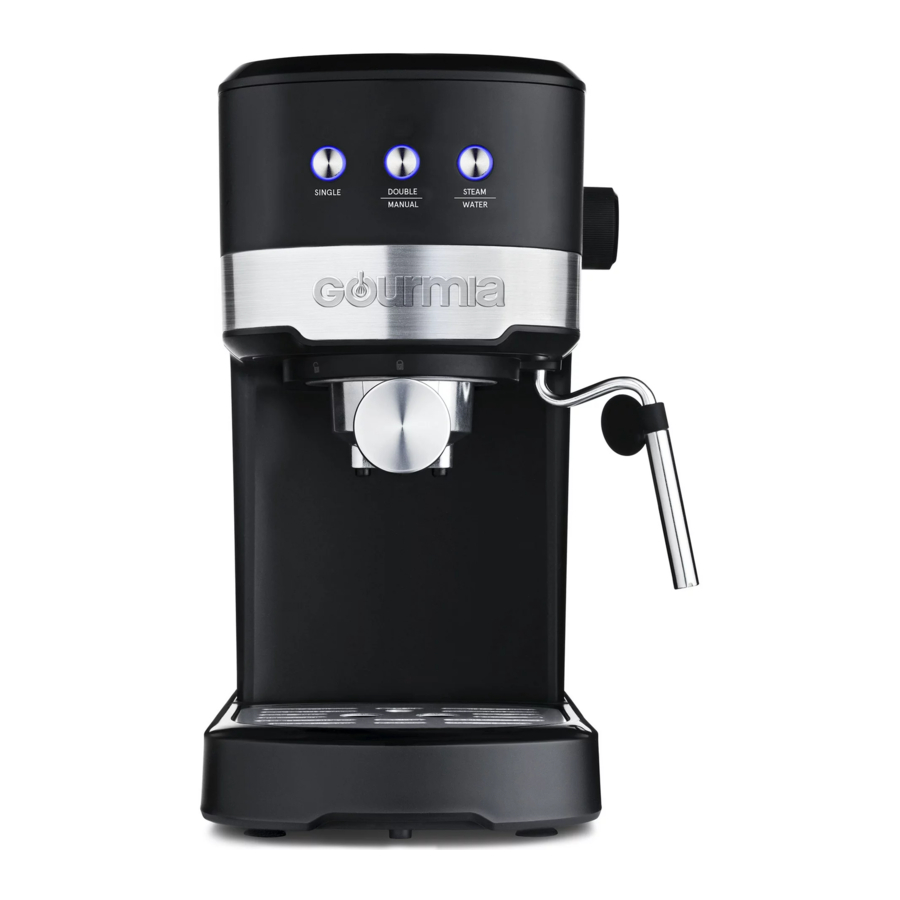
KNOW YOUR ESPRESSO MAKER


BEFORE FIRST USE
- Remove and discard all packaging material and stickers that are not permanent.
- Remove the water reservoir, portafilter, single shot filter, double shot filter, and measuring scoop. Wash them with nonabrasive soap. Thoroughly dry and reinsert the parts. Wipe the exterior with a damp cloth.
USING YOUR COFFEE MAKER
PRIME THE ESPRESSO MAKER
Before first use, the appliance must run through an initial brew cycle with just water. Follow the directions below to prime the appliance:
- Place the espresso maker on a stable, level, heat-resistant surface.
- Fill the water reservoir up to but not exceeding the MAX line.
- Place a heat-resistant mug or cup on top of the drip tray.
NOTE: Ensure the steam control knob is set to the off position. - Plug the power cord into an outlet.
- The single and double/manual buttons will pulse slowly as the appliance heats up. When heating is finished, all three buttons will illuminate steadily without pulsing. Only then is the appliance ready for use.
- Press the single button. It will blink rapidly, indicating it is working. After 3-5 seconds, a small amount of water will dispense into the mug. The appliance will automatically return to standby mode when finished dispensing.
NOTE: The appliance may make a loud noise when pumping water for the first time. This is normal and should stop after a few seconds. - Remove the cup from the tray and dump the water.
PREHEATING THE ESPRESSO MAKER
After priming the espresso maker, we recommend preheating the appliance for best results.
NOTE: If there's been a large gap between uses of the espresso maker, the appliance will enter hibernation mode. If this occurs, we recommend preheating the appliance before using it again. If using the appliance daily, it is ONLY necessary to preheat the appliance once before first use.
Follow the steps under PRIME THE ESPRESSO MAKER. A small amount of water will dispense into the mug, indicating the appliance is ready for use.
MAKING AN ESPRESSO
- Place the espresso maker on a stable, level, heat-resistant surface.
- Fill the water reservoir up to but not exceeding the MAX line. NOTE: Ensure the steam control knob is set to the off position.
- Place a heat-resistant cup or mug on the drip tray.
- Plug the power cord into an outlet.
- The single and double/manual buttons will pulse slowly as the appliance heats up. When heating is finished, all three buttons will illuminate steadily without pulsing. Only then is the appliance ready for use.
- Align the single shot filter or double shot filter with the groove in the portafilter. For a single shot, use the single-shot filter. For a double shot, use the double-shot filter. Turn the filter to ensure it's locked in place.
- Use the measuring spoon to fill the filter up with ground coffee. Do not exceed the MAX line in the basket.
- Use the tamper end of the spoon to press on the grounds. The surface of the ground coffee should be smooth after pressing.
- Clean any excess grounds from the rim of the portafilter.
- Place the portafilter underneath the brew head with the handle facing toward the left.
- Keep one hand atop the appliance to keep it steady while fastening the portafilter into the brew head. The handle must align with the open lock icon on the brew head.
- Turn the handle to the right to lock the portafilter into the brew head. The handle must be aligned with the closed lock icon on the brew head.
- Press either the single or double/manual button, depending on your preference. The button will blink during brewing.
- For a single shot, the brew cycle will deliver 1 oz of espresso. For a double shot, the brew cycle will deliver 2 oz. of espresso. The appliance will automatically return to standby mode when finished dispensing.
- Remove the cup from the drip tray and enjoy.
NOTE: There is no need to manually turn off the espresso maker. The appliance will automatically turn off after 15 minutes of being in standby mode.
BREW IN MANUAL MODE
To customize your brew, follow the instructions below:
- Set up the espresso maker to brew espresso as outlined in steps 1-12.
- Press and hold the double/manual button for 3 seconds. The button will remain illuminated without pulsing, indicating it is in manual mode. All other buttons will stop pulsing and turn off.
- Once you've reached your desired amount, press the double/manual button again to stop brewing. The appliance will automatically return to standby mode when brewing is complete.
NOTE: The appliance will dispense a maximum of 6.5 ounces in one cycle.
NOTE: There is no need to manually turn off the espresso maker. The appliance will automatically turn off after 15 minutes of being in standby mode.
FROTH MILK
- Fill up the water reservoir up to but not exceeding the MAX line. NOTE: Ensure the steam control knob is set to the off position.
- Plug the power cord into an outlet.
- The single and double/manual buttons will pulse slowly as the appliance heats up. When heating is finished, all three buttons will illuminate steadily without pulsing. Only then is the appliance ready for use.
- Press the steam/water button. It will pulse slowly.
- Fill a cup with the preferred amount of milk and position the cup under the frothing wand nozzle, making sure the frothing wand nozzle is below the surface of the milk.
- When the steam/water button begins to blink rapidly, turn the steam control knob counterclockwise toward the on position to begin producing steam. Slowly rotate the cup and move it up and down to produce even froth.
- When frothing is complete, press the steam/water button. The appliance will stop frothing.
- Keep the cup underneath the frothing wand for a few more seconds before turning the steam control knob clockwise to the off position.
- Wipe the frothing wand clean of any residue.
- Pour the frothed milk into your drink.
USE STEAM WAND FOR HOT WATER
- Fill up the water reservoir up to but not exceeding the MAX line.
NOTE: Ensure the steam control knob is set to the off position. - Plug the power cord into an outlet. The single and double/manual buttons will pulse slowly as the appliance heats up. When heating is finished, all three buttons will illuminate steadily without pulsing. Only then is the appliance ready for use.
- Place a large, heat-resistant cup or mug underneath the steam wand.
- Turn the steam control knob counterclockwise toward the on position to open the frothing wand nozzle so water can be released.
- Press and hold the steam/water button for 3 seconds then release. The button will illuminate steadily, and water will freely flow from the wand until the steam/water button is pressed again.
NOTE: The appliance will dispense a maximum of 6.5 ounces in one cycle. - When water has finished dispensing, the appliance will return to standby mode. Turn the steam control knob to its original off position.
MAKING AN AMERICANO
- After brewing an espresso, position the mug or cup under the nozzle.
- Turn the steam control knob counterclockwise toward the on position.
- Press and hold the steam/water button for 3 seconds then release. The button will illuminate steadily, and water will freely flow from the nozzle.
NOTE: For every 1 oz. of espresso, dispense 2 oz. of water. For every 2 oz. of espresso, dispense 4 oz. of water. - When a 2:1 ratio is achieved, press the steam/water button and the appliance will return to standby mode.
- Turn the steam control knob to its original off position.
CLEANING & MAINTENANCE

- Always wait until the espresso maker shuts off, unplug the power cord from the outlet, and allow the appliance to cool before cleaning.
- Do not immerse the power cord, plug, or espresso maker in water or other liquid.
Clean all removable parts after each use.
PORTAFILTER AND BREW HEAD
Clean with warm soapy water and a non-abrasive sponge.
INTERIOR
Clean with warm, soapy water. Rinse and dry well.
HOUSING
Wipe the housing and steam with a damp cloth. Then wipe it dry with a soft cloth.
Do not use harsh cleaning agents or metal brushes, in order to avoid scratching the surface.
NOTE: Ensure the funnel is completely dry before first use.
DESCALING
After using the espresso maker for a while, limescale will begin to build up inside the appliance. It is important to descale the appliance every 2-3 months. If the espresso maker is used daily, the descaling process should be done monthly.
- Mix equal parts vinegar and water and pour the solution into the water reservoir.
- Insert the portafilter with an empty filter into the brew head.
- Place a heat-resistant cup or mug on top of the drip tray.
NOTE: Ensure the steam control knob is set to the off position. - Plug in the power cord. The single and double/manual buttons will pulse slowly as the appliance heats up. When preheating is finished, all three buttons will illuminate steadily without pulsing. Only then is the appliance ready for use.
- Press the single button. The button will blink during brewing and will automatically return to standby mode when brewing is complete.
- Press the double/manual button. The button will blink during brewing and will automatically return to standby mode when brewing is complete.
- Press the steam/water button. The steam/water button will slowly pulse as it preheats, then illuminate steadily when ready for use.
- Position the empty cup underneath the frothing wand nozzle, making sure the nozzle is below the rim. Slowly turn the steam control knob counterclockwise toward the on position and make steam for about 2 minutes to descale the appliance.
- Once complete, press the steam/control button then turn the steam control knob to the off position and allow the mixture to sit inside the unit for about 15 minutes.
- Place the cup underneath the brew head again. Press and hold the double/ manual button for 3 seconds, then release. Brew until no descaling mixture is left.
- When the brewing process is complete, fill up the water reservoir with water and begin brewing again. This washes out any remaining vinegar
NOTE: If an odor of vinegar persists, run another cycle with water.
IMPORTANT SAFEGUARDS
When using electrical appliances, basic safety precautions should always be followed to reduce the risk of fire, electric shock, and/or injury,
including the following:
- Read all safeguards and instructions carefully.
- This appliance is not intended for use by persons with reduced physical, sensory, or mental capabilities, or lack of experience and knowledge, unless they have been given supervision or instruction concerning use of the appliance by a person responsible for their safety.
- Children should be supervised to ensure they do not play with the appliance.
- Close supervision is necessary when the appliance is being used near children.
- Before using, check that the voltage of the wall outlet corresponds to the rated voltage marked on the rating plate.
- Place the appliance on a flat surface or table. Do not hang the power cord over the edge of the table.
- Do not place the espresso maker on a hot surface or beside a fire in order to avoid damage to you and the appliance.
- Connect the plug to a wall outlet before using the appliance.
- To protect against fire, electric shock, and injury, do not immerse the cord or plug in water or other liquid.
- Do not operate the appliance with a damaged cord or plug or if the appliance malfunctions or is dropped or damaged in any manner. Return the appliance to the nearest authorized service facility for examination and repair.
- Ensure the power cord does not touch hot surfaces of the appliance.
- Do not touch hot surfaces of the appliance (such as the steam wand and the steam mesh when boiling). Use handles or knobs.
- Keep your hands and face at a safe distance from the steam. Be careful not to get burned by the steam.
- Do not let the appliance operate without water in the reservoir.
- Do not remove the metal funnel when the appliance is brewing coffee or making steam.
- The use of accessory attachments not recommended by the appliance manufacturer may result in fire, electric shock, or injury.
- Do not use the appliance for other than its intended use. Place it in a dry environment.
- This appliance is only intended to be used in household or similar environments.
- Do not use outdoors.
- Turn off any buttons before the plug is removed from the wall outlet.
- To disconnect, remove plug from wall outlet. Always hold the plug. Never pull the cord.
- Remove the plug from the wall outlet before cleaning and when not in use. Allow the appliance to cool down completely before taking off or attaching components and before cleaning.
- If you do not use the product for a long time, you need to turn on the power and release steam for 3 minutes before using the product.
- If you cut off the power during steam release, residual heat will make the product continue to release steam for a length of time. The product will stop releasing steam once you turn off the steam knob.
- Save these instructions.
CORD AND PLUG SAFETY
- A short power-supply cord is provided to reduce risk of becoming entangled in or tripping over a longer cord.
- Extension cords may be used if care is exercised in their use.
- If an extension cord is used:
- The marked electrical rating of the extension cord should be at least equal to the electrical rating of the appliance; and
- The longer cord should be arranged so that it will not drape over the countertop or tabletop where it can be pulled on by children or tripped over.
ELECTRICAL POLARIZED PLUG

This unit has a polarized plug (one blade is wider than the other). To reduce the risk of electric shock, the plug is intended to be used by inserting it into the electrical outlet only one way. If the plug does not fit securely into the outlet, reverse the plug and re-insert. If it still does not fit, contact a qualified electrician for assistance. Do not modify the plug in any way.
| Power: | 120V~ 60Hz 1,100W |
SAVE THESE INSTRUCTIONS

We'd love to hear from you!
888.552.0033
info@gourmia.com

Documents / ResourcesDownload manual
Here you can download full pdf version of manual, it may contain additional safety instructions, warranty information, FCC rules, etc.
Advertisement


Need help?
Do you have a question about the GCM4225 and is the answer not in the manual?
Questions and answers