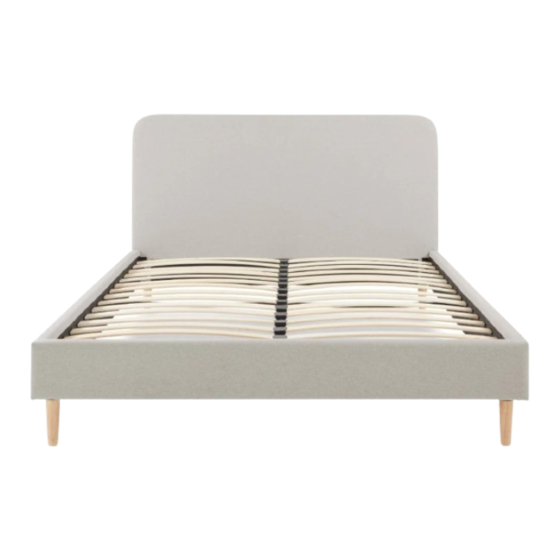
DUSK Ascot Manual
Bed frame
Hide thumbs
Also See for Ascot:
- Manual (16 pages) ,
- Assembly instructions manual (39 pages) ,
- Manual (17 pages)
Summary of Contents for DUSK Ascot
-
Page 2: Assembly Tip
Important Assembly Tip Before you begin, it's best to identify all of the parts and fittings to build your bed frame. We advise laying these out on the floor to check you have everything, and to familiarise yourself with all of the parts and fittings before building. Top Tip We recommend that you build your new bed frame in the room you'd like it to be located. - Page 6 Step 1: Screwing the Legs to the Headboard & Footboard...
- Page 7 Step 2: Attaching the Side Rails to the Headboard and Footboard Before tightening the bolts, please ensure the bed frame is square Page 5...
- Page 8 Step 3: Attaching the Horizontal Support Rail to the Side Rails...
- Page 9 Step 4: Attaching the Central Support Legs to the Central Support Rail 6pcs 6pcs Page 6...
- Page 10 Step 5: Attaching the Central Support Rail to the Headboard & Footboard 4pcs...
- Page 11 Step 6: Attaching the Slat Caps & Slats to the Bed Frame Centre Slat Caps Double/King 13/15 pcs Side Slat Caps Double/King 26/30 pcs It is recommended to slot the Side Slat Caps into position before pushing down on the Centre Slat Caps.
- Page 12 good fram e frame abrasive frame, fabric will ap differently fabric ay also exposure.
- Page 15 Important Assembly Tip Before you begin, it's best to identify all of the parts and fittings to build your bed frame. We advise laying these out on the floor to check you have everything, and to familiarise yourself with all of the parts and fittings before building. Top Tip We recommend that you build your new bed frame in the room you'd like it to be located.
- Page 19 Step 1: Screwing the Legs to the Headboard & Footboard...
- Page 20 Step 2: Attaching the Side Rails to the Headboard and Footboard Before tightening the bolts, please ensure the bed frame is square Page 5...
- Page 21 Step 3: Attaching the Horizontal Support Rail to the Side Rails...
- Page 22 Step 4: Attaching the Central Support Legs to the Central Support Rails 12pcs 12pcs Page 6...
- Page 23 Step 5: Attaching the Central Support Rail to the Headboard & Footboard...
- Page 24 Step 6: Attaching the Slat Caps & Slats to the Bed Frame King 30pcs Centre Slat Caps Super Super King 30 pcs Side Slat Caps It is recommended to slot the Side Slat Caps into position before pushing down on the Centre Slat Caps. Push down firmly on the Centre Slat Caps into the predrilled holes on the Central Support Rail.
- Page 25 good fram e frame abrasive frame, fabric will ap differently fabric ay also exposure.


Need help?
Do you have a question about the Ascot and is the answer not in the manual?
Questions and answers