Sign In
Upload
Download
Table of Contents
Contents
Add to my manuals
Delete from my manuals
Share
URL of this page:
HTML Link:
Bookmark this page
Add
Manual will be automatically added to "My Manuals"
Print this page
×
Bookmark added
×
Added to my manuals
Manuals
Brands
KERN Manuals
Scales
FKB A Series
Operating manual
KERN FKB A Series Operating Manual
Hide thumbs
1
Table Of Contents
2
3
4
5
6
7
8
9
10
11
12
13
14
15
16
17
18
19
20
21
22
23
24
25
26
27
28
29
30
31
32
33
34
35
36
37
page
of
37
Go
/
37
Contents
Table of Contents
Bookmarks
Table of Contents
Table of Contents
Technical Data
Declaration of Conformity
Basic Information (General)
Proper Use
Improper Use
Warranty
Monitoring of Test Resources
Basic Safety Precautions
Pay Attention to the Instructions in the Operation Manual
Personnel Training
Transportation & Storage
Testing Upon Acceptance
Packaging
Unpacking, Setup and Commissioning
Installation Site, Location of Use
Unpacking/Erection
Scope of Delivery / Serial Accessories
Mains Connection
Operation Using a (Rechargeable) Battery (Optional)
Connection of Peripheral Devices
Initial Commissioning
Adjustment
Underfloor Weighing
Operation Elements
Overview of Display
Keyboard Overview
Basic Operation
Start-Up
Switching off
Weighing
Taring
PRE-TARE-Function
Plus/Minus Weighings
Parts Counting
Net-Total Weighings
Percent Determination
Menu
Navigation in the Menu
Menu Overview
Description of Individual Menu Items
Weighing Units
Dosing and Zero-Tracking
Selection Adjustment Weight
Filter
Display Background Illumination
Animal Weighing Function
Reset to Factory Setting
Interface Parameters
Data Transfer Mode
Printout
Baud Rate
Data Output RS 232 C
Technical Data
Pin Allocation of Balance Output Bushing
Explanation of the Data Transfer
Output on Bar Code Printer
Service, Maintenance, Disposal
Cleaning
Service, Maintenance
Disposal
Instant Help
Advertisement
Quick Links
1
Adjustment
Download this manual
Operating Manual
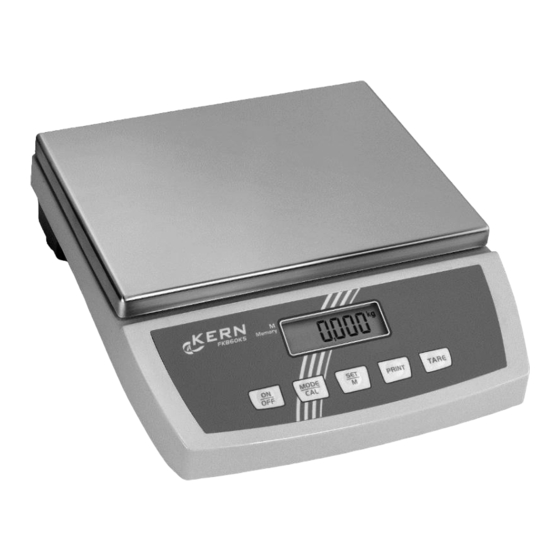
Compact balance
KERN FKB_A
Version 1.5
04/2016
GB
KERN & Sohn GmbH
Ziegelei 1
D-72336 Balingen
email: info@kern-sohn.com
Phone: +49-[0]7433- 9933-0
Fax: +49-[0]7433-9933-149
Internet: www.kern-sohn.com
FKB_A-BA-e-1615
Table of
Contents
Previous
Page
Next
Page
1
2
3
4
5
Advertisement
Table of Contents
Need help?
Do you have a question about the FKB A Series and is the answer not in the manual?
Ask a question
Questions and answers
Related Manuals for KERN FKB A Series
Scales KERN FKB 6K0.02 Operating Instructions Manual
Table scales (59 pages)
Scales KERN 572 Operating Instructions Manual
Precision/ compact balances and platform scales (42 pages)
Scales KERN 572-30 Operating Instructions Manual
Precision/ compact balances and platform scales (37 pages)
Scales KERN 572 Operating Instructions Manual
Precision/ compact balances and platform scales (40 pages)
Scales KERN FKB Operating Instructions Manual
Table scales (59 pages)
Scales KERN 572-30 Operating Instructions Manual
Precision/ compact balances and platform scales (26 pages)
Scales KERN CKE 360-3 Operating Manual
Counting balances cke/cds series (22 pages)
Scales KERN CKE 6k0.02 Operating Manual
Counting balances (19 pages)
Scales KERN FKB 6K0.02 Operating Manual
Table scales (43 pages)
Scales KERN FKB 6K0.02 Operating Instructions Manual
(178 pages)
Scales KERN FCD 10K-3 User Manual
(30 pages)
Scales KERN FKA Operating Instructions Manual
Inventory balance (47 pages)
Scales KERN FKT Series Operating Instructions Manual
Touch screen-industrial balance (161 pages)
Scales KERN KB Series Operating Instructions Manual
Electronic precision and platform balances (22 pages)
Scales KERN FKT Service Manual
Industrial and laboratory scales (16 pages)
Scales KERN FKB 65K1A Operating Manual
(37 pages)
This manual is also suitable for:
Fkb 8k0.1a
Fkb 15k0.5a
Fkb 15k1a
Fkb 30k1a
Fkb 65k1a
Table of Contents
Print
Rename the bookmark
Delete bookmark?
Delete from my manuals?
Login
Sign In
OR
Sign in with Facebook
Sign in with Google
Upload manual
Upload from disk
Upload from URL


Need help?
Do you have a question about the FKB A Series and is the answer not in the manual?
Questions and answers