
Related Manuals for Akw Option P


Summary of Contents for Akw Option P
- Page 1 Options P/PW Shower Screens INSTALLATION AND USER MANUAL Please read all instructions before installation and leave this document with the end user for future reference as it contains important warranty information...
-
Page 2: Screen Options
Line the outside edge of the compensator up with the edge of the tray. The slots in the compensator for the adjustment mechanism Inside tray edge should be on the inside of the showering area. Outside tray edge General: 01905 823 298 www.akw-ltd.co.uk... -
Page 3: Installation
Insert any wall showering plugs and replace the compensator. screw the Tray area compensator to the wall with 4.2 x 38 mm pan Fig. 3.0 head screws (no.8 x 1 ½”). Order: 01905 823 299 orders.akw-ltd.co.uk Technical Support: 01905 560 219... - Page 4 4.2 x 32 mm pan head screw (no.8 x 1 ¼”). Replace the post and door, then screw the pivot block down with a 3.5 x 25 mm pan head screw (no.6 x 1”). General: 01905 823 298 www.akw-ltd.co.uk...
- Page 5 Place the spring into the door. screw the top cap down using a 3.5 x 25 mm pan head screw (no.6 x 1”) and fit the screw cap. Fig. 7.0 Cover Cap no.6 x 1 pan post Top Pivot spring Panel Panel Door Order: 01905 823 299 orders.akw-ltd.co.uk Technical Support: 01905 560 219...
- Page 6 The screen may need adjusting if the wall is not square with the floor. adjust the screen so that the bottom seal is touching the tray along its full length. Fig. 9.0 Fig. 9.1 adjusting plate(s) General: 01905 823 298 www.akw-ltd.co.uk...
- Page 7 ½ pan with uniscrew cap. Viewed from outside of the tray 11. Fit all remaining Caps Fit all panel stile caps and compensator caps. Fig. 11.0 Fig. 12 Fig. 13 Order: 01905 823 299 orders.akw-ltd.co.uk Technical Support: 01905 560 219...
- Page 8 ⅝” csk No.6 x ” csk Ensure that the closing strip Ensure that magnet and adaptor are is correctly positioned correctly positioned F ig. 17 F ig. 18 General: 01905 823 298 www.akw-ltd.co.uk...
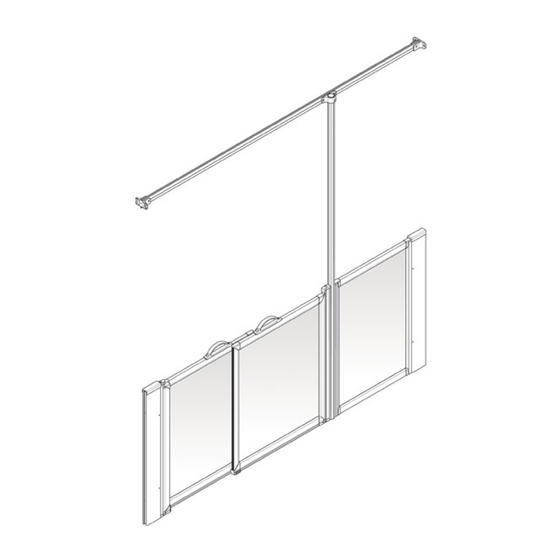
- Page 9 (no.8 x 1 ½”). attach the rail to the wall bracket with 4.2 x 13 mm pan head screws (no.8 x ½”). Insert the screw caps. Fig. 15.0 Cover Rail caps Wall bracket plugs Rail Screen no.8 x Inside edge 1½ pan of tray no.8 x ½ pan Order: 01905 823 299 orders.akw-ltd.co.uk Technical Support: 01905 560 219...
- Page 10 3 mm pilot holes, and screw together using 4.2 x 13 mm pan head screws (no.8 x ½”). Insert the post cap and screw caps. Fig. 16.0 post cap Rail no.8 x ½ pan post General: 01905 823 298 www.akw-ltd.co.uk...
- Page 11 Power showers should not be specified for use with aKW shower trays and screens. It is recommended that only aKW screens be used with aKW shower trays. These products have been designed to complement each other.
- Page 12 If you have a problem with this product, please contact your local installer. If this does not resolve the issue, contact the AKW Technical Enquiries who can provide Follow us on Social: further advice and, if necessary, arrange for a maintenance engineer to visit and report any issues.
Need help?
Do you have a question about the Option P and is the answer not in the manual?
Questions and answers