Sign In
Upload
Download
Table of Contents
Contents
Add to my manuals
Delete from my manuals
Share
URL of this page:
HTML Link:
Bookmark this page
Add
Manual will be automatically added to "My Manuals"
Print this page
×
Bookmark added
×
Added to my manuals
Manuals
Brands
SOLIS Manuals
Inverter
S6-GC25K-US
User manual
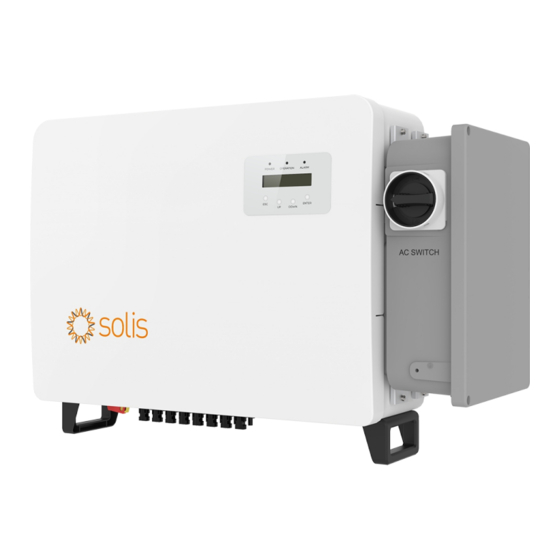
SOLIS S6-GC25K-US User Manual
Grid inverter
Hide thumbs
Also See for S6-GC25K-US
:
User manual
(105 pages)
1
2
3
Table Of Contents
4
5
6
7
8
9
10
11
12
13
14
15
16
17
18
19
20
21
22
23
24
25
26
27
28
29
30
31
32
33
34
35
36
37
38
39
40
41
42
43
44
45
46
47
48
49
50
51
52
53
54
55
56
57
58
59
60
61
62
63
64
65
66
67
68
69
70
71
72
73
74
75
76
77
78
79
80
81
82
83
84
85
86
87
88
89
90
91
page
of
91
Go
/
91
Contents
Table of Contents
Troubleshooting
Bookmarks
Table of Contents
Table of Contents
Introduction
Product Description
Front Panel Display
LED Status Indicator Lights
Unpacking
Inverter Circuit Diagram
Tools Required for Installation
Storage
Notice of Disposal
Safety Instruction
Safety Symbols
General Safety Instructions
Notice for Use
Protection Circuitry and Controls
Installation
Environmental Considerations
Select a Location for the Inverter
Other Environmental Considerations
Product Handling
Mounting the Inverter
Wall Mounting
Rack Mounting
Electrical Connections
Grounding
Connect PV Side of Inverter
Connect Grid Side of Inverter
Communication & Monitoring
RS485 Communication
Commissioning
Selecting the Appropriate Grid Standard
Verifying Grid Standard for Country of Installation
Changing the Grid Standard
Procedure to Set the Grid Standard
Setting a Custom Grid Standard
Preliminary Checks
DC Configuration
AC Configuration
DC Connections
AC Connections
Normal Operation
Start-Up Procedure
Shutdown Procedure
Main Menu
Information
Lock Screen
Settings
Set Time
Set Address
Advanced Info - Technicians Only
Alarm Message
Running Message
Version
Daily Energy
Monthly Energy
Yearly Energy
Daily Records
Communication Data
Warning Message
Advanced Settings - Technicians Only
Selecting Standard
Grid ON/OFF
Clear Energy
Reset Password
Power Control
Calibrate Energy
Special Settings
STD Mode Settings
Restore Settings
HMI Update
External EPM Set
Restart HMI
Debug Parameter
Fan Test
DSP Update
Compensation Set
I/V Curve
AFCI Function
Maintenance
Anti-PID Function
Fan Maintenance
Troubleshooting
Current Alarm
Alarm History
Error Messages
Specifications
Appendix
Advertisement
Quick Links
1
Inverter Circuit Diagram
2
Installation
3
Electrical Connections
Download this manual
User Manual
for S6 Series Grid Inverter
Applicable models
S6-GC25K-US
S6-GC33K-US
S6-GC36K-US
S6-GC40K-US
S6-GC50K-US
S6-GC60K-US
S6-GC-30K-LV-US
Version 1.0, Release Date: 08,2023
Table of
Contents
Previous
Page
Next
Page
1
2
3
4
5
Advertisement
Table of Contents
Need help?
Do you have a question about the S6-GC25K-US and is the answer not in the manual?
Ask a question
Questions and answers
Related Manuals for SOLIS S6-GC25K-US
Inverter SOLIS S6-GC33K-US User Manual
Grid tie inverter (105 pages)
Inverter SOLIS S6-EH3P29.9K-H User Manual
Hybrid inverter (73 pages)
Inverter SOLIS S6 Series User Manual
Hybrid inverter (68 pages)
Inverter SOLIS S6 Series User Manual
Hybrid inverter (68 pages)
Inverter SOLIS S6 Series User Manual
Hybrid inverter (66 pages)
Inverter SOLIS S6-EH3P7K-H-LV User Manual
Hybrid inverter (64 pages)
Inverter SOLIS S6-EH3P5K2-H User Manual
Hybrid inverter (59 pages)
Inverter SOLIS S6 Series Manual
Hybrid inverter (50 pages)
Inverter SOLIS S6 Series User Manual
Ac coupled inverter (49 pages)
Inverter SOLIS S6 Series User Manual
Grid inverter (47 pages)
Inverter SOLIS S6 Series User Manual
(32 pages)
Inverter SOLIS S6-GR1P6K Installation And Operation Manual
Single phase inverter (29 pages)
Inverter SOLIS S6-GR1P K-M Series Installation And Operation Manual
Mini single phase inverter (29 pages)
Inverter SOLIS S6 Series Installation And Operation Manual
Three phase inverter (28 pages)
Inverter SOLIS S6 Installation And Operation Manual
Single phase inverter (25 pages)
Inverter SOLIS S6 Quick Configuration Manual
Hybrid three phase inverter (12 pages)
This manual is also suitable for:
S6 series
S6-gc33k-us
S6-gc36k-us
S6-gc40k-us
S6-gc50k-us
S6-gc60k-us
...
Show all
S6-gc-30k-lv-us
Table of Contents
Print
Rename the bookmark
Delete bookmark?
Delete from my manuals?
Login
Sign In
OR
Sign in with Facebook
Sign in with Google
Upload manual
Upload from disk
Upload from URL


Need help?
Do you have a question about the S6-GC25K-US and is the answer not in the manual?
Questions and answers