
Subscribe to Our Youtube Channel
Related Manuals for Idmed AlgiScan


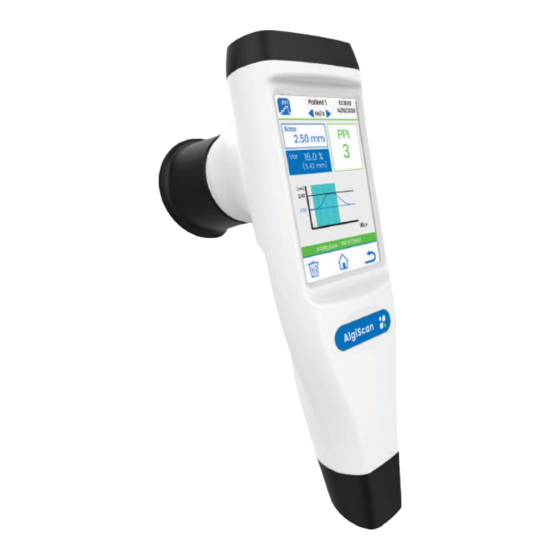
Summary of Contents for Idmed AlgiScan
- Page 1 S E RV I C E M AN UA L Service Manual NeuroLight / AlgiScan Last Update 2021/04/15 Ref: NL/ALG-SM-RevB-EN...
- Page 2 Service Manual NeuroLight / AlgiScan - Rev B...
-
Page 3: Table Of Contents
Hardware part control ......................4 c. Software part control ....................... 4 d. Functionals controls ......................... 5 Maintenance operations specific to the AlgiScan ........ 6 a. Hardware part control ......................6 b. Functionals controls ......................... 6 II. Disassembling process ................. 8 a. -
Page 4: Maintenance Operations
Actions described in this service manual must be carried out by a technician approved by IDMED. Refer to the user manual for information on cleaning and disinfection, end-of-life material / recycling, and the environment. I. Maintenance Operations Shared maintenance operations between AlgiScan/NeuroLight a. -
Page 5: Functionals Controls
- Scan the barcode to enter the “Additional Settings” menu. This will turn on the LEDs continuously. - Position the eyecup on the light meter. - Adjust the “Flash Intensity” coefficient until you get between 320 and 330 Lux. - Record this coefficient on the ENR/13/20-D test sheet. Service Manual NeuroLight / AlgiScan - Rev B... -
Page 6: Maintenance Operations Specific To The Algiscan
Hardware part control - Check the condition of the LEMO connector (see LEMO connector change section) b. Functionals controls - Check the 60mA pulses generated by the AlgiScan using the 4K test impedance (see detail here after) Necessary accessories:... - Page 7 - Set the AlgiScan to PPI mode - Aim at the black dot on the “Pupil Target” card with the AlgiScan by placing the rigid eyecup on it. - Launch a PPI by pressing and holding the central icon for several seconds until all the “beeps”...
-
Page 8: Disassembling Process
1) For the AlgiScan only, unscrew the LEMO connector located on the bottom silicone bumper. 2) For all devices, with a plastic stylus, remove the product name sticker (‘AlgiScan’ or ‘NeuroLight’) to uncover the screws and then proceed with the front and rear bumpers as well as the silicone eyecup. - Page 9 4) Disassemble the 2 parts of the handle. 5) Remove the K6 jumpers and disconnect the K2 battery. b. LEMO connector change (only for the AlgiScan) 1) Unsolder the 2 wires in K1 and then resolder the LEMO connector supplied.
-
Page 10: Battery Change
1) Unscrew the 6 screws on the optical room using a phillips screwdriver. 2) Disconnect connector K1 3) Remove the optical room 4) Clean the diffusing panel with a dusting spray Diffusing panel Service Manual NeuroLight / AlgiScan - Rev B... -
Page 11: Disassembling Mother Board (For Screen Change)
Insulator + Shell contacts Remove the sheath between 1cm and 1.4cm (1/2inch). Cut all wires and shielding except the white and brown wires. Strip these two wires about 3mm. Tin all wires. Service Manual NeuroLight / AlgiScan - Rev B... - Page 12 Screw the connector at the max and swipe out the excess of glue. Apply a drop of silicon glue on the shell of the LEMO connector to keep the blue bend relief in place (ex.Silcoset 153). Apply here Let dry for 24 hours. Service Manual NeuroLight / AlgiScan - Rev B...
-
Page 13: Mechanical Drawing
Mechanical Drawing Overall set AlgiScan and NeuroLight Front housing Back housing 2,5x1.6mm countersunk screw Product name sticker Front silicone bumper Rear silicone bumper LEMO connector (AlgiScan only) Identification label Service Manual NeuroLight / AlgiScan - Rev B... - Page 14 Front sub-set Front housing Screen seal Touch screen barcode reader 2,5mm x 10mm screw Service Manual NeuroLight / AlgiScan - Rev B...
- Page 15 Service Manual NeuroLight / AlgiScan - Rev B...
Need help?
Do you have a question about the AlgiScan and is the answer not in the manual?
Questions and answers