
Related Manuals for Fluidmaster PerforMAX 400CAR3


Summary of Contents for Fluidmaster PerforMAX 400CAR3
- Page 1 QUICK Install Guide 400CAR3 PerforMAX FILL VALVE & 3” FLAPPER ® *See back page for important legal information. SPANISH - Page 16 INSTALL WITH CONFIDENCE...
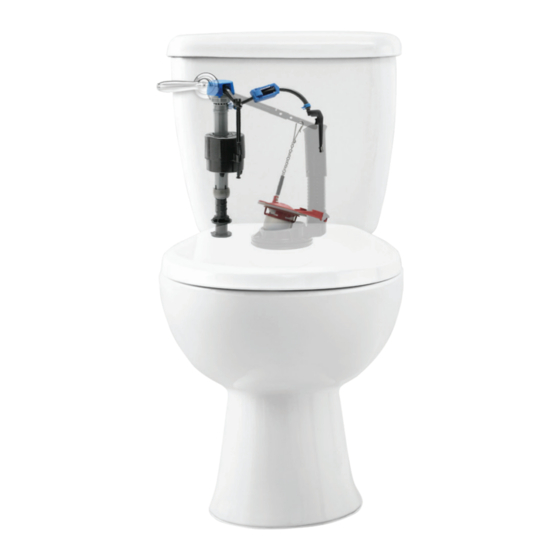
- Page 2 GETTING STARTED STEP 1: PREPARE TANK A: TURN OFF WATER PARTS OVERVIEW TOOLS NEEDED PerforMAX Fill Valve ™ Refill Tube Clamp Bucket Sponge Tank Water Level Adjustment Screw Towel Scissors TURN (Optional) CLOCKWISE Bowl Water Level Adjustment Roller Clamp B: DRAIN WATER Flush toilet to drain most of the water from the tank.
- Page 3 STEP 2: REMOVE OLD FILL VALVE STEP 3: REMOVE OLD FLAPPER A: REMOVE CONNECTOR A: REMOVE FLAPPER CHAIN Remove water supply Pinch clasp to unhook Tank Lever connector from bottom chain from tank lever. of fill valve by twisting connector nut to the left LEFT (clockwise).
- Page 4 STEP 4: INSTALL NEW FLAPPER STEP 5: ADJUST HEIGHT OF NEW FILL VALVE A: TWIST FILL VALVE TO ADJUST HEIGHT A: INSTALL NEW FLAPPER Top of fill valve cap should measure roughly 3" Place flapper on top of flush above top of overflow pipe when installed. valve seat and snap arms onto flush valve mounting posts.
- Page 5 STEP 7: FINISHING STEPS STEP 6: INSTALL NEW FILL VALVE A: ATTACH WATER SUPPLY INSTALL SHANK WASHER CONNECTOR TO FILL VALVE Pull up to top of shank. Twist to the right Shank Washer * Place shank washer onto (counterclockwise) RIGHT threaded shank of fill valve.
- Page 6 STEP 9: FINE TUNE FLUSH STEP 8: FINE-TUNE BOWL WATER LEVEL A: TEST FLUSH A: FLUSH THE TOILET Drop 3 squares of toilet paper in TO CHECK THE TANK bowl then flush. WATER LEVEL After the water stops filling the 1/2"...
- Page 7 STEP 10: FINE-TUNE BOWL WATER LEVEL STEP 11: FLUSH THE TOILET FILL BOWL WITH A GALLON OF WATER A: FLUSH THE TOILET Wait 1 minute until the bowl water level recedes If you’re satisfied with the flush, YOU’RE DONE! down and stops. MARK THE WATER LEVEL IN THE BOWL With a pencil, draw a line at the top of the water level in bowl.
Need help?
Do you have a question about the PerforMAX 400CAR3 and is the answer not in the manual?
Questions and answers