Table of Contents
Advertisement
Quick Links
Advertisement
Table of Contents

Related Manuals for Philco LIMA 80


Summary of Contents for Philco LIMA 80
- Page 1 RANGE HOOD USER'S MANUAL LIMA 80...
- Page 2 Dear customer, Thank you for buying a PHILCO brand product. So that your appliance serves you well, please read all the instructions in this user's manual.
-
Page 3: Table Of Contents
Contents PART 1: IMPORTANT SAFETY INSTRUCTIONS ........4 Caution ..........................4 PART 2: DESCRIPTION OF THE APPLIANCE ........6 PART 3: INSTALLATION ................7 Use ...........................7 Electrical connection ......................8 Mounting...........................8 PART 4: OPERATION ................15 PART 5: MAINTENANCE AND CLEANING .........16 Cleaning .........................16 Grease filter........................17 Charcoal filter (filter version only)...................17 Replacing lamps......................18 PART 6: BEFORE YOU CALL THE SERVICE CENTRE .....19... -
Page 4: Part 1: Important Safety Instructions
PART 1: IMPORTANT SAFETY INSTRUCTIONS Closely follow the instructions set out in this manual. All responsibility, for any eventual inconveniences, damages or fires caused by not complying with the instructions in this manual, is declined. The hood is conceived for the suction of cooking fumes and steam and is destined only for domestic use. It is important to conserve this booklet for consultation at any moment. - Page 5 CAUTION: Accessible parts of the hood may become hot when used with cooking appliances. For lamp replacement use only lamp type indicated in the Maintenance/Replacing lamps section of this manual. WARNING! Do not connect the appliance to the mains until the installation is fully complete. With regards to the technical and safety measures to be adopted for fume discharging it is important to closely follow the regulations provided by the local authorities.
-
Page 6: Part 2: Description Of The Appliance
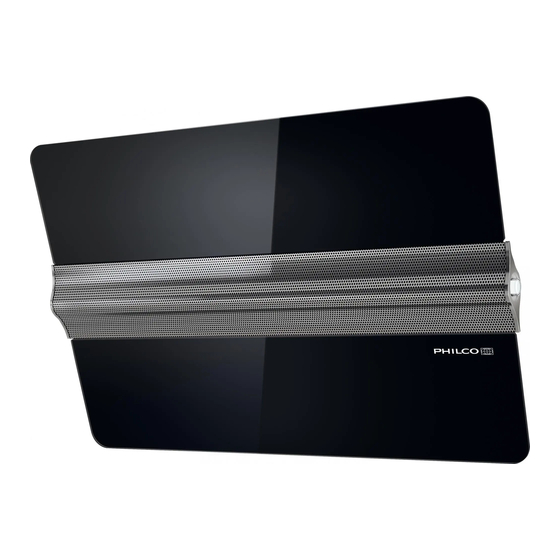
PART 2: DESCRIPTION OF THE APPLIANCE 1. Control panel 2. Grease filter 3. Halogen lamp 4. Vapour catcher... -
Page 7: Part 3: Installation
PART 3: INSTALLATION The hood is designed to be used either for exhausting or filter version. Ducting version In this case the fumes are conveyed outside of the building by means of a special pipe connected with the connection ring located on top of the hood. Attention! The exhausting pipe is not supplied and must be purchased apart. -
Page 8: Electrical Connection
Electrical connection The mains power supply must correspond to the rating indicated on the plate situated inside the hood. If provided with a plug connect the hood to a socket in compliance with current regulations and positioned in an accessible area, after installation. If it not fitted with a plug (direct mains connection) or if the plug is not located in an accessible area, after installation, apply a double pole switch in accordance with standards which assures the complete disconnection of the mains under conditions relating to over-current category III, in accordance with installation instructions. -
Page 15: Part 4: Operation
PART 4: OPERATION The control panel consists of a backlit knob • To turn on and off the lights: Press the knob (T1) to turn on and off the lights •To select the available suction speeds: Rotate clockwise the knob (T1) to increase suction speed and counterclockwise to decrease it, until the hood is turned off. -
Page 16: Part 5: Maintenance And Cleaning
PART 5: MAINTENANCE AND CLEANING Cleaning Clean using ONLY the cloth dampened with neutral liquid detergent. DO NOT CLEAN WITH TOOLS OR INSTRUMENTS. Do not use abrasive products. DO NOT USE ALCOHOL! Maintenance of the panel Dismantling: - Remove the panel/central grid, by sliding it to the left - Pull the panel towards yourself Cleaning: the panel should be cleaned with the same frequency as the fat filters, using a cloth soaked in neutral liquid... -
Page 17: Grease Filter
Grease filter Traps cooking grease particles. This must be cleaned once a month (or when the filter saturation indication system – if envisaged on the model in possession – indicates this necessity) using non aggressive detergents, either by hand or in the dishwasher, which must be set to a low temperature and a short cycle. -
Page 18: Replacing Lamps
Replacing lamps Disconnect the appliance from the electricity. Warning! Prior to touching the light bulbs ensure they are cooled down. Replace the old light bulb with the one of the same type as specified in the feature label or near the light lamp on the hood. -
Page 19: Part 6: Before You Call The Service Centre
PART 6: BEFORE YOU CALL THE SERVICE CENTRE If the appliance is not working as it should check the following recommendations for resolving the most common problems. If the problem persists or it is not included in the table below, turn off the appliance and disconnect it from the power socket and contact an authorised service centre. -
Page 20: Part 7: Technical Specifications
PART 7: TECHNICAL SPECIFICATIONS Air flow (m³/h) Low speed Noise level (dba) Air flow (m³/h) Medium speed Noise level (dba) Air flow (m³/h) High speed Noise level (dba) Air flow (m³/h) Intensive speed Noise level (dba) Pressure (Pa): 394 Power (W): 179,5 Input Voltage: 220-240V ~ 50 Hz Air outlet diameter:15 cm...
Need help?
Do you have a question about the LIMA 80 and is the answer not in the manual?
Questions and answers