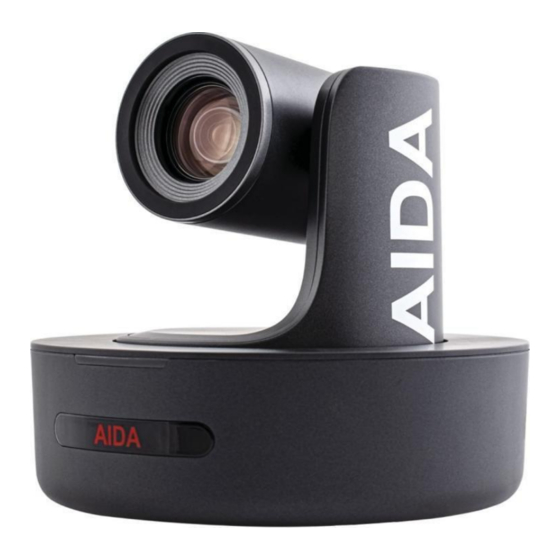
Summary of Contents for AIDA PTZ-X12-IP
- Page 1 AIDA PTZ IP/NDI FW Upgrade Guide PTZ-X12-IP, PTZ-X20-IP, PTZ-NDI-X12, PTZ-NDI-X18, PTZ-NDI-X20, PTZ4K-NDI-X30 Version: 10.20.22...
- Page 2 Or give us a call during our normal business hours of 8AM-5PM, Monday to Friday (PST.) We will be more than happy to assist you. Thank you for choosing AIDA Imaging as your Imaging solution! Page | 2...
-
Page 3: What You Need
What you need: • AIDA PTZ Camera This firmware applys to: • PTZ-X12-IP, PTZ-X20-IP, PTZ-NDI-X12, PTZ-NDI-X18, PTZ-NDI-X20, PTZ4K-NDI-X30 • Network / Ethernet cable for web UI • Windows PC (apple not supported) • Latest Firmware (2 bin files) • Most Current FW Versions: •... - Page 4 Step 1: Arm / ISP Update 1. You will start by entering the web UI. Please make sure the PTZ and PC are either hardlined or on the same network. The default IP for the web address is 192.168.1.188. Default password is admin/admin *Note that if you are unable to access the cameras network, the camera’s ip address may not be on the same network or is changed.
- Page 5 2. Next, you will head to the top right tab under settings and find Firmware Upgrade 3. Click the select File button 4. Find the ARM file that came with the download file (located in ARM – STEP 1 folder) *Name will vary per model. Page | 5...
- Page 6 5. The file selected will now be shown as below. Once you confirm that is the correct file, please press upgrade. 6. Patiently wait for the upgrade to finish. You will get a confirmation as seen below, and then you will get redirected back to the login page.
- Page 7 7. Log back into the camera and head back to the firmware upgrade page. 8. Click on Select File once again, and find the ISP file that came with the download file. (located in ISP – STEP 2 folder). *Name will vary per model. 9.
- Page 8 11. Once you are sent back to the login, please unplug the cameras power supply. Wait 5 seconds, then replug. 12. After the restart, the upgrade should be complete. If something is still off are not functioning, please try the upgrade process again or contact us at support@aidaimaging.com if you need more...
- Page 9 If you want to check if the FW update worked, go to the OSD menu and check the app version. If it has changed, then you have successfully update the FW. Most Current FW Versions: X12 – V317 X18 – V1151 X20 –...
- Page 10 AIDA related! AIDA Imaging Newsletter Subscribe Form Again, if you have any questions about this process, please message or call our support staff at: support@aidaimaging.com...
- Page 11 If it is further stuck, please follow the following steps: 1. Please download our engineering tool: https://aidaimaging.com/wp- content/uploads/2021/05/AIDA-Engineering-Tool.zip (windows only) 2. When opening the file, please click the US flag for English. 3. Next, you will make sure your IP address for your PC is on the left, FIC protocol is left alone, and then click search.
- Page 12 5. If the IP is different, but still on your same network, please enter that IP address into your web browser and try to connect. 6.If the IP is different AND its on a different network, you will have to change your network device IPv4 adrress to connect to it.


Need help?
Do you have a question about the PTZ-X12-IP and is the answer not in the manual?
Questions and answers