Advertisement
Quick Links
Advertisement

Related Manuals for AIDA PTZ-NDI-X


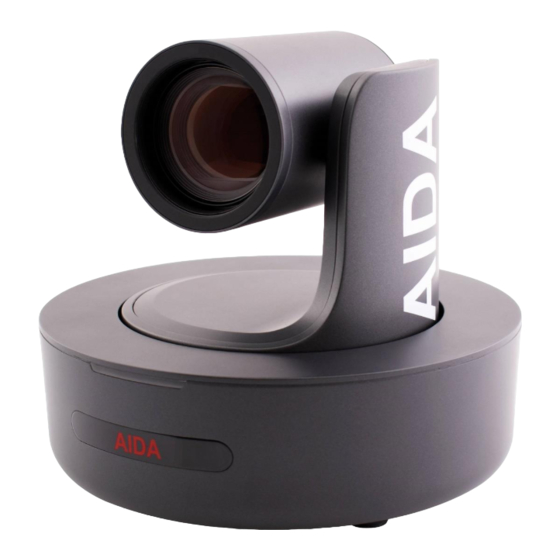
Summary of Contents for AIDA PTZ-NDI-X
- Page 1 PTZ-NDI-X FW Upgrade Guide Version: 11.16.20...
- Page 2 Or give us a call during our normal business hours of 8AM-5PM, Monday to Friday (PST.) We will be more than happy to assist you. Thank you for choosing AIDA Imaging as your Imaging solution! Page | 2...
-
Page 3: What You Need
What you need: • AIDA NDI Series Camera • RS232-Mini Din cable (included in box) • RS232-USB cable (not included)* • Network / Ethernet cable for web UI • Windows PC (apple not supported) • mcuispSTM program** • Latest Firmware (hex and bin files) *RS232-USB cables can be found at your electronics stores, or Amazon. - Page 4 RS232-USB cable: RS232-Minidin cable included in the box: *Please make sure you downloaded the correct zoom model for your PTZ. The FW updates have different procedures. Page | 4...
- Page 5 NDI DISCLAIMER: During the upgrade, your camera should not lose its ability to transmit NDI. However, the following procedure can still possibly cause a loss of NDI transmission. If this problem were to arise, please contact our support via email and we will get back to you as soon as possible.
- Page 6 Step 1: Arm Upgrade 1. Please unplug the power from camera and flip the PTZ upside down. You are looking for a set of dipswitches labeled 1-6. You will flip switches 1 and 2 off. 2. Take your RS232-USB adapter, and connect it to the RS232-Mini Din cable.
- Page 7 5. Set the camera COM number to the corresponding camera. It usually shows up as “Free Prolific USB-to-Serial Comm Port.” (results may vary) Next, set the baud rate to 115200. Next, set the firmware file to “AIDA- NDIXX-ARMUP.” It will look like this: Page | 7...
- Page 8 6. Make sure STM ISP header is chosen, and click start ISP. 7. Wait for the “Mission Complete sign message on the right. Please wait for the 30 seconds before unplugging the camera. 8. Once the camera is unplugged, change the switches in part 1 back to ON.
- Page 9 Step 2: IP / NDI ISP Update *Do not proceed if you did not complete part 1. 1. You will start by entering the web UI. Please make sure the PTZ and PC are either hardlined or on the same network. The default IP for the web address is 192.168.1.188.
- Page 10 2. Next, you will head to the top right tab under settings. 3. Next, you will click select file and look for the AIDA-NDIxx-ISP.bin 4. Once found, wait for the upload box to appear. Then click upload. 5. Do not leave or exit the page. A prompt should pop up with a status bar.
- Page 11 If you want to check if the FW update worked, go to the OSD menu and check the app version. If it has changed, then you have successfully update the FW. Latest Versions: X12 – V200 X20 – V904 After this, the firmware has been successfully updated! Page | 11...
- Page 12 AIDA related! AIDA Imaging Newsletter Subscribe Form Again, if you have any questions about this process, please message or call our support staff at: support@aidaimaging.com...
Need help?
Do you have a question about the PTZ-NDI-X and is the answer not in the manual?
Questions and answers