Table of Contents
Advertisement
Quick Links
Advertisement
Table of Contents

Related Manuals for BK Precision 4014B


Summary of Contents for BK Precision 4014B
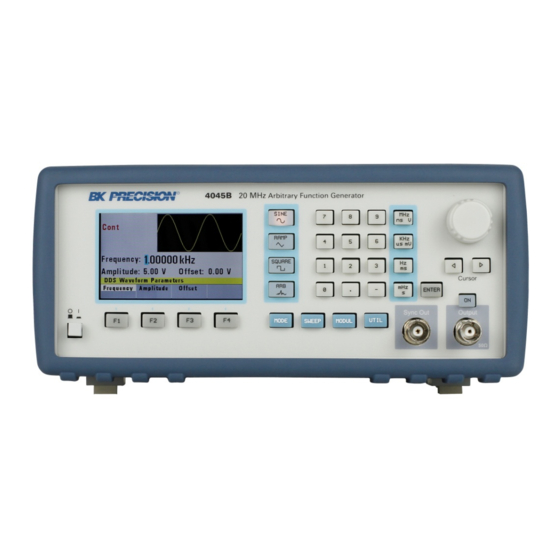
- Page 1 Model: 4014B, 4040B, 4045B Function Generator Software Help Document...
-
Page 3: System Requirements
Overview The B&K Precision 4014B/4040B and 4045B provides a standard set of protocols that allows for remote control over PC. This software allows for basic controls and virtual front panel emulation to allow you to control most of the adjustable parameters of the instrument. -
Page 4: Getting Started
Getting Started Panel Controls Initialize/Communication Control Display Panel Waveform Buttons Waveform Parameter Control Save/Recall Settings Control Trigger Settings Control Modulation Settings Control Sweep Settings Control Output Control... - Page 5 When finished, go to “Device Manager” in Windows Properties to verify which COM port the instrument is assigned to. It should say BK Precision USB to Serial Converter (COM#) where # is the COM port number that you will use to connect to the...
- Page 6 Click the “Connect” button and wait a few seconds. The round red light will turn green to indicate that it’s successfully connected to the instrument. During this time, the software will get information from the instrument to update most of the currently configured information, such as Waveform Shape, Frequency, Amplitude, Offset, Trigger Mode, Sweep, and Modulation.
-
Page 7: Save/Recall Settings
The instruments can save or recall settings to and from within internal non-volatile storage memory. 4014B can store up to 9 user settings and 4040B and 4045B can store up to 19 user settings. One memory location is reserved for the default setting and cannot be changed. -
Page 8: Trigger Setup
Configure the instrument to the settings you want to save. Then, enter a number between 1 – 9 (4014B) or 1 – 19 (4040B and 4045B) in the Memory location input box. Then click the “Save” button and all the current instrument settings will be stored to the designated memory location. - Page 9 Configure Trigger Mode The instrument has four different triggering modes: Continuous, Triggered, Gate, Burst. Continuous – The instrument will output the waveform continuously without the need to specify any trigger parameters. This is the default mode of the instrument, and it’s also the mode used for sweep function and modulation.
- Page 10 To configure, enter a value in the input box and press either “us”, “ms”, or “s” to set the time unit. The trigger rate range is 10 ms – 10 s. However, depending on the frequency of the waveform these limits may change. In some cases, if the settings conflict you will get a “Trig rate short”...
- Page 11 Note: To sweep in reverse direction, simply change the frequency values between start and stop frequency. Configure Sweep Rate The sweep rate is controlled by the instrument and can be set to any time between 10 ms to 100 s. On the software, this rate must be specified in seconds. For example, to set to 20 ms, type in 0.020 and then press “s”.
- Page 12 The shape of the modulating signal can be selected between Sine, Square, and Triangle. For model 4014B, only Sine is available. Use the drop down box to select one, and then press the “Set” button next to it to set the modulation shape.
- Page 13 The instrument has an output ON/OFF button to enable/disable the waveform output. To turn ON the output, press the “ON” button and the square indicator will turn green. To turn OFF the output, press the “OFF” button and the square indicator will no longer be green.
Need help?
Do you have a question about the 4014B and is the answer not in the manual?
Questions and answers