Sign In
Upload
Download
Table of Contents
Contents
Add to my manuals
Delete from my manuals
Share
URL of this page:
HTML Link:
Bookmark this page
Add
Manual will be automatically added to "My Manuals"
Print this page
×
Bookmark added
×
Added to my manuals
Manuals
Brands
Chef's Choice Manuals
Kitchen Appliances
663
Manual
Chef's Choice 663 Manual
Professional electric food slicer
Hide thumbs
1
2
3
4
5
6
7
8
9
10
11
12
page
of
12
Go
/
12
Contents
Table of Contents
Bookmarks
Table of Contents
Important Safeguards
Parts List
For Your Safety
Hints for Best Results
Cleaning and Maintenance
Advertisement
Quick Links
Download this manual
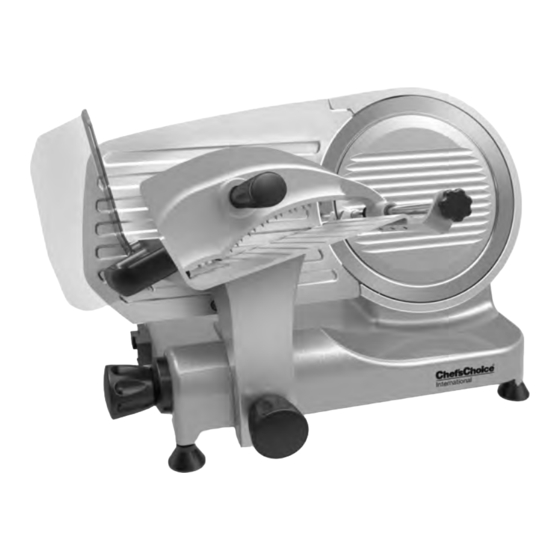
Professional Electric Food Slicer
Model 663/672
Table of
Contents
Previous
Page
Next
Page
1
2
3
4
5
Advertisement
Table of Contents
Need help?
Do you have a question about the 663 and is the answer not in the manual?
Ask a question
Questions and answers
Related Manuals for Chef's Choice 663
Kitchen Appliances Chef's Choice 610 Owner's Manual
Electric food slicer (9 pages)
Kitchen Appliances Chef's Choice 610 User Manual
(9 pages)
Kitchen Appliances Chef's Choice 610 Manual
Electric food slicer (9 pages)
Kitchen Appliances Chef's Choice 645 User Manual
Professional vari tilt electric food slicer (9 pages)
Kitchen Appliances Chef's Choice 615 User Manual
Electric food slicer (9 pages)
Chef's Choice 615 Premium Electric Food Slicer Manual
(article)
Kitchen Appliances Chef's Choice 607 Instructions Manual
Food slicer (25 pages)
Chef's Choice 6102 Electric Food Slicer Manual
(article)
Chef's Choice 609 Electric Food Slicer Manual
(article)
Kitchen Appliances Chef's Choice 609A000 Quick Start Manual
Electric food slicer (8 pages)
Kitchen Appliances Chef's Choice 615A Quick Start Manual
Premium electric food slicer (8 pages)
Kitchen Appliances Chef's Choice 615A Manual
(24 pages)
Chef's Choice 615A - Slicer Manual
(article)
Kitchen Appliances Chef's Choice 665 Manual
Premium electric food slicer (8 pages)
Kitchen Appliances Chef's Choice 672 Manual
Professional electric food slicer (12 pages)
Kitchen Appliances Chef's Choice Diamond Hone 4633 Manual
Angleselect diamond hone professional manual knife sharpener (6 pages)
This manual is also suitable for:
672
Table of Contents
Print
Rename the bookmark
Delete bookmark?
Delete from my manuals?
Login
Sign In
OR
Sign in with Facebook
Sign in with Google
Upload manual
Upload from disk
Upload from URL


Need help?
Do you have a question about the 663 and is the answer not in the manual?
Questions and answers