
Related Manuals for Ocular IQ TOWER


Summary of Contents for Ocular IQ TOWER
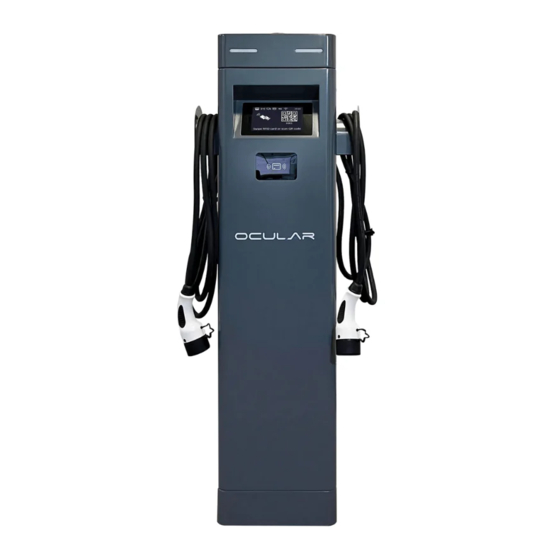
- Page 1 INSTALLATION GUIDE OCULAR IQ TOWER IOCAP06C-7 / IOCAP06C-22 / IOCAP06C-22T ocularcharging.com.au sales@ocularcharging.com.au 1300 912 650...
-
Page 2: Table Of Contents
CONTENTS Specifications Features Product Overview Safety Instructions Installation Tools Required Overview of Steps Step One - Check Box Contents Step Two - Concrete Anchoring Step Three - Power Cable Wiring Step Four - Internet Connection Step Five - Verify The Installation Step Six - Secure Cover LCD Display Details Troubleshooting... -
Page 3: Specifications
SPECIFICATIONS IOCAP06C-22 | IOCAP06C-22T IOCAP06C-7 Model 230V AC single-phase: 400V AC three-phase: Voltage and Wiring LIVE, NEUTRAL, and EARTH. L1, L2, L3, NEUTRAL, and EARTH. Current and Power Maximum 32A and 7kW Maximum 32A and 22kW Frequency 50-60 Hz Internal RCCB AC 30mA, DC 6mA Type B RCCB x 2 Internal MCB 50A MCB x 2... -
Page 4: Features
LCD Screen & RFID Reader The Ocular IQ Tower is equipped with a 7 inch LCD screen allowing users to know the status of the charger. Details about the LCD screen can be found on pages 10 – 12. -
Page 5: Safety Instructions
SAFETY INSTRUCTION WARNING! Do not install or use the charger near flammable, explosive, harsh, or combustible materials, chemicals, or vapors. Turn off input power at the circuit breaker before installing or maintaining. Do not use or stop using the charger if it is defective, appears cracked, frayed, broken or other- wise damaged, or fails to operate. -
Page 6: Installation
Power cable wiring. Internet connection. Verify the installation. Secure cover and power up. Step 01 Check Box Contents If any components are damaged or missing, please contact your installer or Ocular charging. Backplate Key x 1 Terminal crimps x 5 Pedestal Charger... - Page 7 INSTALLATION Step 02 Floor Mounting Open the charger backplate Remove the screws and with the key provided. open the guard plate. Anchor the charger to the concrete basement Step 03 Power Cable Wiring Note: Power cables must be crimped with suitable ferrules otherwise product warranty will be voided Cross the power cables Connect the power cables...
-
Page 8: Step Four - Internet Connection
INSTALLATION Step 04 - Internet Connection Option 01. Cellular & Ethernet Item Insert SIM card to the card slot for cellular connection. Connect the internet cable for Ethernet connection. Option 02. Wi-Fi a) Connect your device to the charger Wi-Fi SSID ‘ioc-XXXXXX’, and enter default password ‘IOC12345’. -
Page 9: Step Five - Verify The Installation
INSTALLATION Step 05 - Verify The Installation Steps Verify the power cables are wired properly. Close the RCD to power on the charger unit, and you should see the LED lights sequentially illuminate green. If the LED red light illuminates or flashes, refer to the Troubleshooting table on page 11. - Page 10 LCD DISPLAY SCREEN Scan the QR code or swipe Welcome Screen Connect the charging plug the RFID card to start charging Charging in process Suspended by EV Suspended by EVSE Remove the charging plug Automatic upgrade Software downloading and mode activated upgrading automatically Network upgrade mode Micro SD card...
-
Page 11: Troubleshooting
Ocular Charging. MAINTENANCE & REPAIR • Regularly inspect the Charger. If damage is found, contact your installer or Ocular Charging. • The Charger contains no user-serviceable components. If unit is not operating correctly, contact your installer or Ocular Charging. - Page 12 CHARGE WITH VISION...
Need help?
Do you have a question about the IQ TOWER and is the answer not in the manual?
Questions and answers