Advertisement
Table of Contents
- 1 Important Safety Instructions
- 2 Grounding Instructions
- 3 Extension Cords
- 4 Assembly
- 5 Filtration
- 6 Dry Pick up Operation
- 7 Installing Cartridge Filter
- 8 Installing Disposable Filter Bag
- 9 Wet Pick up Operation
- 10 Blower Feature
- 11 Emptying Liquid Wastes from Tank
- 12 Automatic Suction Shut-Off
- 13 Cleaning
- 14 Troubleshooting
- 15 Cartridge Filter
- Download this manual
ATTENTION!
Read all safety rules careful-
ly before attempting to oper-
ate. Retain for future reference.
DANGER!
Never operate this unit when
flammable materials or vapors
are present because electrical
devices produce arcs or sparks
that can cause a fire or explo-
sion.
NEVER OPERATE
UNATTENDED!
WARNING!
Do NOT use this vacuum cleaner
to vacuum lead paint debris
because this may disperse fine
lead particles into the air. This
vacuum cleaner is not intended
for use under EPA Regulation
40 CFR Part 745 for lead paint
material cleanup.
SHOP-VAC CORPORATION
2323 Reach Road, P.O. Box 3307
Williamsport, PA 17701-0307
(570) 326-3557
Web site: www.shopvac.com
SHOP-VAC CANADA
1770 Appleby Line
Burlington, Ontario L7L 5P8
(905) 335-9730
Web site: www.shopvac.ca
Shop Vac-México, S.A. de C.V.
Calle Niños Héros #1553
Colonia Agua Blanca
45235 - Zapopan, Jalisco
52 (33) 3188 6388
Patents Issued and Pending. Printed in U.S.A.
© 2010 Shop-Vac Corporation. All rights reserved.
MSC1896
Advertisement
Table of Contents

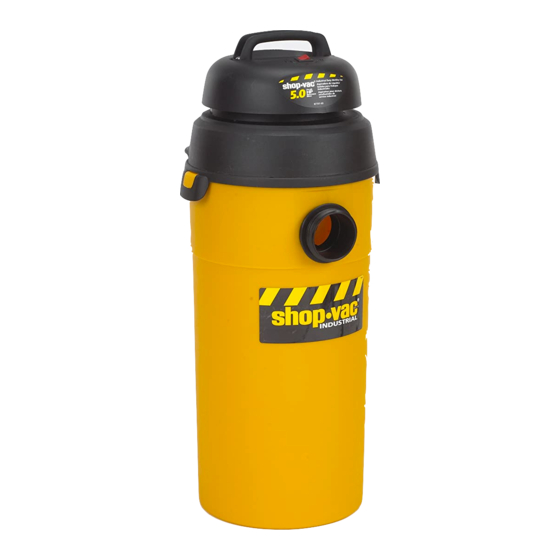
Summary of Contents for Shop-Vac 9520210
- Page 1 (905) 335-9730 Web site: www.shopvac.ca Shop Vac-México, S.A. de C.V. Calle Niños Héros #1553 Colonia Agua Blanca 45235 - Zapopan, Jalisco 52 (33) 3188 6388 Patents Issued and Pending. Printed in U.S.A. © 2010 Shop-Vac Corporation. All rights reserved. MSC1896...
-
Page 2: Important Safety Instructions
12. Do not use without dust bag and/or filters in place. WARNING – DO NOT LEAVE VACUUM UNATTENDED WHEN IT IS PLUGGED IN AND/OR OPERATING. UNPLUG UNIT WHEN NOT IN USE. This appliance must be grounded. If it should malfunction or breakdown, grounding provides a path of least resistance for electric current to reduce the risk of electric shock. -
Page 3: Assembly
6. Return tank to upright position. 10 U.S. Gallons (37.8L) and Up With Caster Feet You will find four caster feet, four casters and four screws (Figure 16) with your wet/dry vacuum. Assemble as follows: 1. With cord disconnected from receptacle and tank cover removed, turn tank upside down so that bottom is facing up. - Page 4 You will find two casters (45), two large rear wheels (46), one axle (47), rear dolly/ basket (48), two caster feet (49) and four screws with your wet/dry vacuum. Assemble as follows: 1. With cord disconnected from receptacle and tank cover removed, turn tank upside down so that the bottom is facing up.
- Page 5 Insert caster in caster socket and apply downward pressure until caster snaps into place. Return vacuum to upright position. Attach carriage handle to tank by inserting bolt through the center hole of handle and tank, secure with nut provided. Attach side handles with screws provided.
-
Page 6: Filtration
To pick up dust and dry material, you must install foam sleeve and reusable dry filter to ensure proper filtration. If the vacuum has been used to pick up liquids, the foam sleeve must be cleaned and dried before installing for dry pick up. -
Page 7: Installing Cartridge Filter
Remove ALL dirt and debris found in the tank. The vacuum requires only a minimum of con- version when going from dry to wet pick up. Remove all dry use filters from the vacuum. Wet pick up requires the foam sleeve (not standard with all models) or cartridge filter (not stan- dard with all models) to be in position over the lid cage. -
Page 8: Emptying Liquid Wastes From Tank
Elbow swivels. The vacuum is equipped with an automatic suction shut-off that operates when picking up liq- uids. As the level of the liquid rises in the tank, an internal float rises until it seats itself against a seal at the intake of the motor, shutting off suction. -
Page 9: Cleaning
2. Relative humidity of air is low Cleanstream Cartridge Filters Clean installed filter by simply tapping or shaking the vacuum unit. To restore optimum airflow, remove filter, tap end cap against a hard surface to loosen debris. Additional debris can be removed by rinsing outside surface of filter with running water.


Need help?
Do you have a question about the 9520210 and is the answer not in the manual?
Questions and answers