Table of Contents
Advertisement
Quick Links
Advertisement
Table of Contents

Related Manuals for Logik LTF60W14


Summary of Contents for Logik LTF60W14
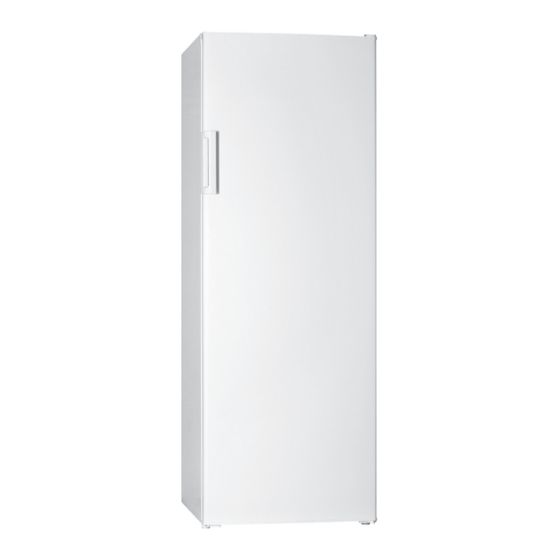
- Page 1 Instruction / Installation Manual 60CM Tall Freezer LTF60W14...
-
Page 3: Table Of Contents
Contents Safety Warnings ..........................4 Unpacking ............................. 6 Installation ............................ 7 Location ..................................7 Levelling the Unit ..............................7 Installing the Spacers ............................. 7 Free Space Requirements ............................ 7 Installing the Door Handle ........................... 8 Reversing the Door Swing ............................ 9 Cleaning Before Use .............................11 Before Using Your Unit ............................11 Product Overview ........................12... -
Page 4: Safety Warnings
Safety Warnings For your continued safety and to reduce the risk of injury or electric shock, please follow all the safety precautions listed below. • Read all instructions carefully before using the unit and keep them for future reference. • Retain the manual. If you pass the unit onto a third party, make sure to include this manual. - Page 5 • Do not store bottles or glass containers in the freezer compartment. Contents can expand when frozen (fizzy drinks) which may break the bottle and damage your freezer compartment. (If applicable) WARNING • Keep ventilation openings in the unit enclosure or in the built-in structure clear of obstructions.
-
Page 6: Unpacking
Thank you for purchasing your new Logik Freezer. We recommend that you spend some time reading this instruction manual in order that you fully understand all the operational features it offers. Read all the safety instructions carefully before use and keep this instruction manual for future reference. -
Page 7: Installation
INSTALLATION Location When selecting a position for your unit you should make sure the floor is flat and firm, and the room is well ventilated with an average room temperature of between 16°C and 38°C. Avoid locating your unit near a heat source, e.g. cooker, boiler or radiator. Also avoid direct sunlight as it may increase the electrical consumption. -
Page 8: Installing The Door Handle
INSTALLATION Installing the Door Handle 1. Remove the screws. Place the door handle in place and screw tightly. Cover the screw holes with the door handle screw caps. 2. For the other side with no door handle attached, remove the screws. Then cover the screw holes with the door handle screw hole plugs. -
Page 9: Reversing The Door Swing
INSTALLATION Reversing the Door Swing Tools required: Philips style screwdriver / Flat bladed screwdriver / Hexagonal spanner • Ensure the unit is unplugged and empty. • To take the door off it is necessary to tilt the unit backwards. You should rest the unit on something solid, e.g. - Page 10 INSTALLATION 4. Install the top hinge, screws, triangular metal and top hinge cover on the other side. 5. Reverse the position of the bottom hinge and then install it with the screws on the other side. Adjust both the levelling feet to balance the unit.
-
Page 11: Cleaning Before Use
INSTALLATION Cleaning Before Use Wipe the inside of the unit with a weak solution of bicarbonate soda. Then rinse with warm water using a sponge or cloth. Wash the shelves and salad bin in warm soapy water and dry completely before replacing in the unit. Clean the exterior of the unit with a damp cloth. If you require more information refer to the Cleaning section. -
Page 12: Product Overview
Product Overview Thermostat Control Dial Small Freezer drawer Large Freezer drawer Bottom Freezer drawer Levelling Feet Ice Tray... -
Page 13: Operation
Operation Switching On Your Unit NORMAL 1. Connect the mains cable to the mains socket. The internal temperature of your unit is controlled by a thermostat. There are three settings MIN, NORMAL, and MAX. 2. After the unit has been on for 20 minutes adjust the thermostat control dial to NORMAL. -
Page 14: Preparations For Freezing
Preparations for Freezing • Use quality food and handle it as little as possible. Freeze food in small quantities as it freezes faster, takes less time to defrost and enables you to control the quantity you need better. • Leave cooked food to cool completely. Chill food before freezing if possible. •... -
Page 15: Cleaning
Cleaning Defrosting Frost might build up in the unit after it has been used for a period of time. Scrape away the frost using a plastic scraper (not included). Do not use a metal or sharp instrument to scrape away the frost, nor should you use any electrical appliances to aid defrosting. -
Page 16: Maintenance
Maintenance Care When Handling / Moving Your Unit Hold the unit around its sides or base when moving it. Servicing The unit should be serviced by an authorised engineer and only genuine spare parts should be used. Under no circumstances should you attempt to repair the unit yourself. Repairs carried out by inexperienced persons may cause injury or serious malfunction. -
Page 17: Specifications
Specifications Model LTF60W14 Total Gross Volume 240L Frozen Food Storage Volume (Four-Star Compartment) 225L Storage Temperature ≤ -18°C Energy Consumption 0.686 kWh / 24h Energy consumption 250 kWh per year, based on standard test results for 24 hours. Actual energy consumption will depend on how the appliance is used and where it is located. - Page 20 For more information about where you can drop off your waste for recycling, please contact your local authority, or where you purchased your product. DSG Retail Ltd. (co. no. 504877) 1 Portal Way, London, W3 6RS, UK IB-LTF60W14-151218V6...
Need help?
Do you have a question about the LTF60W14 and is the answer not in the manual?
Questions and answers