Table of Contents
Advertisement
Quick Links
Advertisement
Table of Contents

Related Manuals for Samsung SCC-B53X Series


Summary of Contents for Samsung SCC-B53X Series
- Page 1 User’s Guide Digital Color Dome Camera SCC-B535x(S) 01)Eng.indd 2007-03-22...
- Page 2 EXPLANATION OF SAFETY RELATED SYMBOLS CAUTION RISK OF ELECTRIC SHOCK DO NOT OPEN The lighting flash and CAUTION: TO REDUCE THE RISK The explanation point within Arrowhead within Triangle is OF ELECTRIC SHOCK, DO NOT the triangle is a warning sign a warning sign alerting you of REMOVE REAR COVER.
- Page 3 Never Rules. Operation is subject to the following disassemble or modify this product two conditions: in any way. (SAMSUNG is not liable for problems caused by unauthorized 1) This device may not cause harmful modifications or attempted repair.) interference, and 10.
- Page 4 IMPORTANT SAFETY INSTRUCTIONS Read Instructions – All the safety and A product and cart combination should operating instructions should be read be moved with care. Quick stops, before the product is operated. excessive force, and uneven surfaces may cause the product and cart Retain Instructions –...
- Page 5 alternating-current line plug (a plug connected to the product, be sure the having one blade wider than the other). antenna or cable system is grounded so This plug will fit into the power outlet as to provide some protection against only one way.
- Page 6 17) Power Lines – An outside antenna that are covered by the operating system should not be located in the instructions as an improper adjustment vicinity of overhead power lines or other of other controls may result in damage electric light or power circuits, or where it and will often require extensive work can fall into such power lines or circuits.
-
Page 7: Table Of Contents
Contents Overview ..................8 About this guide ................8 Product overview ................8 Main features .................8 Components ...................8 Checking components in the package ........8 Components of your camera ............9 Installation ................10 Setting switches ................10 Setting function switches ............10 Connecting cables and changing the settings ......12 Installing camera .................13 Before installation ..............13 Installation procedure ...............13... -
Page 8: Overview
Overview About this guide Components ❚ ❚ This user guide includes basic instructions for Checking components in the package the product. It is recommended that all users read this guide before use. Please check your camera and accessories are included in the package. Those This guide is divided as follows: components are as shown below: ... -
Page 9: Components Of Your Camera
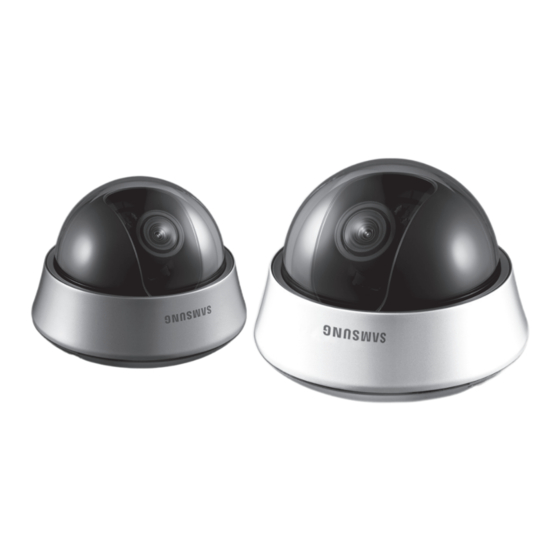
Components of your camera Your camera has the following components: 1. Cover dome: Covers the inner cover, lens, and main body to protect them. 2. Inner cover: Covers the main body to protect it. 3. Wing locker: Push a long thin screwdriver into its narrow spot and press it outward when you want to remove the inner cover. -
Page 10: Installation
Installation Setting switches ❚ Setting function switches To set the available functions on your camera, adjust eight switches as shown below: Name Brief description Line lock ON/OFF Sens-up or Low speed shutter ON/OFF H-REV Horizontal reverse ON/OFF V-REV Vertical reverse ON/OFF Backlight compensation ON/OFF Flickerless ON/OFF Automatic switching between color and... - Page 11 2. Switch 2 (LSS): This sens-up mode accumulates the image fields in memory to reduce noise but increase the brightness and contrast rate. When this switch is set to ON, the camera automatically switches to a maximum of 128 times of image acquisition speed to implement a clear picture for darker image.
-
Page 12: Connecting Cables And Changing The Settings
Connecting cables and changing the settings ❚ Before installing your camera, you have to adjust the lens focus, zoom, and switch settings. To connect cables 1. Connect the BNC cable to the Video connector attached on your camera. 2. Connect the BNC cable Monitor to the Video Input on a monitor. -
Page 13: Installing Camera
Installing camera ❚ Before installation Before installing your camera, you have to read the following cautions: You have to check whether the location (ceiling or wall) can bear five times the weight of your camera. Don’t let the cable to be caught in improper place or the electric line cover to be damaged. Otherwise it may cause a breakdown or fire. -
Page 14: Adjusting The Camera Direction
5. When you install the Mount bracket on the ceiling, remove the Ceiling mount opener by pressing it hard to connect the line attached on your camera through the hole in the ceiling. Otherwise, you can use the empty space opposite to the CAMERA FRONT sign for line connection. 6. -
Page 15: Appendix A: Specifications For Ntsc Standard
Appendix A: Specifications for NTSC Standard Item Details Product type CCTV color dome camera Power input AC 24V ± 10% (60Hz ± 0.3 Hz), DC 12V +10%/-5% Broadcast type NTSC Standard System (525 Lines, 60 Fields) Power consumption Approx. 1.7W Image device 1/3 inch IT Type Super-HAD CCD Total: 811(H) x 508(V), 410,000 pixels... -
Page 16: Appendix B: Specifications For Pal Standard
Appendix B: Specifications for PAL Standard Item Details Product type CCTV color dome camera Power input AC 24V ± 10% (50Hz ± 0.3 Hz), DC 12V +10%/-5% Broadcast type PAL Standard System (625 Lines, 50 Fields) Power consumption Approx. 1.7W Image device 1/3 inch IT Type Super-HAD CCD Total: 795(H) x 596(V), 470,000 pixels... - Page 17 48C(01)Eng.indd 17 2007-03-19 ¿ÀÀü...
- Page 18 48C(01)Eng.indd 18 2007-03-19 ¿ÀÀü...
Need help?
Do you have a question about the SCC-B53X Series and is the answer not in the manual?
Questions and answers