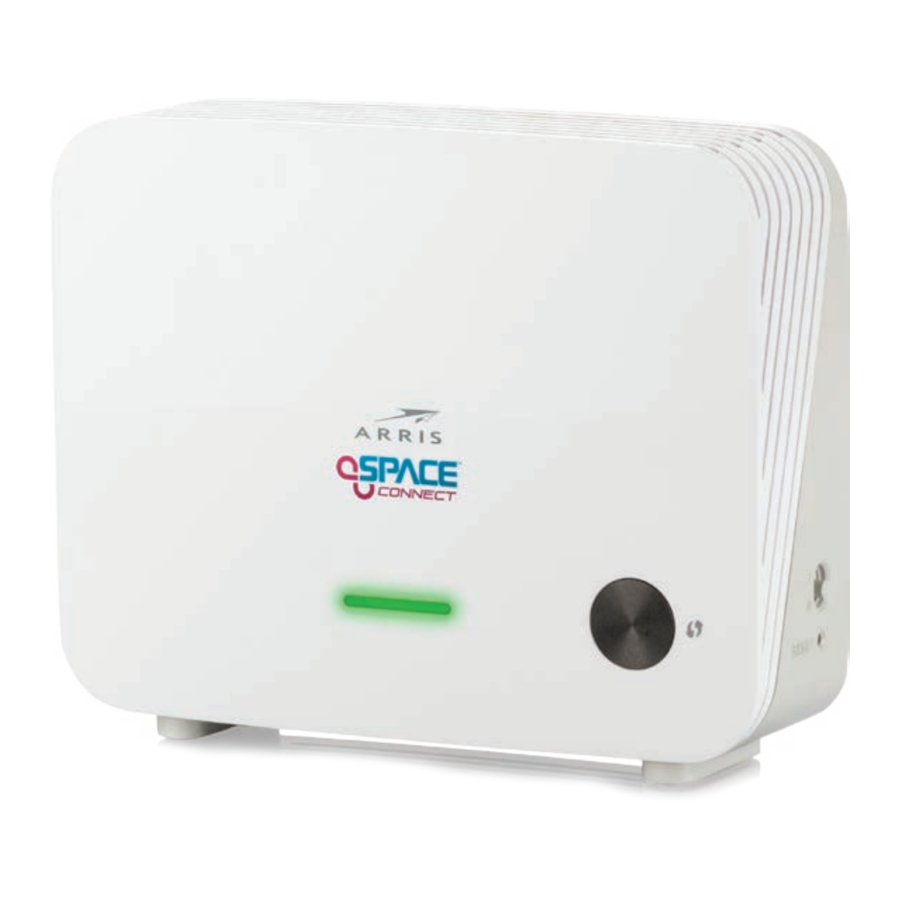
Arris Space Connect VAP4641 - WI-FI Mesh Point Quick Start Guide
- Quick start manual (2 pages) ,
- Quick start manual (2 pages)
Advertisement

PARTS OF THE MESH POINT

HOW TO READ YOUR MESH POINT LEDS
| STATE | LED COLOUR | |
| Power | Starting up | fast blinking green |
| up; not connected to network | slow blinking green | |
| Wired | Fast network speed | solid green |
| Limited network speed | solid yellow | |
| Slow network speed | solid red | |
| WPS | WPS process ongoing | blinking yellow |
| WPS pairing unsuccessful | fast blinking red; 10 seconds | |
| WPS pairing successful | fast blinking green; 10 seconds | |
| Wireless | mesh Point at good position | solid green |
| mesh Point far from router | solid yellow | |
| mesh Point too far from router | solid red |
OPEN SOURCE SOFTWARE AND LICENSES
For instructions on how to obtain a copy of any source code being made publicly available by ARRIS related to software used in this ARRIS product you may send your request in writing to: ARRIS, Software Pedigree Operations, 2450 Walsh Avenue, Santa Clara, CA 95051, USA. The ARRIS website opensource.arris.com also contains information regarding use of open source. ARRIS has created opensource.arris.com to serve as a portal for interaction with the software community-at-large.
ENVIRONMENT:
- The Mesh Point needs air flow to keep cool. Do not block or cover the ventilation holes of the Mesh Point. Leave a gap of at least 10cm above and around the mesh Point to allow for adequate ventilation.
- Do not operate your Mesh Point in an unventilated cabinet or on top of another unit that emits heat, such as a TV or media player.
- Do not store the Mesh Point in hot, damp, dusty, or unusually cold locations.
- The Mesh Point is intended for indoor use and installation only.
HANDLING:
- Do not put anything on or over your Mesh Point which might drip or spill on it.
- never place an open flame, such as from a lit candle, near the Mesh Point's ventilation holes.
STORAGE:
- Store your Mesh Point in a cool, dry place. Before installation and use, let the Mesh Point reach room temperature.
CONNECT YOUR FIRST VAP4641 WIRED CONNECTION
Has your service provider informed you that your router is Easymesh enabled? NO
- Connect your first VAP4641 Mesh Point to your current router using an Ethernet cable. Connect the Mesh Point to power and switch to ON. The LED will blink fast, then blink slow, then turn to solid green. This will take a couple of minutes. now, you are ready to add additional Mesh Points to the network.
![]()
When connecting using the WIRED OPTION, it is recommended that you switch off the Wi-Fi on the current router, and use the Space Connect Arris VAP4641 as your I primary connection. - Locate your second Mesh Point approximately 5-15m from your router; if you have line-of-sight they can be further apart, but move closer if there are thick walls between.
- Pair the units: Push the WPS button on the first Mesh Point, then push the WPS button on the second Mesh Point. note: When adding additional Mesh Points, always push the button on the first Mesh Point and then push the WPS button on the mesh Point you are adding.
![Arris - Space Connect VAP4641 - CONNECT YOUR FIRST VAP4641 WIRED CONNECtiON CONNECT YOUR FIRST VAP4641 WIRED CONNECtiON]()
- The LED on the second Mesh Point flashes green quickly when the two units pair successfully.
- The second Mesh Point will be automatically configured with the same Wi-Fi settings as the first Mesh Point; this will take a few moments.
- When configuration is complete, the LED on the second Mesh Point will change color to indicate the quality of the link between the first and the second Mesh Points. See How to read your Wireless extender LEDs in this guide to understand the state the LED color indicates.
CONNECT YOUR FIRST VAP4641 WIRELESS CONNECTION
Has your service provider informed you that your router is Easymesh Enabled? YES
- Locate your first VAP4641 Mesh Point approximately 5-15m from your router; if you have line-of-sight they can be further apart, but move closer if there are thick walls between. Connect the Mesh Point to power and switch to ON.
![]()
- Pair the router and the mesh Point: Push the WPS button on the router, then push the WPS button on the mesh Point. The LED on the Mesh Point flashes green quickly when it has paired successfully with the router.
![]()
- Next, the LED will change color to indicate the quality of the link between the router and the Mesh Point. See How to read your Wireless extender LEDs in this guide to understand the state the LED color indicates.
- To add additional Mesh Points, repeat steps 1-3. additional Mesh Points are configured with the same Wi-Fi settings as the first Mesh Point.
Connecting clients (optional)
You can connect to your network in two ways:
- Use the Wi-Fi credentials used for your EasyMesh enabled router or the Wi-Fi credentials printed on the first mesh Point connected to your router, or
![Arris - Space Connect VAP4641 - Connecting clients Connecting clients]()
- Use the WPS button on the front of the Mesh Point and the WPS Push-button configuration (PBC) functionality on your device.
![]()

Documents / Resources
References
Download manual
Here you can download full pdf version of manual, it may contain additional safety instructions, warranty information, FCC rules, etc.
Download Arris Space Connect VAP4641 - WI-FI Mesh Point Quick Start Guide
Advertisement


Need help?
Do you have a question about the Space Connect VAP4641 and is the answer not in the manual?
Questions and answers