Advertisement
Quick Links
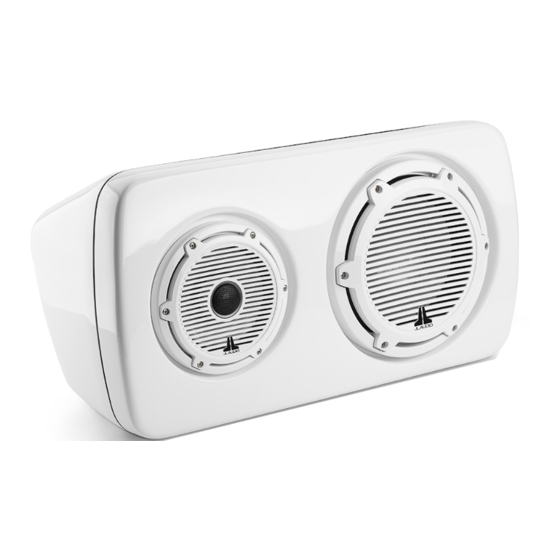
I N S T A L L A T I O N G U I D E
for the
M6-103EWS-Gw-C-GwGw-R
M6-103EWS-Gw-C-GwGw-L
SKU# 90131 & 90132
Thank you for choosing a JL Audio Enclosed Full-Range System for your sound system.
These speakers have been designed and manufactured to exacting standards in order to
ensure years of musical enjoyment.
For maximum performance, we strongly recommend that you have your new enclosed
full-range system installed by your authorized JL Audio dealer. Your authorized dealer
has the training, expertise and installation equipment to ensure optimum performance
from this product. Should you decide to install the enclosed full-range system yourself,
please take the time to read this manual thoroughly so as to familiarize yourself with its
installation requirements.
If you have any questions regarding the instructions in this manual, please contact your
authorized JL Audio dealer for assistance.
&
If you choose to perform the installation yourself, it is absolutely vital that the
enclosure be properly mounted according to these instructions. Failure to
mount the enclosure properly presents two problems:
1) The sub-bass performance will suffer due to the movement of the enclosure
caused by the force exerted by the woofer(s).
2) A loose enclosure presents a serious safety hazard in the event of a collision
or other such accident.
M6-103EWS-Gw-C-GwGw INSTR_SKU# 011543
INSTALLATION
D I F F I C U L T Y :
2
OUT
OF
ESTIMATED TIME:
1 HOUR
S T E P 1
Remove the #8 - 18 x 1-1/4" Phillips Pan Head Screws and
#8 Flat Washers from the speaker, and remove the speaker
from the enclosure.
Remove the #10 - 16 x 1-5/8" Phillips Pan Head Screws and
#10 Flat Washers from the subwoofer, and remove the
subwoofer from the enclosure.
S T E P 2
Make sure the Mounting Bracket and enclosure will fit
in the desired installation position. Determine which
side of the enclosure the Mounting Bracket will attach to
based on the installation surface and orientation of the
enclosure.
Be sure that the threaded studs will be accessible from
inside the enclosure in order to secure the mounting
hardware.
S T E P 3
Align the Mounting Bracket Template on the enclosure as
needed. Centering lines are available to aid in placement,
if necessary.
Tape the Mounting Bracket Template in place.
Continued on Next Page
5
Advertisement

Related Manuals for JL Audio M6-103EWS-Gw-C-GwGw-R


Summary of Contents for JL Audio M6-103EWS-Gw-C-GwGw-R
- Page 1 Make sure the Mounting Bracket and enclosure will fit in the desired installation position. Determine which Thank you for choosing a JL Audio Enclosed Full-Range System for your sound system. side of the enclosure the Mounting Bracket will attach to...
- Page 2 Permanently secure the Mounting Bracket to the Route one into the speaker enclosure. mounting surface with the appropriate hardware (not included). Page 2 • JL Audio, Inc 2019...
- Page 3 . j l a u d i o . c o m All specifications are subject to change without notice. “JL Audio®” and “How we play®” are registered trademarks of JL Audio, Inc. “Ahead of the Curve” and its respective logo are trademarks of JL Audio, Inc.
Need help?
Do you have a question about the M6-103EWS-Gw-C-GwGw-R and is the answer not in the manual?
Questions and answers