Table of Contents
Advertisement
Quick Links
OWNER'S MANUAL
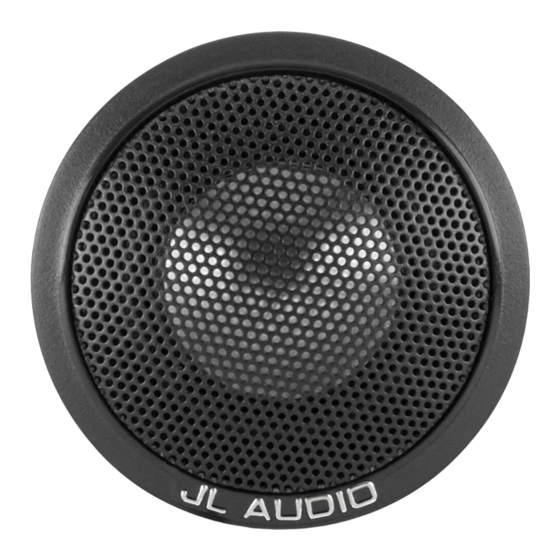
1-inch (25 mm) Component Tweeters
Thank you for choosing JL Audio loudspeakers for
your automotive sound system.
We strongly recommend that you have your new loudspeakers installed by
an authorized JL Audio dealer. Your authorized dealer has the training,
expertise and installation equipment to ensure
optimum performance of these loudspeakers in your vehicle.
If you decide to install the loudspeakers yourself, please read this manual
thoroughly to familiarize yourself with their installation
requirements and setup procedures.
Should you have any questions regarding the instructions in this manual,
please contact your authorized JL Audio dealer for assistance, or call the
JL Audio Technical Support Department at (954) 443-1100
during business hours (USA - Eastern Time Zone).
Advertisement
Table of Contents

Related Manuals for JL Audio C1-100CT


Summary of Contents for JL Audio C1-100CT
- Page 1 Should you have any questions regarding the instructions in this manual, please contact your authorized JL Audio dealer for assistance, or call the JL Audio Technical Support Department at (954) 443-1100 during business hours (USA - Eastern Time Zone).
- Page 2 1.96 in / 50 mm Height (B) 0.90 in / 23 mm Depth (C) 1.34 in / 34 mm Due to ongoing product development, all specifications are subject to change without notice. 2 | JL Audio - C1-100ct Owner’s Manual...
- Page 3 2nd order, high-pass filter with inductor and electrolytic capacitor Included Components and Parts: • Two (2) C1-100ct 1.0-inch (25 mm) tweeters • Two (2) surface-mount tweeter fixtures • Two (2) C1-100cthp in-line, high-pass filters on 4 ft. (1.2 m) wire harnesses •...
- Page 4 Make sure that your mounting reset itself automatically. location will not cause damage to wiring or any other vital component of your vehicle. 4 | JL Audio - C1-100ct Owner’s Manual...
- Page 5 TWEETER INSTALLATION WA R N I N G C1 tweeters have been designed for surface Double check the clearance for both speakers or flush-mounting. Before choosing a method, before proceeding. Many cars are different carefully inspect the desired mounting location from one side to the other! to determine which method will work best.
- Page 6 5) Using a 1/4-inch (6 mm) drill bit, drill the hole for the tweeter’s wires at the location you marked in step 3. 6) Screw the surface-mount fixture to the vehicle panel using the supplied #6 sheet metal screws (hand-tighten). 6 | JL Audio - C1-100ct Owner’s Manual...
- Page 7 DIAGRAM E: Flush-Mount Tweeter Installation < > 10 mm length 25 mm length Stud bolts are provided in two lengths to accommodate different panel thicknesses. FLUSH-MOUNT INSTALLATION 1) Detach the preinstalled surface-mount fixture the rear of the tweeter using the fixed M4 nut by inserting a small flat screwdriver into the to tighten.
- Page 8 All warranty returns should be sent to JL AUDIO freight prepaid through an authorized JL AUDIO dealer and must be accompanied by proof of purchase (a copy of the original sales receipt.) Direct returns from consumers or non-authorized dealers will be refused unless specifically authorized by JL AUDIO with a valid return authorization number.
Need help?
Do you have a question about the C1-100CT and is the answer not in the manual?
Questions and answers