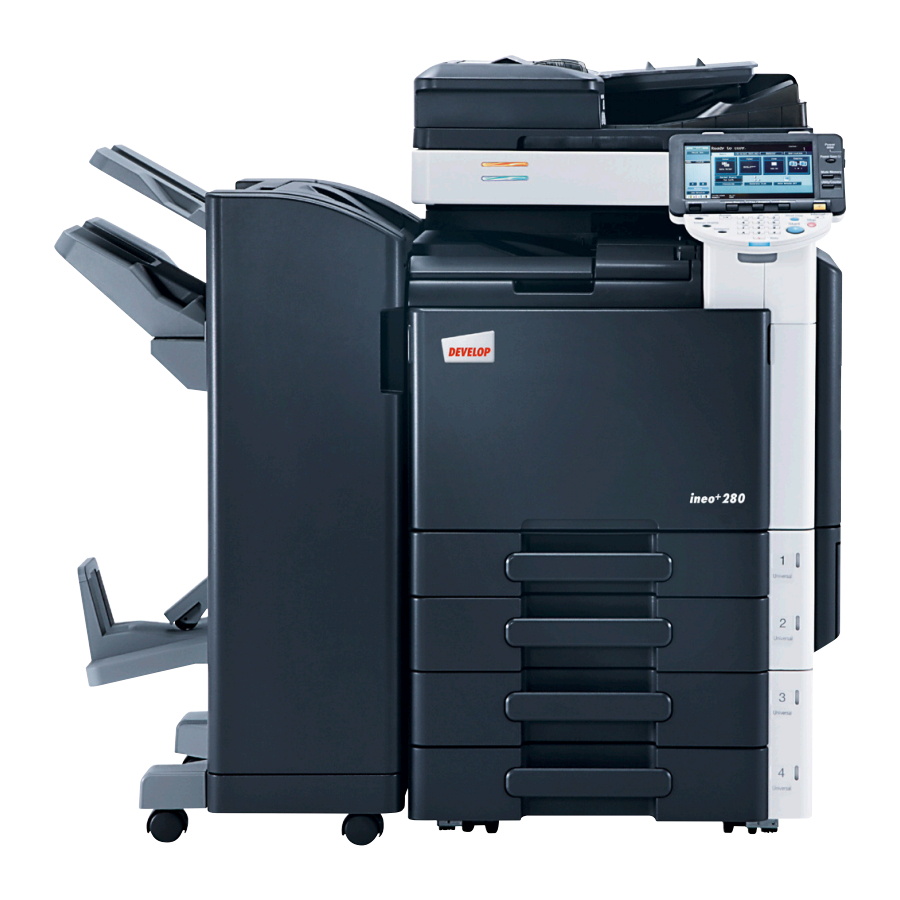
Develop ineo+ 220, ineo+ 280, ineo+ 360 - Multifunction Printer Short Guide
- Quick manual (302 pages)
Advertisement
How to use the machine
Panel

Touch Screen (Basic screen)
")
*not displayed when two shortcut keys are configured
Basic functions
Make a copy
- Position the original(s).

- Type in the number of copies.
![]()
- Press the START key.


Stop a copy process
- Press the STOP key.
![]()

Clear a value
- Press the CLEAR key.
![]()

Zoom
- Position the original(s).
- Touch ZOOM in the basic screen.
- Touch the desired function.
- Touch OK.
- Press the START key.

*refer to User's Guide for Copy Operations
- Automatically reduce/enlarge original size to paper size
- Different values for X and Y (distortion)
- Change zoom manually
- USER defined zoom (values can be changed*)
- Preset zoom values
- Little bit smaller than original size (value can be changed*)
- Keep original size
Duplex
- Position the original(s).
- Touch DUPLEX/COMBINE in the basic screen.
- Touch the desired function.


- Touch OK.
- Press the START key.

Finishing (only with Finisher)
- Position the original(s).
- Touch FINISHING in the basic screen.
- Touch the desired function.*

- Touch OK.
- Press the START key.

*available functions depend on machine/finisher

Density/Background

- Position the original(s).
- Touch QUAlITy/DeNSITy.
- Select the type of your original.
- Touch the desired function.
- Touch OK.
- Press the START key.
Create a booklet
- Position the original(s).
- Touch FINISHING in the basic screen.
- Touch FOlD/BIND.
- Touch the desired function.*

- Touch OK (2×).
- Press the START key.

*available functions depend on machine/finisher

Application functions
Image adjust
- Position the original(s).
- Touch IMAGE ADJUST in the application screen.

- Touch the desired function.

- Touch OK.
- Press the START key.


Save in USER box
- Position the original(s).
- Touch SAVE IN USER BOX in the application screen.

- Touch USER BOX.

- Touch the desired box.
- Touch OK.
- Touch DOCUMENT NAME.
- Enter a document name.
- Touch OK (2×).
- Press the START key.


Fax operations
Send a fax (only with Fax option)
- Position the original(s).
 - Step 1")
- Press the FAX/SCAN key on the panel.
![]()
- Enter the fax number and press the START key.
 - Step 2")
 - Step 1")

 - Step 2")
Box operations
Print from USER box
- Press the USER BOX key on the panel.
![]()
- Select the desired USER Box, and then touch USE/FILE.
![]()
- Select the Print tab.
- Touch the desired document.
![]()
- Touch PRINT.
- Specify the print settings.
- Press the START key.


Network scan operations
SEARCH for an e-mail ADDRESS (LDAP)
- Press the FAX/SCAN key on the panel.
![]()
- Touch ADDRESS SEARCH.
 - Step 1")
- Touch SEARCH.
- Input a keyword.
- Touch START SEARCH. SEARCH results are displayed.
 - Step 2")

 - Step 1")
 - Step 2")
Scan to e-mail (Direct input)
- Position the original(s).
- Press the FAX/SCAN key on the panel.
![]()
- Touch DIRECT INPUT.
- Touch e-MAIl.
")
- Enter the destination address.
- Touch OK.
- Press the START key.

")
Sending data to multiple destinations
- Position the original(s).
- Press the FAX/SCAN key on the panel.
![]()
- Touch ADDRESS BOOK.

- Specify two or more recipients.
- Press the START key.


Documents / ResourcesDownload manual
Here you can download full pdf version of manual, it may contain additional safety instructions, warranty information, FCC rules, etc.
Download Develop ineo+ 220, ineo+ 280, ineo+ 360 - Multifunction Printer Short Guide
Advertisement


Need help?
Do you have a question about the ineo+ 220 and is the answer not in the manual?
Questions and answers