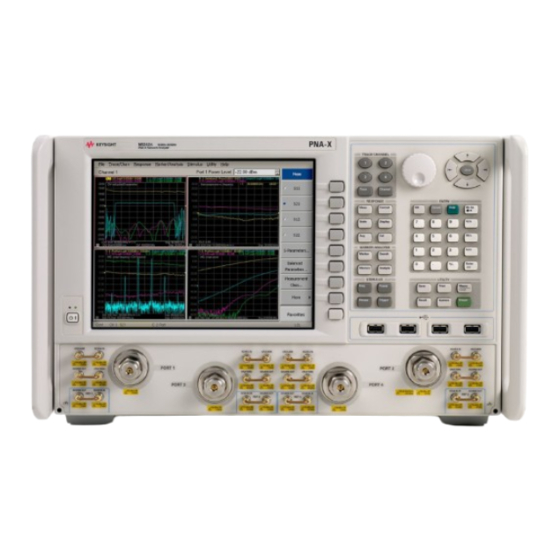
Keysight N5242A Manual
Noise figure board (no tabs) revision kit
Hide thumbs
Also See for N5242A:
- Service manual (556 pages) ,
- Installation note (50 pages) ,
- Configuration manual (37 pages)
Table of Contents
Advertisement
Quick Links
Keysight -
N5241/2/4/5/7/9A&B
Noise Figure Board (No
Tabs) Revision Kit -
- Revision Note
To Upgrade PNA-X N5241/2/4/5/7/9A&B
(For PNA-X models with serial number
prefixes <5200)
To convert a
N5245-60124 (with tabs) board to a
N5245-60124 (no tabs) board
Keysight Kit Number: N5245-60125
This is the Installation Guide for the N5241/2/4/5/7A&B Series Microwave Network Analyzers.
REVISION NOTE
)
Advertisement
Table of Contents

Summary of Contents for Keysight N5242A
- Page 1 To Upgrade PNA-X N5241/2/4/5/7/9A&B (For PNA-X models with serial number prefixes <5200) To convert a N5245-60124 (with tabs) board to a N5245-60124 (no tabs) board Keysight Kit Number: N5245-60125 This is the Installation Guide for the N5241/2/4/5/7A&B Series Microwave Network Analyzers. REVISION NOTE...
-
Page 2: Safety Notices
DOCUMENT OR ANY INFORMATION reproduce, release, perform, CONTAINED HEREIN. SHOULD display, or disclose commercial KEYSIGHT AND THE USER HAVE A computer software or SEPARATE WRITTEN AGREEMENT commercial computer software WITH WARRANTY TERMS COVERING THE MATERIAL IN THIS... -
Page 3: Description Of The Upgrade
Keysight Noise Figure Board Upgrade Kit Upgrade Kit Number: N5245-60125 Installation Note Description of the Upgrade This kit converts your N5245-60124 noise figure board (with tabs) to a N52454-60124 noise figure board (without tabs) that is compatible with older PNAs with serial number prefixes <5200. This conversion kit includes: —... -
Page 4: Getting Assistance From Keysight
Assistance with test and measurements needs and information on finding a local Keysight office are available on the Web at: http://www.keysight.com/find/assist If you do not have access to the Internet, please contact your Keysight field engineer. In any correspondence or telephone conversation, refer to the Keysight product by its model number and full serial number. -
Page 5: Getting Prepared
1. Go to www.keysight.com. 2. In the Search box, enter the model number of the analyzer (e.g., N5232B) and click Search. 3. Click Support > Keysight Product Support. 4. In the Search Support area type your instrument’s model number (e.g., N2222B). - Page 6 Solder Aid or similar About Completing this Conversion Products affected N5245-60124 noise figure board (with tabs) Conversion to be performed by Keysight service center or personnel qualified by Keysight Estimated conversion time 1.0 hour Estimated adjustment time Estimated full instrument calibration time 1.
-
Page 7: Items Included In The Upgrade Kit
Items Included in the Upgrade Kit Items Included in the Upgrade Kit Check the contents of your kit against the following list. If any part is missing or damaged, contact Keysight Technologies. Refer to “Getting Assistance from Keysight” on page... - Page 8 Installation Procedure for the Upgrade Step 1. Remove the Top Shield, Gasket, and Old Polyiron When removing the gasket, be careful not to damage the gasket material. 1. Place the noise figure board assembly so that the top shield is facing up ...
- Page 9 Installation Procedure for the Upgrade Figure 1 Noise Figure Board Assembly Installation Note N5245-90125...
- Page 10 Installation Procedure for the Upgrade Figure 2 Remove Gasket from Top Shield (Use Caution During Removal!) Figure 3 Remove Gasket from Top Shield Using Mini/Precision Flathead Screwdriver (Use Caution During Removal!) Installation Note N5245-90125...
- Page 11 Installation Procedure for the Upgrade Step 2. Reinstall the Gasket (x7), and Add New Polyiron to the New Top Shield When installing the gasket, be careful not to damage/stretch the gasket material. 1. Take the new shield N5245-20190 (item ) and using your fingers or a solder aid flat end or similar, re-install the gasket (x7, items [G1] through [G7]).
- Page 12 Installation Procedure for the Upgrade Figure 5 Install (Reuse) Gasket and Using Pinch Pad Points – (Use Caution During Removal) Examples of Pinch Pad Points Installation Note N5245-90125...
- Page 13 Installation Procedure for the Upgrade Step 3. Reinstall the Top Shield 1. Install the new top shield onto the noise figure board (item ) and bottom shield (item 2. Reinstall the twenty 0515-0665 screws using the T-10 and torque to 9 in-lbs.
- Page 14 Installation Procedure for the Upgrade Installation Note N5245-90125...
- Page 15 Installation Note Xxxxx-xxxxx...
- Page 16 This information is subject to change without notice. © Keysight Technologies 2012-2022 Edition 1, December 2022 www.keysight.com...


Need help?
Do you have a question about the N5242A and is the answer not in the manual?
Questions and answers