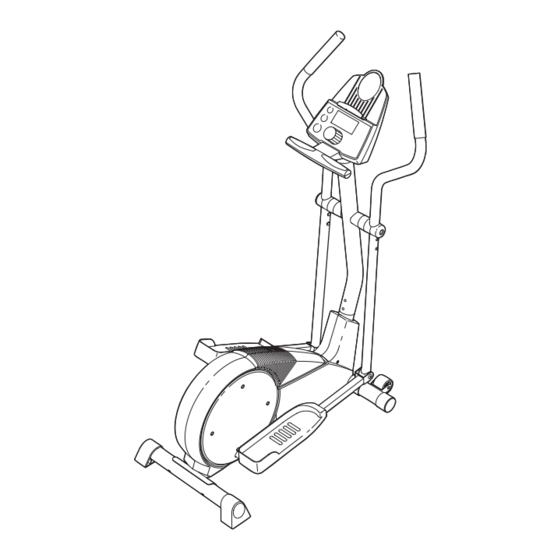
Pro-Form PFEVEL33020 User Manual
Hide thumbs
Also See for PFEVEL33020:
- Gebruiksaanwijzing (16 pages) ,
- Bedienungsanleitung (16 pages) ,
- Manuel de l'utilisateur (16 pages)
Advertisement
Quick Links
Model No. PFEVEL33020
Serial No.
QUESTIONS?
As a manufacturer, we are
committed to providing com-
plete customer satisfaction. If
you have questions, or if there
are missing parts, please call:
08457 089 009
Or write:
ICON Health & Fitness, Ltd.
Customer Service Department
Unit 4
Revie Road Industrial Estate
Revie Road
Beeston
Leeds, LS118JG
UK
email: csuk@iconeurope.com
CAUTION
Read all precautions and
instructions in this manual
before using this equipment.
Keep this manual for future
reference.
Serial
Number
Decal
USER'S MANUAL
Visit our website at
www.iconeurope.com
Advertisement

Summary of Contents for Pro-Form PFEVEL33020
- Page 1 USER’S MANUAL Model No. PFEVEL33020 Serial No. Serial Number Decal QUESTIONS? As a manufacturer, we are committed to providing com- plete customer satisfaction. If you have questions, or if there are missing parts, please call: 08457 089 009 Or write: ICON Health &...
-
Page 2: Table Of Contents
TABLE OF CONTENTS IMPORTANT PRECAUTIONS .............2 BEFORE YOU BEGIN . -
Page 3: Before You Begin
The model number knees and ankles. And the unique 660 XT features is PFEVEL33020. The serial number can be found on adjustable resistance, upper-body handlebars, and a a decal attached to the elliptical trainer (see the front multi-mode console to help you get the most from cover of this manual for the location of the decal). -
Page 4: Assembly
ASSEMBLY Assembly requires two people. Place all parts of the elliptical trainer in a cleared area and remove the packing materials. Do not dispose of the packing materials until assembly is completed. In addition to the included allen wrench, assembly requires a phillips screwdriver , two adjustable spanners , a rubber mallet... - Page 5 1. Identify the Front Stabiliser (10). Whilst another per- son lifts the front of the Frame (1), attach the Front Stabiliser to the Frame with two M10 x 75mm Carriage Bolts (34) and two M10 Nylon Locknuts (33). Make sure that the Front Stabiliser is turned so the Wheels (22) are not touching the floor.
- Page 6 5. Hold the Console (23) near the Upright (2). Insert the console cable down through the Upright. Next, con- nect the console wire to the Upper Wire (44). Insert Bookrack the excess wire into the Upright. Attach the Console (23) to the Upright (2) with three M10 x 27mm Button Screws (45) and three M10 Split Washers (59).
- Page 7 7. Identify the Left Handlebar (6), which is marked with a sticker. Insert the Left Handlebar into one of the Handlebar Arms (5); make sure that the Handlebar Arm is turned so the hexagonal holes are on the indicated side. Attach the Left Handlebar to the Handlebar Arm with two M8 x 45mm Button Bolts (50) and two M8 Nylon Locknuts (38).
-
Page 8: How To Use The Elliptical Trainer
10. Find the Left Pedal (13), which has a ridge on the right side. Attach the Left Pedal to the Left Pedal Arm (11) with three M4 x 19mm Flange Screws (36) as shown. Attach the Right Pedal to the Right Pedal Arm (not shown) in the same way. - Page 9 CONSOLE DIAGRAM Display Profiles Program Button Display Button Resistance Knob FEATURES OF THE CONSOLE The console also offers four pace programs. Each pro- gram automatically prompts you to increase or The easy-to-use console offers a selection of features decrease your pace as it guides you through an effec- designed to make your workouts more enjoyable and tive workout.
- Page 10 If desired, you can select a single feedback mode HOW TO USE THE MANUAL MODE for continuous display. Press the Display button repeatedly until only the MPH (or Km/H), Time, Miles (or Kms), Cals., or Fat Cals. indicator Turn on the console. appears in the display.
- Page 11 pace.) As the right indicator changes in height HOW TO USE A PACE PROGRAM during the program, simply adjust your pace so that both indicators are at the same height. If your pace is slower than the current target pace, the Turn on the console.
-
Page 12: Maintenance And Troubleshooting
MAINTENANCE AND TROUBLESHOOTING Inspect and properly tighten all parts of the elliptical Next, locate trainer regularly. Replace any worn parts immediately. the Reed The elliptical trainer can be cleaned with a soft cloth Switch (53). and a small amount of mild detergent. Do not use Loosen, but abrasives or solvents. -
Page 13: Conditioning Guidelines
CONDITIONING GUIDELINES The following guidelines will help you to plan your During the first few minutes of exercise, your body exercise program. Remember that proper nutrition uses easily accessible carbohydrate calories for ener- and adequate rest are essential for successful results. gy. -
Page 14: Part List
PART LIST—Model No. PFEVEL33020 R0802A Key No. Qty. Description Key No. Qty. Description Frame M8.5 Washer Upright M4 x 19mm Flange Screw Left Side Shield Pedal Arm Bushing Right Side Shield M8 Nylon Locknut Handlebar Arm M10 Washer Left Handlebar... -
Page 15: Exploded Drawing
EXPLODED DRAWING—Model No. PFEVEL33020 R0802A 54 42 32 30... - Page 16 Outside the UK: 0 (044) 113 387 7133 Fax: 0 (044) 113 387 7125 To help us assist you, please be prepared to give the following information: • the MODEL NUMBER of the product (PFEVEL33020) • the NAME of the product (PROFORM ®...


Need help?
Do you have a question about the PFEVEL33020 and is the answer not in the manual?
Questions and answers