
Related Manuals for Harvia PC60E


Summary of Contents for Harvia PC60E
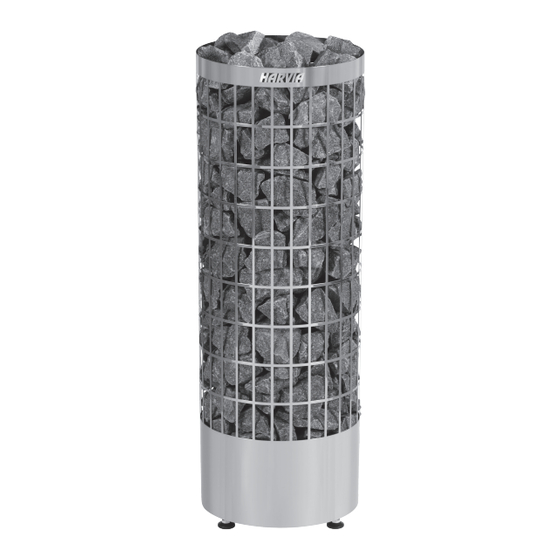
- Page 1 PC60E Instructions for Installation and Use of Electric Sauna Heater PC-E 04012022 / Y05-0924...
-
Page 2: Table Of Contents
These instructions for installation and use are intended for the owner or the person in charge of the sauna, as well as for the electrician in charge of the electrical installation of the heater. After completing the installation, the person in charge of the installation should give these instructions to the owner of the sauna or to the person in charge of its operation. -
Page 3: Instructions For Use
1. INSTRUCTIONS FOR USE 1.1. Piling of the Sauna Stones No such objects or devices should be placed • The piling of the sauna stones has a great effect inside the heater stone space or near the heater on both the safety and the heating capability of the that could change the amount or direction of heater. -
Page 4: Using The Heater
1.3. Using the Heater Cool your skin down as necessary. If you • Before switching the heater on always check are in good health, you can have a swim if a that there isn’t anything on top of the heater swimming place or pool is available. -
Page 5: Troubleshooting
1.7. Troubleshooting All service operations must be done by professional maintenance personnel. The heater does not heat. Check that the fuses to the heater are in good • condition. Check that the connection cable is connected • ( 3.4.). The sauna room heats slowly. The water thrown on the sauna stones cools down the stones quickly. -
Page 6: Sauna Room
2. SAUNA ROOM Figure 4. 2.1. Sauna Room Structure NOTE! Light protective covers which are installed A. Insulation wool, thickness 50–100 mm. The directly to the wall or ceiling may be a fire risk. sauna room must be insulated carefully so that the heater output can be kept moderately low. -
Page 7: Sauna Room Ventilation
min. 1000 mm 360° min. 500 mm 180° Figure 5. 2.2. Sauna Room Ventilation 2.3. Heater Output The air in the sauna room should change six times When the walls and ceiling are covered with panels per hour. Figure 5 illustrates different sauna room and insulation behind the panels is adequate, the ventilation options. -
Page 8: Instructions For Installation
3. INSTRUCTIONS FOR INSTALLATION 3.1. Before Installation Do not connect the power feed for the heater Before installing the heater, study the instructions through the RCD (residual current device)! for installation. Check the following points: Is the output and type of the heater suitable for 3.3.2. - Page 9 Sauna room Heater Output Stones Width/Depth/Height Weight Cubic vol. Height 2.3.! max. kg min. m³ max. m³ min. mm PC60E 320/320/930 1900 Table 2. Installation details of the heater min. mm PC60E 100 950 520 520 TYPE HPC11 HPC11M HPC11W...
- Page 10 30-100 > Figure 8. Installing the sensor (all dimensions in millimeters) 3.3. PC/-E PC-H/-HE/-F Figure 9. Installing the heater...
-
Page 11: Spare Parts
4. SPARE PARTS PC60E Y10-0017 (2000W / 208V) x 3 PC-E WX248 We recommend to use only the manufacturer’s spare parts. - Page 12 P.O.Box 12 Teollisuustie 1-7 40951 Muurame FINLAND +358 207 464 000 harvia@harvia.fi www.harvia.com...
Need help?
Do you have a question about the PC60E and is the answer not in the manual?
Questions and answers