
Related Manuals for Hans Grohe Locarno 110 04813820


Summary of Contents for Hans Grohe Locarno 110 04813820
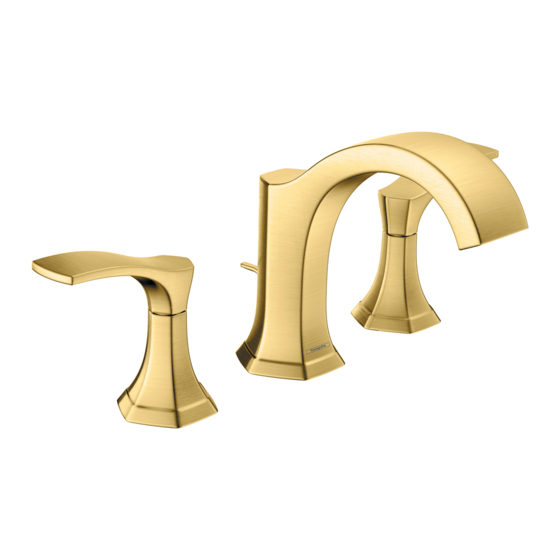
- Page 1 EN Installation / User Instructions / Warranty FR Instructions de montage / Mode d'emploi / Garantie ES Instrucciones de montaje / Manejo / Garantía Locarno 110 04813xx0...
-
Page 2: Technical Information
English Technical Information Water pressure Recommended 15 - 75 PSI (0.1 - 0.5 MPa) Maximum 145 PSI (1 MPa) Hot water temp. Recommended 120°-140° F (48° - 60° C)* Maximum 158°F (70° C)* Max. flow rate 1.2 GPM (5.4 L/min) Hole size in mounting surface valves 1⅛"... -
Page 3: Données Techniques
Français Données techniques Pression d’eau recommandée 15 - 75 PSI (0.1 - 0.5 MPa) maximum 145 PSI (1 MPa) Température d'eau chaude recommandée 120°-140° F (48° - 60° C)* maximum 158°F (70° C)* Capacité nominale 1.2 GPM (5.4 L/min) Dimension du trou dans la surface de montage robinets 1⅛"... -
Page 4: Datos Tecnicos
Español Datos tecnicos Presión en servicio recomendada 15 - 75 PSI (0.1 - 0.5 MPa) max. 145 PSI (1 MPa) Temperatura del agua caliente recomendada 120°-140° F (48° - 60° C)* max. 158°F (70° C)* Caudal máximo 1.2 GPM (5.4 L/min) Tamaño del orificio en la superficie de montaje válvulas 1⅛"... - Page 5 Locarno 110 04813xx0 88509xx0 14⅜" (364 mm) 6" (152 mm) Ø2¼" 5⅝" (144 mm) (57 mm) 2½"/2¾" (62/69 mm) Ø1¼" 3¼" (82 mm) (32 mm) 2⅜"/2⅛" (59/54 mm) Ø1¼" (32 mm) Ø1⅛" Ø1⅛" Ø1⅛" (28 mm) (28 mm) (28 mm) ⅜...
-
Page 6: Installation / Installation / Instalación
Installation / Installation / Instalación Place the hot and cold valve assemblies on the mounting surface. The hot valve should be on the left, the cold valve on the right. Rest the valve on the mounting surface. Placez les ensembles de valve d’eau chaude et d’eau froide sur la surface de montage. - Page 7 Inspect the alignment of the handles and the escutcheons. Vérifiez l’alignement des poignées et les écussons. Inspeccione la alineación de las manijas et los rosaces. If necessary, rotate the valve. Au besoin, tournez la valve. Si es necesario, gire la válvula.
- Page 8 Tighten the nut. Tighten the tensioning screws. Serrez l’écrou. Serrez les vis de pression. 2.2 ft-lb 3 Nm Apriete la tuerca. Apriete los tornillos tensores. Install the drain pull rod on the spout. Position the spout on the mounting surface. Install the fiber washer, metal washer, and mounting nut.
- Page 9 Tighten the mounting nut and the tensioning screws. Serrez l’écrou. Serrez les vis de pression. 2.2 ft-lb 3 Nm Apriete la tuerca. Apriete los tornillos tensores. Open the quick-connect by pushing it upwards. Ouvrez la douille de raccord rapide en la poussant vers le haut.
- Page 10 Insert the connection angle in the spout quick-connect. Insérez le coude de raccordement dans la douille de raccord rapide du bec. Inserte el codo de conexión en la conexión rápida del surtidor. Lock the quick-connect by pulling down on it. Verrouillez la douille de raccord rapide en la tirant vers le bas.
- Page 11 Connect the hot and cold supply hoses to the stops. Use two wrenches, as shown. Do not allow the hoses to twist. Connectez les tuyaux d’arrivée d’eau chaude et d’eau froide aux butées d’arrêt. Utilisez deux clés, tel qu’illustré. Assurez-vous que les tuyaux ne s’entortillent pas.
- Page 12 Lock the quick-connect by pushing it toward the con- nection angle. Repeat with the second connection hose. Verrouillez la douille de raccord rapide en la pous- sant vers le coude de raccordement. Répétez l’opération pour le second tuyau de raccordement. Trabe la conexión rápida empujándola hacia el codo.
- Page 13 Flush the hot and cold supply lines for at least two minutes. Rincez les conduites d’alimentation d’eau chaude et d’eau froide pendant au moins deux minutes. Installez l’aérateur. > 2 min Purgue los suministros de agua caliente y agua fría durante al menos dos minutos.
- Page 14 Installation / Installation / Instalación shorter longer plus court plus long más corto más largo Petroleum-based plumbers putty can Les mastics de plomberie à base de pé- Masilla de petróleo-basó puede da- damage the surface of some sinks. trole peuvent endommager la surface ñar la superficie de algún bañeras.
- Page 15 Replacement Parts / Pièces détachées / Repuestos Locarno 110 04813xx0 96657xx0 93924xx0 93922xx0 93085001 93923xx0 97827000 (8x1.75) 92913000 (200 mm) 95366001 98932000 98817001 92907000 (33x2.5) (M4x6) 97827000 (8x1.75) 92914000 (400 mm) 92905000 96321001 (450 mm) 88509xx0 97548000 xx = Colors / Couleurs / Acabados 00 = Chrome 25 = Brushed Gold Optik 67 = Matte Black...
- Page 16 User Instructions / Instructions de service / Manejo fermé ouvert cerrado abierto cold chaud froid caliente frío...
- Page 17 Cleaning / Nettoyage / Limpieza 1.5 mm 1.5 mm...
- Page 18 Cleaning Recommendation for Hansgrohe Products Modern bathroom faucets, kitchen faucets and shower products are made from different materials to comply with the needs of the market with regard to design and functionality. To avoid damage to the product, it is necessary to take proper care of it.
-
Page 19: Para Obtener Mejores Resultados
Important • Les residus de produits pour le corps comme les savons liquides, shampooings, gels de douche, teintures pour cheveux, parfums, apres-rasage et vernis a ongles peuvent causer des deteriorations. Rincez le produit avec de l’eau propre après chaque utilisation. •... - Page 23 Hansgrohe, Inc. Limited Warranty Offering our customers the highest quality at all times is a funda- • abuse, neglect or improper or incorrectly performed mental part of the Hansgrohe, Inc. company philosophy. We of- installation, maintenance or repair, including the use of fer consumers a limited warranty on our hansgrohe and AXOR abrasive or caustic cleaning agents or “no-rinse”...
- Page 24 PRODUCT I NSTRUC TIONS A ND QUE STIONS TEAR, OUTDOOR USE, MISUSE (INCLUDING USE OF THE PRODUCT FOR AN UNINTENDED APPLICATION), FREEZING WATER, EXCESSIVE WATER PRESSURE, PIPE CORROSION IN Upon purchase or prior to installation, please carefully inspect THE HOME IN WHICH THE PRODUCT IS INSTALLED, ABUSE, your product for any damage or visible defect.
Need help?
Do you have a question about the Locarno 110 04813820 and is the answer not in the manual?
Questions and answers