Table of Contents
Advertisement
Quick Links
Installation Instructions / Warranty
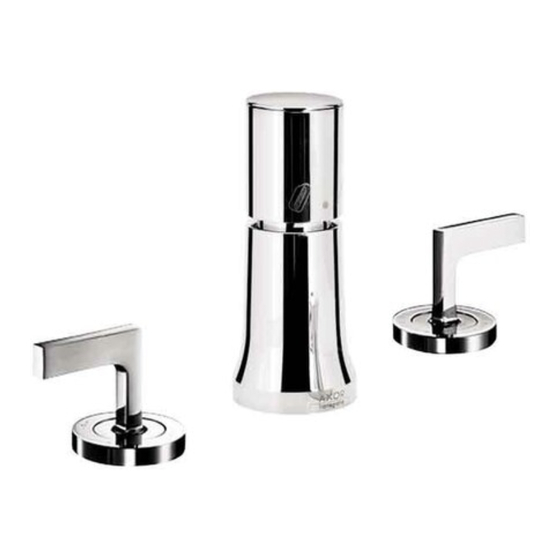
Vertical Spray Bidet Fitting
Rough 1322X181
Axor Trim Kits
Citterio cross handle 39224XX0
Citterio lever handle 39225XX0
Starck 10220XX0
Steel 35220800
Uno 38220XX0
Terrano cross handle 37224XX0
Terrano lever handle 37225XX0
Carlton cross handle 17224XX0
Carlton lever handle 17225XX0
Phoenix cross handle 17226XX0
Phoenix lever handle 17227XX0
Montreux 16521XX0
Advertisement
Table of Contents

Related Manuals for Hans Grohe AXOR Vertical Spray Bidet Fitting Rough 1322 181 Series


Summary of Contents for Hans Grohe AXOR Vertical Spray Bidet Fitting Rough 1322 181 Series
- Page 1 Installation Instructions / Warranty Vertical Spray Bidet Fitting Rough 1322X181 Axor Trim Kits Citterio cross handle 39224XX0 Citterio lever handle 39225XX0 Starck 10220XX0 Steel 35220800 Uno 38220XX0 Terrano cross handle 37224XX0 Terrano lever handle 37225XX0 Carlton cross handle 17224XX0 Carlton lever handle 17225XX0 Phoenix cross handle 17226XX0 Phoenix lever handle 17227XX0 Montreux 16521XX0...
-
Page 2: Technical Specification
Technical Specification Recommended operating pressure 45 - 80 psi Recommended hot water temp. F - 140 Flow rate 2.2 gpm Hole sizes valves 1 1/4” transfer valve 1 1/4” pull rod 3/8” min. *Know and follow all applicable local plumbing codes when setting the temperature on the water heater. In Massachusetts, the water heater may be set no higher than 112 Important: This valve is for use on vertical spray bidets only. - Page 3 Rough-in Installation Instructions Install the transfer valve Install the y-connector and seal on the bottom of the transfer valve. Screw the connecting hoses to the y-connector. Screw the elbow connector to the outlet port on the side of the transfer valve. The arrow on the elbow connector indicates the direction of the water flow.
- Page 4 Install the pop-up guide assembly Remove the nut, metal washer, and sealing washer from the pop-up guide assembly. Position the pop-up guide and sealing washer on the proper hole on the bidet. Install the metal washer and nut. Install the pop-up drain plunger Remove the plunger assembly.
- Page 5 Attach the swivel connector to the end of the horizontal rod. Attach the swivel connector to the end of the vertical rod. Position as desired, and tighten with a small, flathead screwdriver.
-
Page 6: All Models
Trim Kit Installation Install the valves: Starck and Citterio only Remove the valve mounting nuts from the valves. Push the valves up into the holes. Install the mounting plates on the holes. Tighten the tensioning screws. Install the valves: all other styles Remove the plaster shields, mounting plates, and stop rings from the valves. -
Page 7: Install The Handles
Install the transfer valve trim Screw the sleeve down onto the transfer valve. Push the handle over the stem and secure it with the screw. Line up the locator tab on the screw cover with the notch in the handle. Press down firmly. Install the handles Carlton/Phoenix/Terrano Screw the escutcheons down over the mounting... - Page 8 Citterio / Starck Position the handle over the valve. While holding the cross or lever steady with one hand, use the other hand to thread the escutcheon down over the mount- ing plate. Montreux Position the handle over the valve. While holding the cross steady with one hand, use the other hand to turn the escutcheon clockwise to thread it onto the valve.
- Page 9 Replacement Parts - Rough Replacement Parts - Trim...
- Page 10 transfer valve 88632000 27 Montreux handle 16291XX0 connection hose 88631000 28 escutcheon 97988XX0 spray hose 88630000 29 index cap set 97987XX0 pull rod 88634XX0 30 Terrano cross, cold 37291XX0 aerator 88633XX0 37292XX0 drain 94159XX0 31 Terrano lever, cold 37296XX0 hinged connector 96100000 37295XX0 plastic screw and filter...
-
Page 11: Limited Lifetime Consumer Warranty
Cleaning Recommendation for Hansgrohe Products Modern lavatory faucets, kitchen faucets, and showers consist of very different materials to comply with the needs of the market with regard to design and functionality. To avoid damage and returns, it is necessary to consider certain criteria when cleaning. - Page 12 including, without limitation, a commercial purpose, this warranty extends only (i) for 1 year, with respect to Hansgrohe and Commercial products, and (ii) for 5 years, with respect to AXOR products. THIS WARRANTY DOES NOT COVER, AND HANSGROHE WILL NOT PAY FOR: Conditions, malfunctions or damage not resulting from defects in material or workmanship.
Need help?
Do you have a question about the AXOR Vertical Spray Bidet Fitting Rough 1322 181 Series and is the answer not in the manual?
Questions and answers