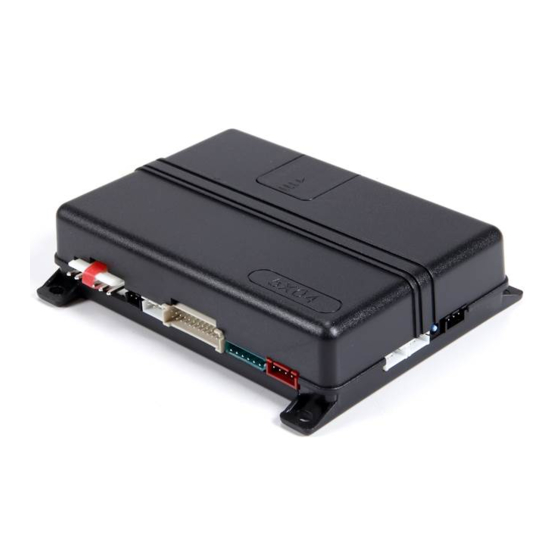
Viper LC3 - Responder Quick Reference Install Guide
- Owner's manual (32 pages) ,
- Quick reference install manual (2 pages)
Advertisement
Wiring Connections
Main Harness, 6-pin connector

Door Lock, 3-pin connector

Remote Start, 8-pin connector

Connections

Auxiliary/Shutdown Harness 24-pin connector


* This optional input can be connected to the horn circuit (+ or -). When this wire receives input for a minimum of.5 seconds, the system reports a trigger on the 2-way remote. This is useful on vehicles that have a factory security system that can be armed/disarmed with the Directed system. This system will not report that a zone has been triggered when unlocking with the 2-way remote. This feature is not available on the 1-way remote.
Installation Points

Learning the Tach (not needed with Virtual Tach)
To learn the tach signal:
- Start the vehicle with the key.
- Within 5 seconds, press and hold the Control button.
- After 3 seconds the status LED on your Control Center lights constant when the tach signal is learned.
- Release the Control button.
Learning Virtual Tach (not needed with hardwire tach inputs)
To program Virtual Tach:
- After the install is complete, remote start the engine. The programming operation may require 3 cranks of the starter before the engine starts and runs. Do not turn off the remote start if this happens, it is a normal programming operation.
- Once the engine begins running, let it run for at least 30 seconds.
- Using the Remote, send the Remote start command to turn remote start off. Virtual Tach is programmed.
To reset Virtual Tach, go into the Remote Pairing section of this guide and press/release the Control button 4 times for step #4, then press and hold the Control button to reset Virtual Tach. Virtual Tach cannot be reset with the Bitwriter.
 Note: Virtual Tach cannot be used in MTS Manual Transmission Mode. It is also not recommended for diesel trucks.
Virtual Tach handles disengaging the starter motor during remote starting – it does not address over-rev. If the customer wants to have the over-rev protection capability, the tach wire must be connected.

After successfully learning Virtual Tach, a small minority of vehicle starters may over crank or under crank during remote start. The Bitwriter can be used to fine tune the starter output time in 50mS increments to compensate for such an occurrence.
Remote Start Shutdown/Startup Diagnostics
To perform shutdown diagnostics:
- With the ignition Off, press and hold the Control button.
- Turn the ignition On and then back Off while holding the Control button.
- Release the Control button.
- Press and release the Control button. The status LED flashes to report the last shutdown for one minute or until the ignition is turned on, as shown in the following table:
| Status LED Flashes | Shutdown Mode |
| 1 flash | Runtime expired |
| 2 flash | Over-rev shutdown |
| 3 flash | Low or no RPM |
| 4 flash | Transmitter shutdown (or optional push button) |
| 5 flash | (+) Brake shutdown |
| 6 flash | (-) Hood shutdown |
| 7 flash | Timer mode/Turbo mode/Manual mode error * |
| 8 flash | Neutral safety shutdown |
| 9 flash | Low battery (voltage mode) |
| 11 flash | Wait-to-start input timed out |
* Timer mode error: Ignition is on or shutdown input is active when activating timer mode.
Turbo mode error: Turbo mode is programmed off, engine is not on or shutdown input is active.
Manual mode error: MTS mode not enabled.
Startup Diagnostics: If the vehicle fails to activate the remote start, the remote start module will flash the parking lights on the vehicle to notify you of what caused the no-start situation.
Parking Light Flashes
| 5 flash | Brake wire is active |
| 6 flash | Hood pin wire is active |
| 7 flash | Manual transmission mode is enabled and not initialized. |
| 8 flash | Neutral safety wire has no ground or the neutral safety switch is Off. |
Remote Pairing
Prepare the vehicle system to be Paired with a new remote
- Turn the key to the ON position.
- Within 5 seconds press and release the Control button on the system's Control Center one time.
- Within 5 seconds, press and hold the Control button on the Control Center. The status LED will flash one time and the horn honks to confirm the vehicle is ready for remote pairing.
- Release the Control button and proceed below.
Note: If no remote pairing results, the system will exit after 60 seconds.
Prepare the new remote to be Paired with the system
Make sure the LC3 remote is set for the desired Car 1 (Default) or Car 2 operation.
- Press and hold the
![]() button for 8 seconds until the main menu appears.
button for 8 seconds until the main menu appears. - Press and release the
![]() button until Remote Pair text is displayed.
button until Remote Pair text is displayed. - Press and release the
![]() button until Pair text is displayed.
button until Pair text is displayed. - Press and hold the
![]() button until tones are played on the LC3 remote.
button until tones are played on the LC3 remote. - Successful or Failed Pair: The LC3 remote control indicates a successful or failed pairing on the display.
 button for 8 seconds until the main menu appears.
 button until
  button until tones are played on the LC3 remote.
 Note: Please see installation guide for pairing with the 1-way companion remote.
Basic Remote Functions

Bitwriters with a date code of 6a or older require an IC upgrade (p/n 998M). Some bitwriters with a date code of 6B do not require the IC upgrade, refer to tech tip # 1112 for more information.

The Bitwriter® (p/n 998U) requires chip version 2.7 or newer to program this unit.

Programming System Features
The System Features Learn Routine dictates how the unit operates. It is possible to access and change most of the feature settings using the Control button.
- Turn the ignition on, then off.
- Select a Menu. Press and hold the Control button. The number of horn honks and LED flashes indicates the menu number. 1 horn honk and LED flash indicates menu 1, 2 horn honks and LED flashes - menu 2 and 3 horn honks and LED flashes for menu 3.
- When the desired menu horn honks are heard with LED flashes, release the Control button.
- Select a Feature. Press and release the Control button the number of times corresponding to the feature you wish to change. Then press and hold one more time to select the features.
- Program the Feature. While holding the Control button, you can program the feature using the remote control.
For features with only two options;  = option 1 while
  = option 2.
For features with more than two options; selects the options in ascending order, while selects them in descending order.
Note: Pressing  button resets the feature to the factory default.
Once a feature is programmed:
- Other features can be programmed within the same menu
- Another menu can be selected
- The learn routine can be exited if programming is complete
To access another feature in the same menu:
- Press and release the Control button the number of times necessary to advance from the feature you just programmed to the next one you want to program.
- Then press the Control button once more and hold it.
To select another menu:
- Press and hold the Control button.
- After 3 seconds, the unit advances to the next menu and the horn honks and the LED flashes, indicating which menu has been accessed.
The learn routine exits if any of the following occurs:
- The ignition is turned On
- There is no activity for 30 seconds
- The Control button is pressed too many times
Feature Menus
Default settings are in bold type. New features are bold in solid grey rows.
Menu 1 - Vehicle Integration

Menu 2 - Convenience

Menu 3 - Remote start

Bitwriter - only Options

If programming with the Bitwriter®, the learn routine can be locked or unlocked. If the learn routine has previously been locked, it must be unlocked with Bitwriter® - this cannot be done manually with the Control button.
The Bitwriter®  gives you access to a wider range of system options. These features and the adjustments that may be programmed are described in the table below. Default settings are in bold.


* available only on remotes with display screens

Documents / Resources
References
Download manual
Here you can download full pdf version of manual, it may contain additional safety instructions, warranty information, FCC rules, etc.
Download Viper LC3 - Responder Quick Reference Install Guide
Advertisement


Need help?
Do you have a question about the LC3 and is the answer not in the manual?
Questions and answers