
Subscribe to Our Youtube Channel
Related Manuals for Wine Enthusiast S-187i


Summary of Contents for Wine Enthusiast S-187i
- Page 1 S-187i Wine Cellar (Features and Size May Vary) User Manual Model; 278 0X 87 0Y X= 2 (Stainless Steel) or 3 (Black) Y= 3 (Right Hinge) or 4 (Left Hinge) PLEASE READ THIS MANUAL CAREFULLY BEFORE INSTALLING AND OPERATING...
-
Page 2: Important Safeguards
IMPORTANT SAFEGUARDS When using this appliance, always exercise basic safety precautions, including the following: 1. Read all of the instructions before using this appliance. 2. This appliance is not intended for use by persons (including children) with reduced physical, sensory or mental capabilities, or lack of experience and knowledge, unless they have been given supervision or instruction concerning use of the appliance by a person responsible for their safety. -
Page 3: Save These Instructions
Risk of child entrapment! Before you throw away your old wine cellar, take off the doors. Leave the shelves in place so that children may not easily climb inside. Thank you for using our Wine Enthusiast product. This easy-to-use manual Model number will guide you in getting the best use of your wine cellar. -
Page 4: Table Of Contents
Table of Contents IMPORTANT SAFEGUARDS ..................2 SAVE THESE INSTRUCTIONS ................. 3 Electrical Requirement ................... 5 Install Limitations ....................5 Use of Extension Cords ..................5 Wine Cellar Features and Use ................5 Initial Setup ......................6 Inverter Compressor Technology ................6 Temperature Adjustment .................. -
Page 5: Electrical Requirement
Electrical Requirement • Make sure there is a suitable power Outlet (115 volts, 15 amps outlet) with proper grounding to power the wine cellar. • Avoid the use of three plug adapters or cutting off the third grounding in order to accommodate a two plug outlet. -
Page 6: Initial Setup
Initial Setup • Before connecting the wine cellar to the power source, let it stand upright for approximately 24 hours. This will reduce the possibility of a malfunction in the cooling system from handling during transportation. • Once you have plugged the unit into an electrical outlet, let the unit run for at least 30 minutes to acclimate before making any adjustments. -
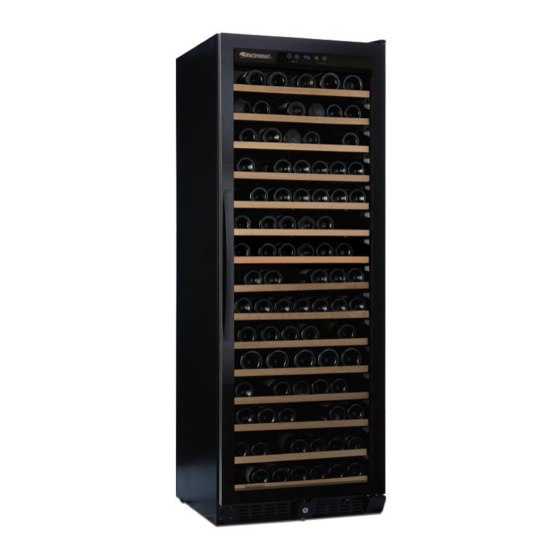
Page 7: Parts And Features
Parts and Features (Features and Size May Vary) -
Page 8: Installation As A Built-In Cellar
Installation as a Built-In Cellar Model LXi These cut out dimensions show the minimum space required for your wine cellar to perform as designed. -
Page 9: Reversing The Door Swing
Reversing the Door Swing Before you begin: Tape down shelves to avoid movement during the process • The door of this appliance can be hung to open on the left or right side. To reverse the door swing of your cooler and open from the opposite side, please follow the instructions and diagram below. - Page 10 1. Pry up the hinge cover (1) and hinge cap (2) using a flat head screwdriver. Using a Phillips head screwdriver, loosen the hinge screws (3a) and remove the top hinge (4). You can now lift the door (5) off the bottom hinge and set it off to one side.
-
Page 11: Installing The Handle
Installing the Handle 1. Pull back the door seal behind handle location. 2. Insert screws into pre-drilled screw holes. 3. Attach handle and tighten screws. 4. Press door seal back into place. Operating Your Wine Cellar Each wine cellar includes an operating panel on the front of the unit. This operating panel includes several features to operate and control the temperature. - Page 12 Setting the Temperature Control NOTE: The temperature readout shows the actual cellar temperature, it will temporarily show the set temperature while making adjustments, then reverts back after 10 seconds. 1. Make sure power cord is connected to a properly grounded outlet. 2.
- Page 13 Temperature Settings for Serving Wine Although optimal storage temperature is generally regarded to be 53-57°F, different varietals of wine require different service temperature settings. The recommended temperature ranges for serving different varietals of wine are listed below. Your wine cellar will indicate when you have set the Upper/Lower zones to the below temperature ranges.
-
Page 14: Technical Data
Technical Data S-187i Wine Cellars Bottle Capacity Total Volume (Cu. Ft.) 17.3 Installation Free-Standing or Built-In Power 115V~60Hz Current (Amps) Protection Class Climate Class Start-Up Amps 2.0A Running Amps 3.0A Ambient Temperature 60 - 80°F Refrigerant R600a – 1.8 oz. -
Page 15: Proper Wine Cellar Care And Cleaning
Proper Wine Cellar Care and Cleaning Cleaning and Maintenance Warning: To avoid electric shock always unplug your wine cellar before cleaning. Ignoring this warning may result in death or injury. Caution: Before using cleaning products, always read and follow manufacturer’s instructions and warnings to avoid personal injury or product damage. -
Page 16: Troubleshooting
Vacation and Moving Care • For long vacations or absences, unplug the wine cellar and clean the wine cellar and door gaskets according to "General cleaning" section. Leave doors open, so air can circulate inside. • When moving always move the wine cellar vertically. Do not move with the unit lying down, as possible damage to the sealed system could occur. - Page 17 • Doors may have been opened frequently or for an extended period of time. • Clean condenser coils. • Check gasket for proper seal. • Check to see if doors are completely closed. Moisture build-up on interior or exterior of the wine cellar: •...
-
Page 18: Limited Warranty
All costs for labor and materials thereto shall be covered during the Limited Warranty Period. If Wine Enthusiast deems the wine cellar is not repairable, Wine Enthusiast will use the value of your original order toward a replacement; provided, however, that the purchaser will be responsible for all shipping and handling costs with respect to the replacement after the initial ninety (90) days after the date of receipt of original purchase. - Page 19 Limited Warranty. Exclusion of Certain Damages: Wine Enthusiast’s liability is limited to replacement or repair of the defective wine cellar. Wine Enthusiast shall not be liable for any damages, whether incidental, consequential or otherwise, because of any defective wine cellar.
Need help?
Do you have a question about the S-187i and is the answer not in the manual?
Questions and answers