Advertisement
Quick Links
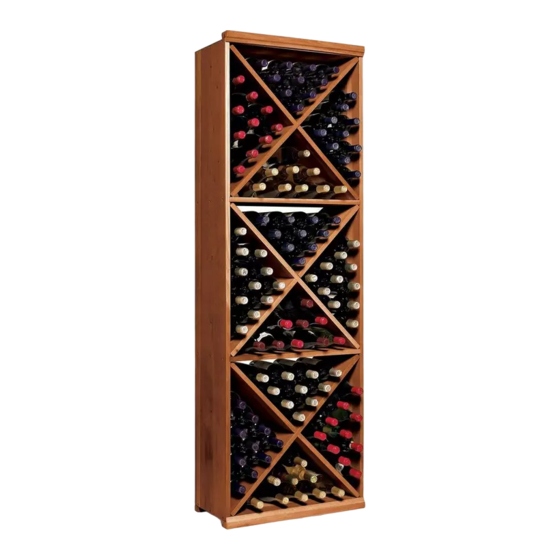
NFINITY DIAMOND CUBE WINE RACK
PARTS
A
B
C
D-J
K
L
M
Tools needed: Philips screwdriver, rubber mallet, brad nail gun (only for front face trim)
DESCRITPION
RIGHT AND LEFT BOARD
CENTER BOARDS
CROSS BOARDS
FRONT TRIM
MOLDING
BOTTOM BAR
SCREWS
INCLUDED PIECES
2
4
6
12
2
1
24
Advertisement

Subscribe to Our Youtube Channel
Summary of Contents for Wine Enthusiast Nfinity Dimond Cube
- Page 1 NFINITY DIAMOND CUBE WINE RACK PARTS DESCRITPION INCLUDED PIECES RIGHT AND LEFT BOARD CENTER BOARDS CROSS BOARDS FRONT TRIM MOLDING BOTTOM BAR SCREWS Tools needed: Philips screwdriver, rubber mallet, brad nail gun (only for front face trim)
- Page 2 Attach the right and left boards (A) to the center boards (B) using screws (L). Do not tighten screws completely. This will allow easier installation of cross boards.
- Page 3 Arrange the cross boards ( C ) in an X pattern and slide them into place as shown above. You can now fully tighten all screws. The front trim is optional and requires the use of a nail gun and may require some trimming to fit correctly. If you wish to install, arrange the pieces as shown above and nail into place.
- Page 4 Attach the bottom bar (L) to the rear underside and molding (K) to the front underside of the wine rack using screws (M). Attach molding (K) to the top front using screws (M). The final step is securing you wine rack to a wall using the brackets provided. If you cannot locate the wine rack on a stud you will have to use the dry wall anchors provided.


Need help?
Do you have a question about the Nfinity Dimond Cube and is the answer not in the manual?
Questions and answers