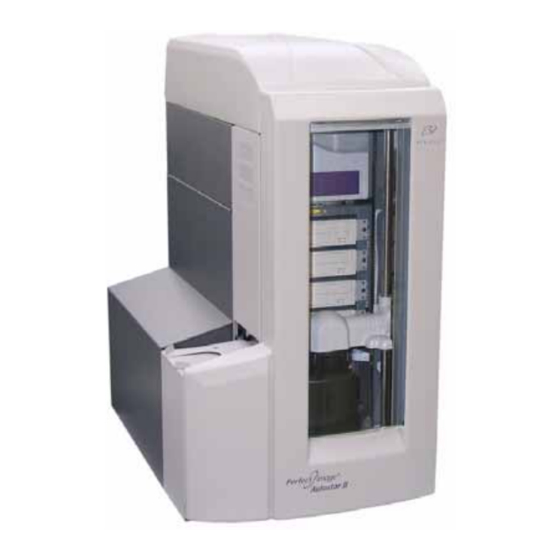
Rimage Autostar II Reference Manual
Replace the printer on a rimage autoloader
Hide thumbs
Also See for Autostar II:
- User manual (17 pages) ,
- Setup and installation manual (4 pages) ,
- Specifications (1 page)
Advertisement
Quick Links
Replace the Printer on a Rimage Autoloader
Before you begin:
1. Stop or pause all jobs.
2. Power off the control center (external or embedded).
3. Power off the Rimage autoloader.
4. Disconnect the power cord from the power outlet.
1
Access the printer.
If your Rimage autoloader has a printer cover, remove the cover.
2
Disconnect the cables.
From the back of the printer disconnect the following cables:
•
Printer cable
•
Printer power cord
•
USB cable
Caution: Some cables in your system may be latched. Equipment
damage may occur if cables are not disconnected appropriately.
Everest printer
Printer Cable
Printer Power Cord
OR
Prism printer
Printer Cable
©
Copyright
2007 Rimage Corporation
USB Cable
USB Cable
Printer Power Cord
Note: The term "autoloader" is used throughout this document to refer to the
following Rimage products: AutoPrinter II™, Endeavor/Disclab™, DLN5100™,
DL5200™, DLN5200™, 5100N™, 5300N™, Autostar II™, Protégé II™, Amigo
II™, Producer 7100™, Producer 8100™, Producer 7100N™, and Producer
8100N™.
3
Remove the printer from the autoloader.
Lift the printer up and off the autoloader.
Caution: Lift the Everest printer with care; it is very heavy.
4
Pack the printer for shipping.
For packing instructions, refer to one of the following documents:
Pack the Rimage Everest II™ Printer (110891-001)
Pack the Rimage Everest III™ Printer (110877-001)
Pack the Rimage Prism™ Printer (112143-001)
These documents are available at www.Rimage.com/Support.html.
Navigate: Product Family > Support - Product > Documents tab.
5
Unpack the replacement printer.
Refer to the label on the box of your replacement printer.
2000584_B
Advertisement

Summary of Contents for Rimage Autostar II
- Page 1 3. Power off the Rimage autoloader. 4. Disconnect the power cord from the power outlet. Access the printer. If your Rimage autoloader has a printer cover, remove the cover. Disconnect the cables. From the back of the printer disconnect the following cables: •...
-
Page 2: Install The Rimage Software
Connect the autoloader power cord to the power outlet. b. Press the autoloader power switch to power on the system. Install the Rimage software. If your printer was shipped to you with a Rimage software disc, install the software on the embedded or external control center. ...


